To annotate a document, you'll first need to get to a student's assignment attempt. This is the only step in the process that differs between classic- and ultra-style courses.
View an Assignment Attempt
From the Grade Center, locate the table cell for the assignment attempt you wish to view.
A submission that is ready for grading will have a yellow exclamation mark icon.
Click the options button (gray arrow-down in a circle) that appears in the table cell when you mouse over it. Choose ATTEMPT (DATE) to view and grade the student's work.
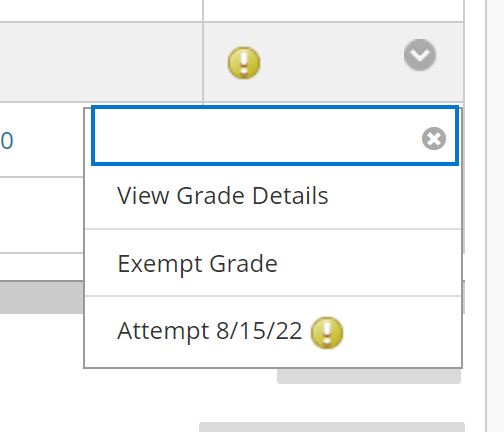
Choose View Grade Details to get information about his and other attempts. If you are looking to clear an attempt, choose View Grade Details.
Highlight, Underline, Strikeout, Comment Annotations
When it comes to annotation, there are just a couple tools that are good starts for focusing. First, is the ability to select text inside the submission to highlight, underline, strikethrough, or comment on.
Click and drag to highlight text in the submitted document. Context menu will pop up.
The first four buttons on the toolbar are:
- yellow highlight,
- red strikethrough,
- underline in red, and
- wavy-underline in red.
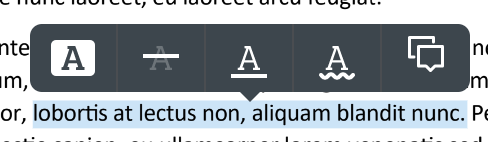
The last button lets you comment on the selected text. Clicking this will highlight the selection, add a comment icon to the end of the highlighted selection, and open a simple text box into which you can type or your comment.

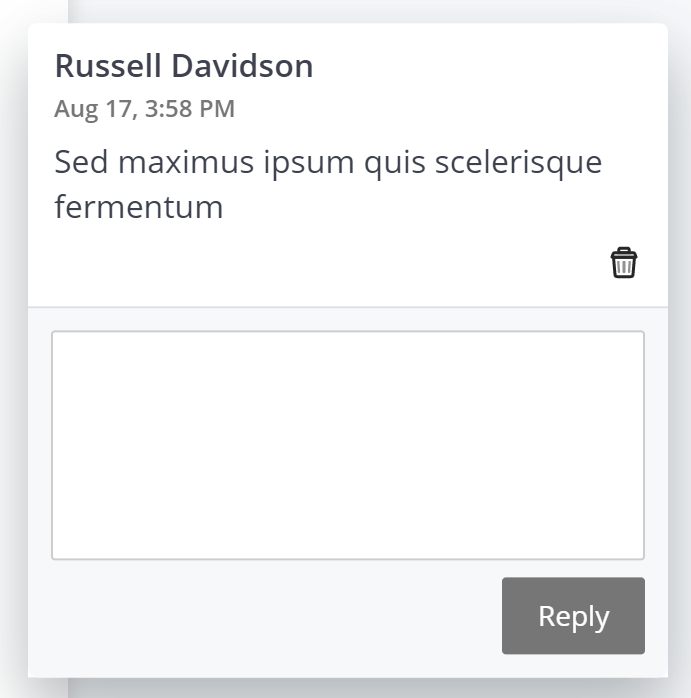
Click your comment or the highlighted text to open the comment for reply or deletion.
You cannot edit a comment that you have posted, only reply to or delete it.
Annotation Comment Library
The second very useful tool is the comment library.
The Blackboard annotation tool's Comment Library lets you add and re-use comments across all your Blackboard assignments and courses.
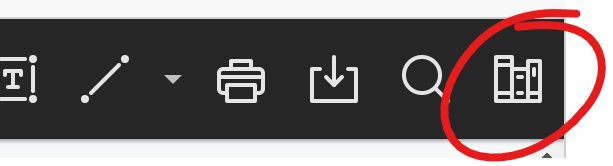
To add or use comment library content, click the library icon on the far right of the annotation toolbar.
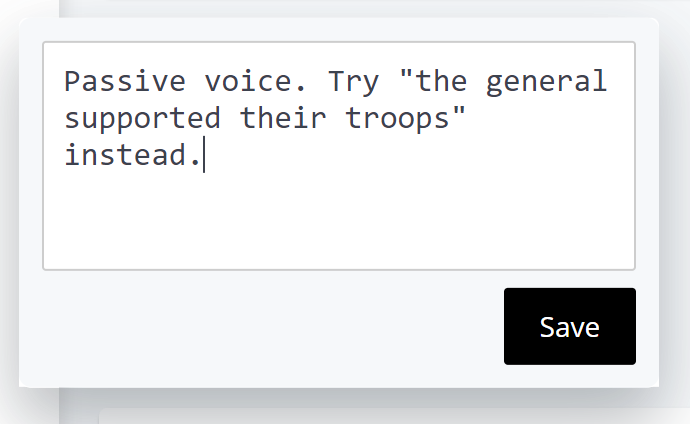
To add content to the library, click the + button at the top right of the Content Library.

A plain text box will appear in the center of the page where you can type and save your comment.
Once you have content populated into the content library, you can re-use that item by clicking the more ("...") button right of the item text.
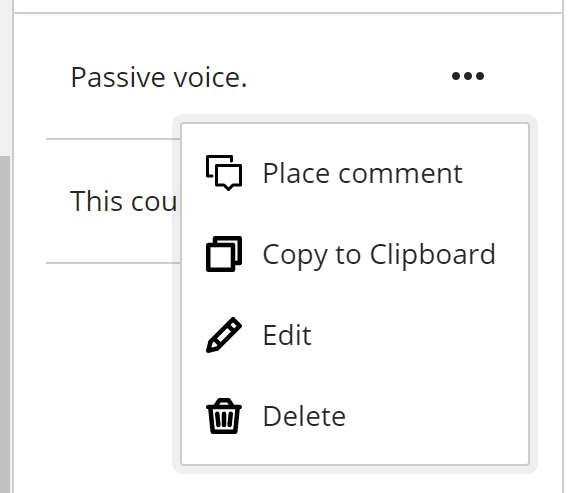
You can copy the comment to your clipboard (to CTRL+V paste elsewhere), edit or delete the comment.
Perhaps most usefully, click PLACE COMMENT to drop the comment onto the page as a comment annotation. When the comment is added to the page, it is added into an editable text box, allowing you to revise or add to your content-library text as needed.
To annotate a document, you'll first need to get to a student's assignment attempt. This is the only step in the process that differs between classic- and ultra-style courses.
View an Assignment Attempt
Grid View
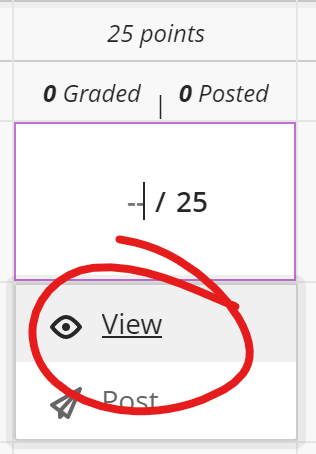
The shortest route to a student's attempt is from the Gradebook's Grid View. Locate the assignment you wish to grade. Click the Grade Now link text.
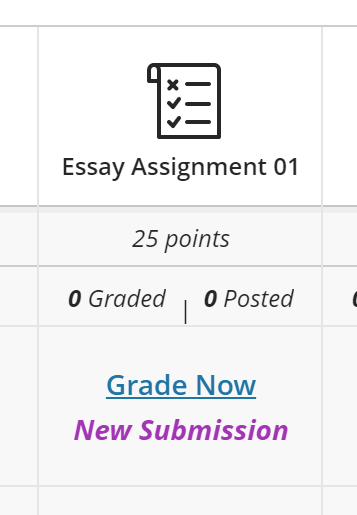
Then click VIEW to view the submission.
List View
From the list view, click on the Assignment name.

Click on the name of the person whose attempt you wish to grade. This will open a grading panel for the assessment on the right-hand side. Click on the attempt you wish to grade to view the attempt.

Highlight, Underline, Strikeout, Comment Annotations
When it comes to annotation, there are just a couple tools that are good starts for focusing. First, is the ability to select text inside the submission to highlight, underline, strikethrough, or comment on.
Click and drag to highlight text in the submitted document. Context menu will pop up.
The first four buttons on the toolbar are:
- yellow highlight,
- red strikethrough,
- underline in red, and
- wavy-underline in red.
The last button lets you comment on the selected text. Clicking this will highlight the selection, add a comment icon to the end of the highlighted selection, and open a simple text box into which you can type or your comment.
Click your comment or the highlighted text to open the comment for reply or deletion.
You cannot edit a comment that you have posted, only reply to or delete it.
Annotation Comment Library
The second very useful tool is the comment library.
The Blackboard annotation tool's Comment Library lets you add and re-use comments across all your Blackboard assignments and courses.
To add or use comment library content, click the library icon on the far right of the annotation toolbar.
To add content to the library, click the + button at the top right of the Content Library.
A plain text box will appear in the center of the page where you can type and save your comment.
Once you have content populated into the content library, you can re-use that item by clicking the more ("...") button right of the item text.
You can copy the comment to your clipboard (to CTRL+V paste elsewhere), edit or delete the comment.
Perhaps most usefully, click PLACE COMMENT to drop the comment onto the page as a comment annotation. When the comment is added to the page, it is added into an editable text box, allowing you to revise or add to your content-library text as needed.