The first time you record video with YuJa's desktop recording software, you'll need to install the software.
Install YuJa Capture Software
YuJa's desktop recording requires you download and install PC or Mac software.
If you are on a Chromebook, cannot install software to your computer, or do not want to install the capture software, you can use YuJa's browser-based recording tool instead.
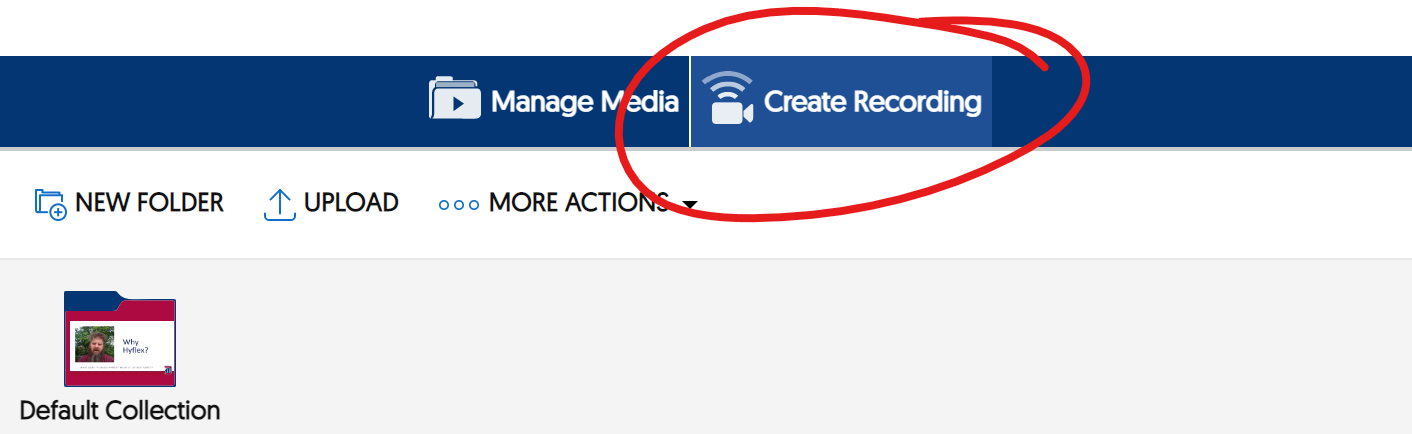
From the YuJa Media Library page, click Create Recording at the top-center of the screen.
On the Create Recording window, make sure "Record from your Windows PC or Mac" is selected from the pulldown list at the top, then click DOWNLOAD below the start button
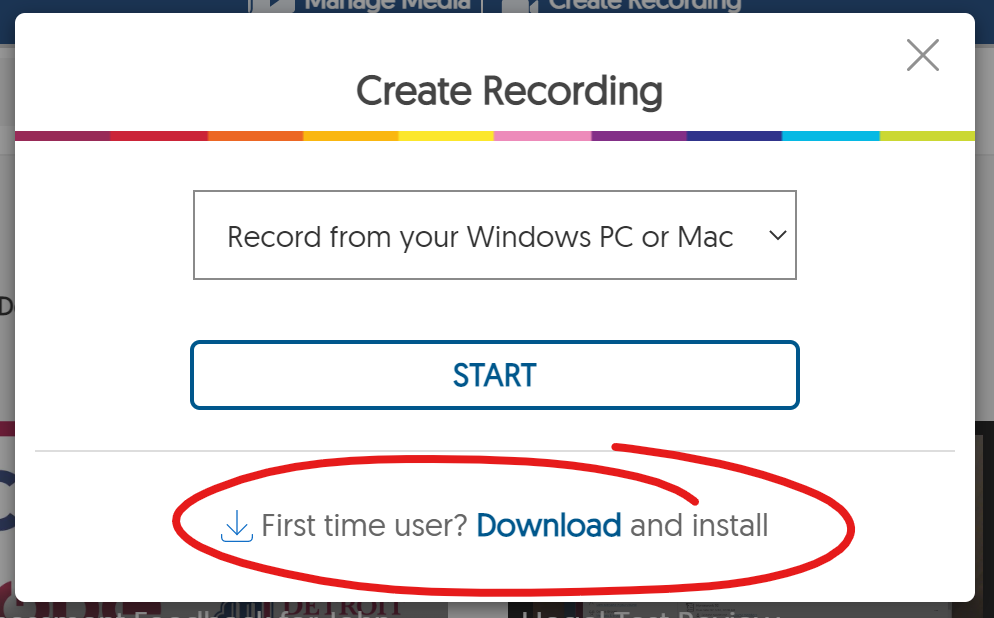
When you click the download link, your browser will prompt you to download the YuJa-Software-Capture file.
Choose a location (or PC users can let it download to default Downloads folder). Once the download is complete, navigate to the downloads folder and run double-click the file to install the software.
Once the installation is done, you can return to this page and click the START button. YuJa will launch the capture software for you.
Launch YuJa Capture Software
Once installed, the process is pretty simple: Launch the software, set the recording sources, and create your recording.
If you already have the YuJa Capture Software installed, then from the YuJa Media Library page, click Create Recording at the top-center of the screen.
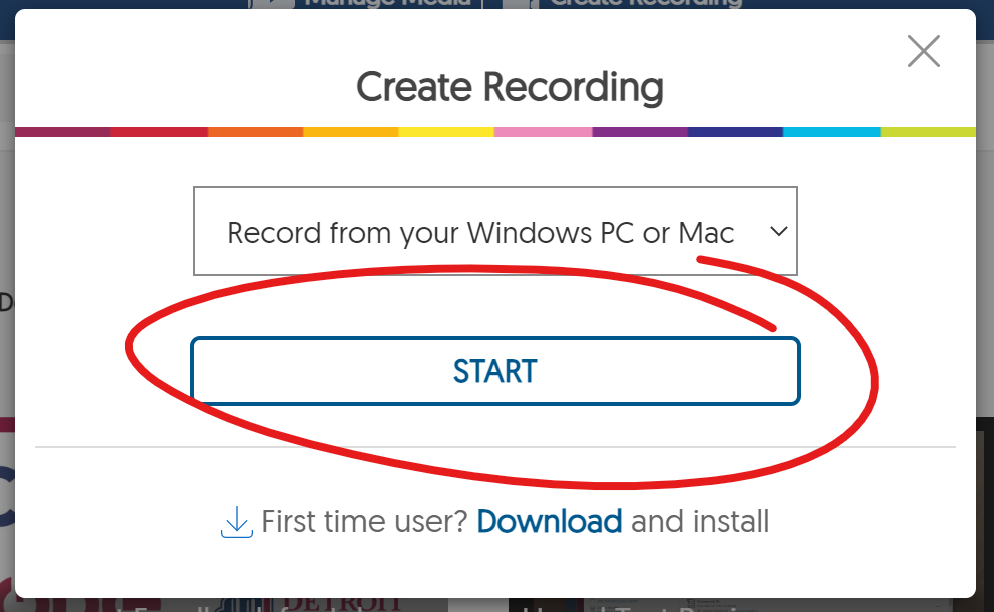
On the Create Recording window, make sure "Record from your Windows PC or Mac" is selected from the pulldown list at the top, then click START.
Select Desktop Software Capture Audio Source
Next you need to set your recording sources. The defaults may work for you. If not, we'll walk through the three -- audio, video, and screen.
The Audio setting on YuJa's desktop software capture lets you select and include up to two audio sources for your recording. These may include your laptop's built-in microphone, a headset or external mic, or any other audio device that may be plugged or built into your computer.
To enable and / or disable audio feeds and select audio sources, click AUDIO in the upper left of the YuJa Software Capture window to open the audio options.
For each audio source, click the ON / OFF toggle to turn a source on or off. Use the pulldown list to select an alternate source if necessary.
Select Desktop Software Capture Video Source
The Video setting on YuJa's desktop software capture lets you select and include up to two external cameras for your recording. These may include your standard web-cam, a document cam, or any other video device that may be plugged or built into your computer.
Enable and / or disable a video feeds and select video sources, click VIDEO in the upper left of the YuJa desktop software capture window to open the video options.
For each video source, click the ON / OFF toggle to turn a source on or off. Use the pulldown list to select an alternate source if necessary.
Select Desktop Software Capture Screen Source
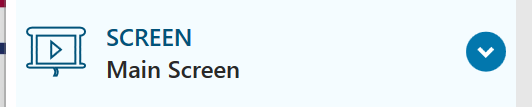
YuJa desktop software capture's screen source (the window on your desktop that will be included in the recording) defaults to your main display (if you have multiple displays connected). To disable screen capture or select a different screen source, click SCREEN from the sources list on the left to open the source menu.
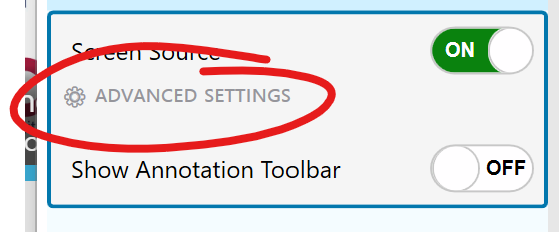
To disable screen capture, toggle the green ON to Off.
To select a different source, click ADVANCED SETTINGS.
From the advanced settings window, select the display or displays you wish to capture from the pulldown list. The items that appear in this list (and the options that present themselves when selected) will vary depending on your set up.
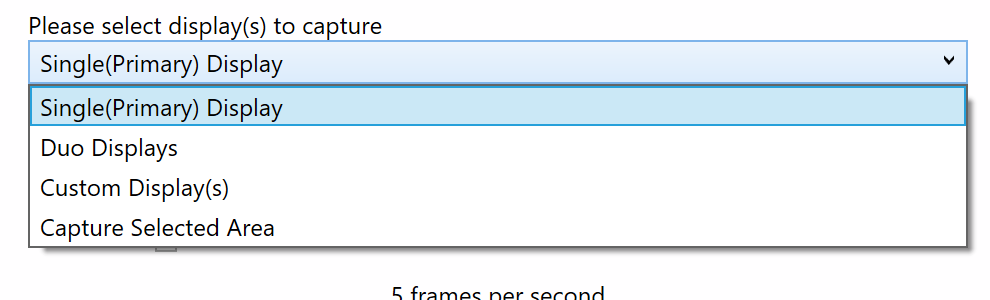
Generally, if you have multiple monitors connected to your computer, Custom Display(s) will allow you to check which of the monitors you wish to include. Capture selected area will limit your capture to a box which you'll be prompted to draw on the screen.
When you have made your selections, click the SAVE button at the bottom of the window implement your selection.
Start, Pause, and Stop Desktop Software Recording
The pause, record, stop controls are fairly simple to use. This shows
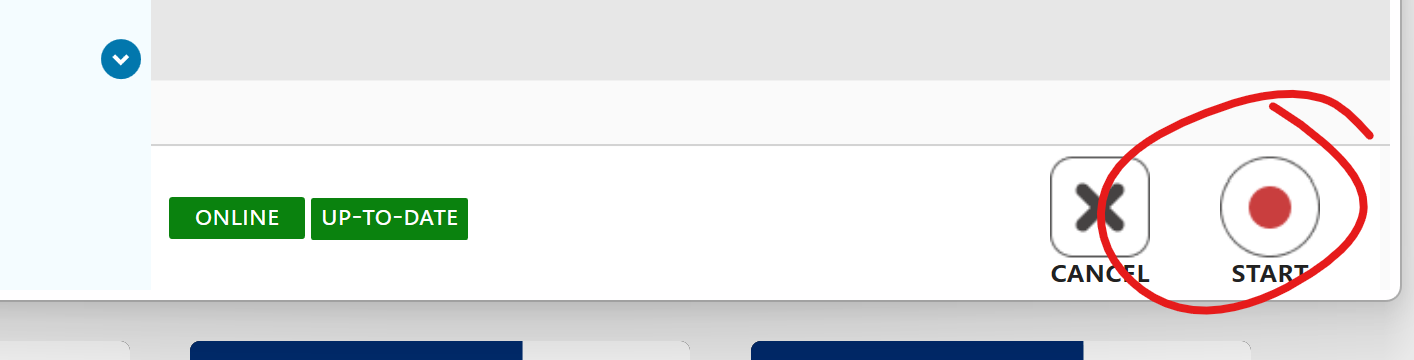
To begin recording with the YuJa desktop software capture, click the START button at the bottom right of the window.
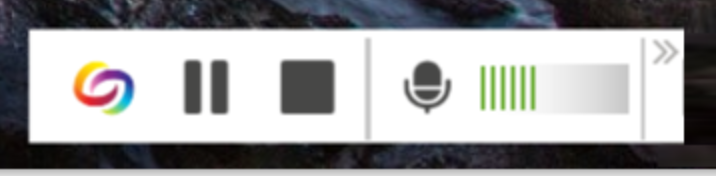
While recording, the recording toolbar will appear at the bottom of your screen. You may click and drag this around, if necessary. From this toolbar, click the rainbow-swirl YuJa icon to bring the recording software into view. Click PAUSE to pause the recording and STOP to stop.
If you have selected multiple audio sources, you can switch which one is being captured via the microphone icon. The bar right of the microphone indicates audio input levels. It should fluctuate between green bars (and possibly some yellow) if the microphone is working. No bars indicate there is a problem with your audio source. Red bars indicate your input volume is too high and should be adjusted down.
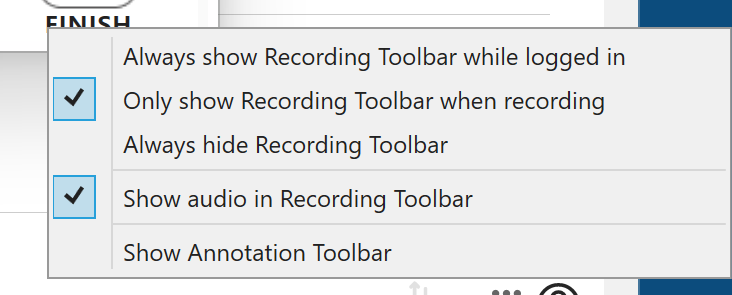
The double-arrow on the right of this toolbar opens a context menu that lets you set some options on-the-fly, including a toggle for the annotation toolbar.
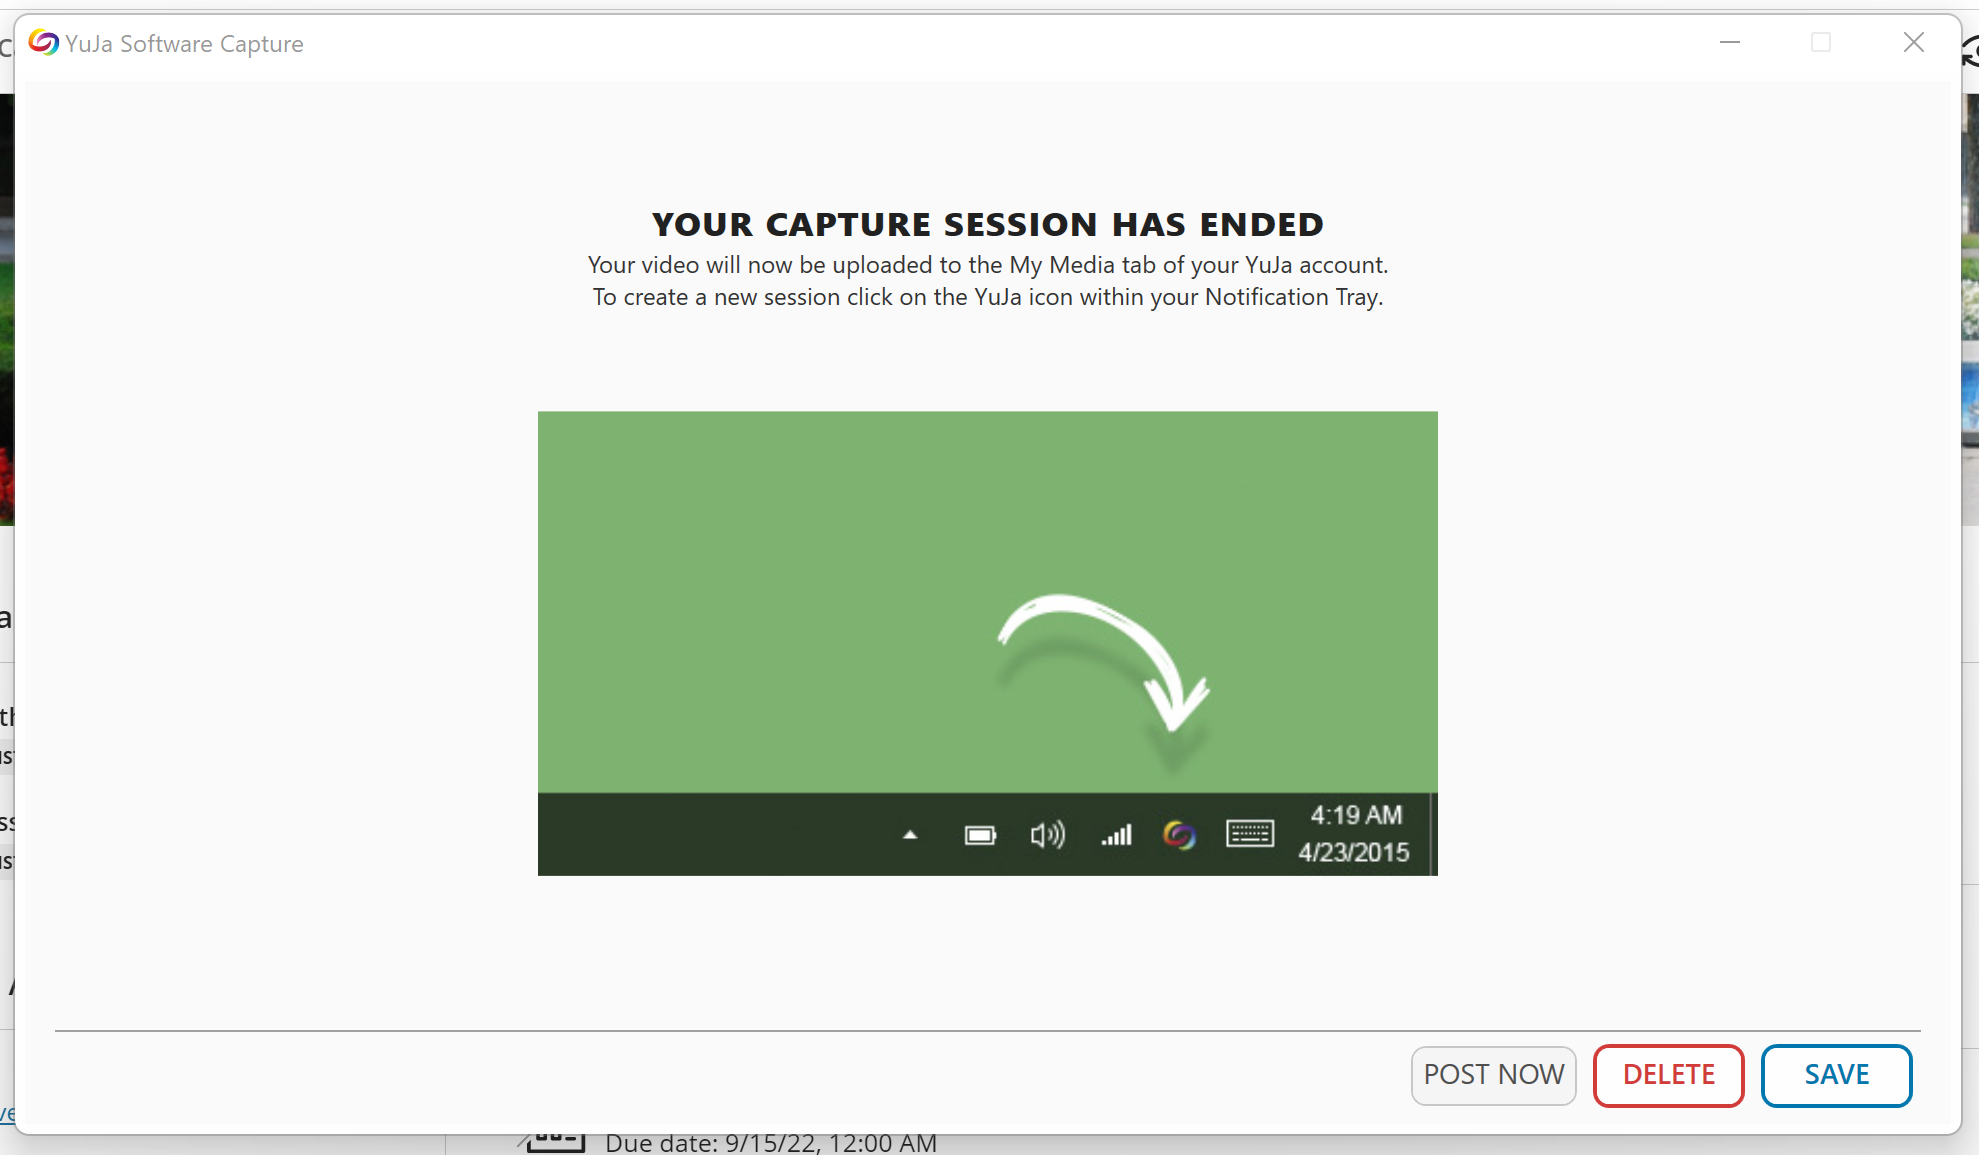
When you are done recording, click the STOP button. You will be prompted to delete or save your recording. If you attached the recording to a channel, you will also have the option to POST NOW, making your recording available for viewing on the channel as soon as it is done processing.
Desktop Software Capture Annotation Tools
One of the most powerful parts of YuJa desktop is screen annotation.
The desktop software capture tool includes an annotation bar which lets you draw (with mouse, or pen / touch if your recording computer has the capability) on the screen as part of your recording.
You can use a variety of pen-types and a variety of colors, an eraser that lets you erase through a drawn line without erasing the whole thing, an area select tool that lets you draw a dotted-line shape on the screen that disappears as soon as you click.
The pencil-eraser lets you erase a whole line (the larger eraser icon lets you erase a part of a line). The trash can icon deletes all your annotations.
Most importantly, the MOUSE button (highlighted below) turns off the annotation tool and lets you click on the screen as you normally would, letting you navigate an application or the web while the annotation tools are onscreen.

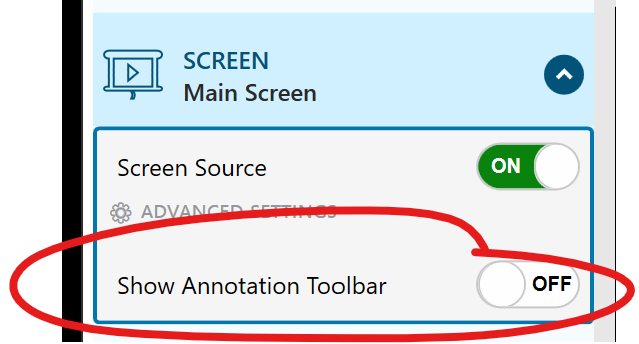
The annotation tools toggle is found on the left side of the YuJa Software Capture tool, under screen.
Below is a short video (no audio) showing the annotation tools in action.