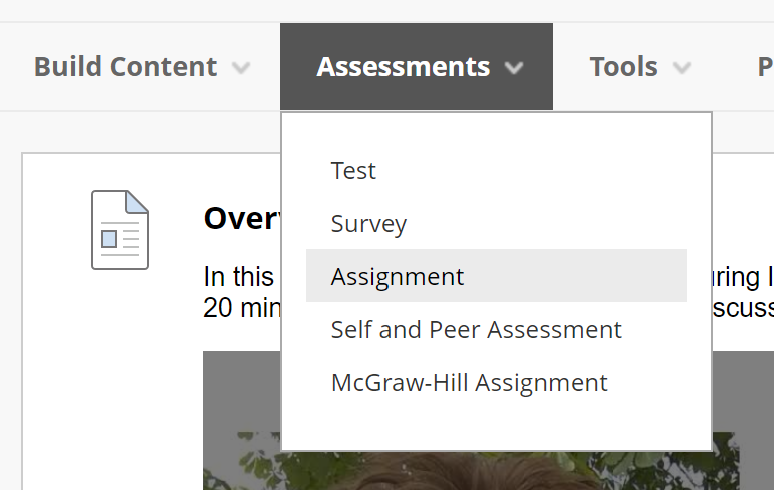
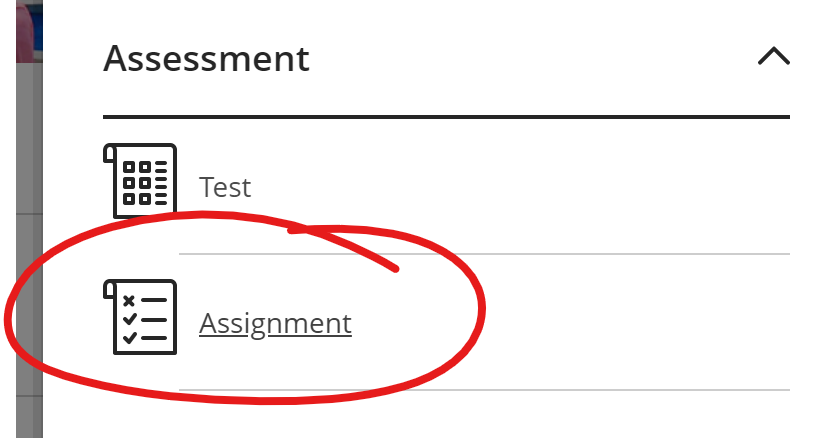
To start, first go into a content area where you wish to make an assignment available to your students. Mouse over the “Assessments” button toward the top of the body of the page and select “Assignment”.
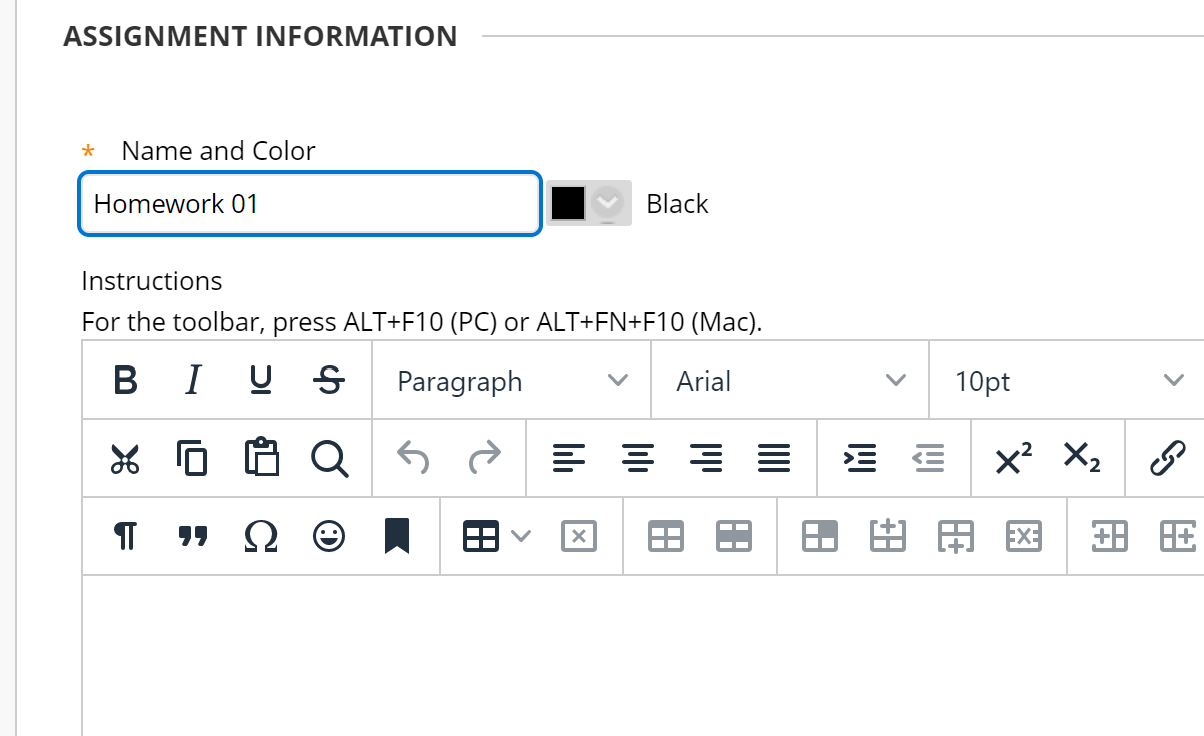
Type in the assignment name along with any instructions you may have for your students. Adding a due date into the set of instructions is encouraged, as it can help eliminate any confusion as to when an assignment is due.
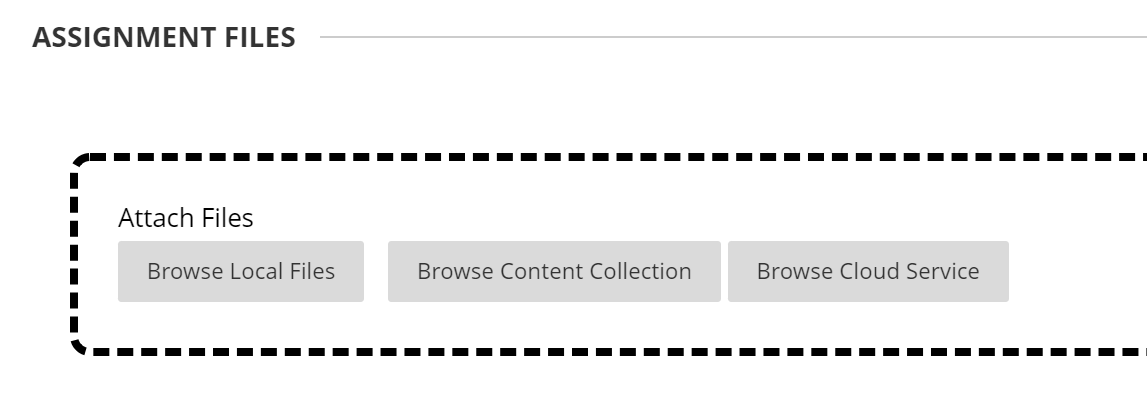
If you have any files to attach for your students to review or work from -- worksheets, case studies, rubrics, etc -- you may add them by clicking on the “Browse Local Files” button. The Browse Cloud Service button lets you locate files on your associated cloud storage (such as OneDrive) and upload those files to the assignment.
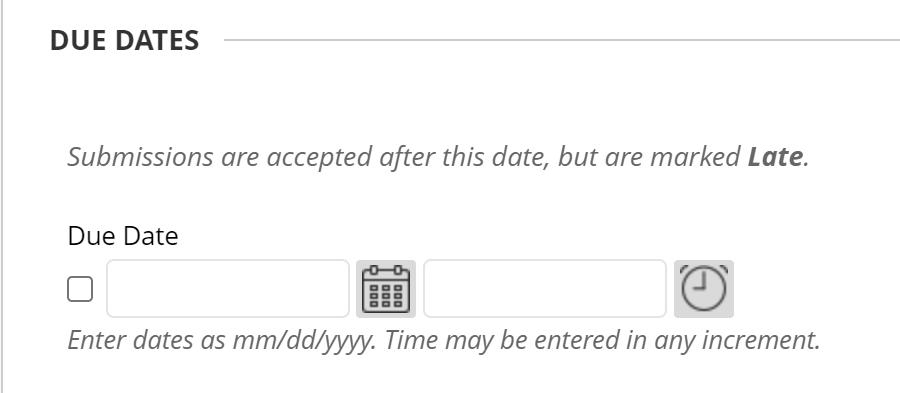
Next you have the option to add a due date. This due date will also be added to the students' Blackboard calendar (which students may import into the calendar system of their choice, such as the calendar on their phone).
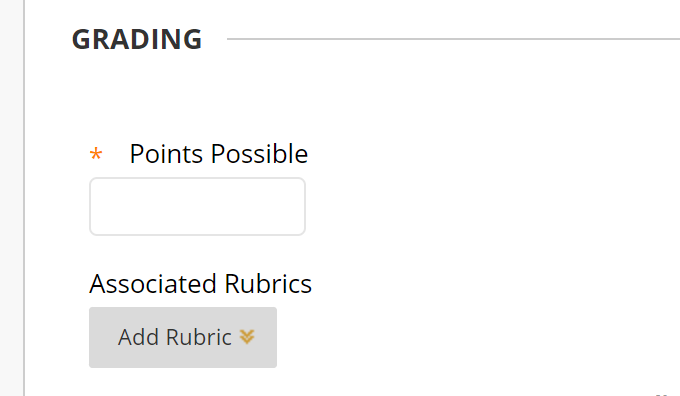
Make sure to put in a point value for this assignment. This is a mandatory field. When scoring the assignment you'll be putting in a number value based on the maximum you enter here.
If you are using a rubric to grade your assignment, you may add it by clicking on the “Add Rubric” button. If you would like to learn how to utilize Rubrics in Blackboard, please check this Work with Rubrics walkthrough.
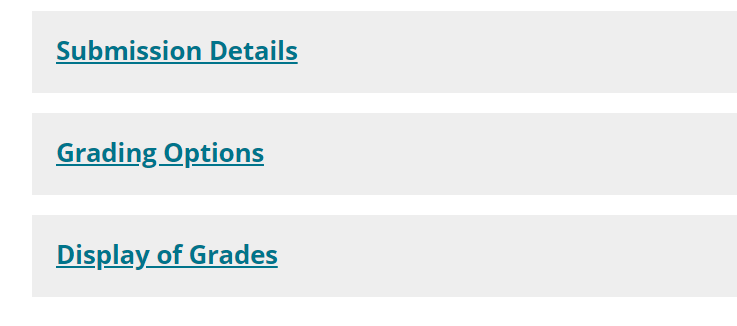
From here, there are additional options in the next 3 categories -- Submission Details, Grading Options, Display of Grades. You can view what’s in each category by clicking the title to expand the options. The default settings are generally appropriate, but you may wish to change some of them depending on your needs. For clarity of coverage, each of these are broken out into separate items in our help pages.
Finally, you may wish to limit when your students have access to the assignment. The Availaiblity section, covered here, provides you with those options.
Click SUBMIT to save your changes.
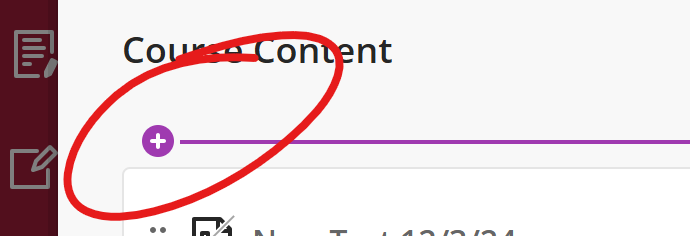
Click the + button at the point in your content area that you want to add your assignment.
Choose Create
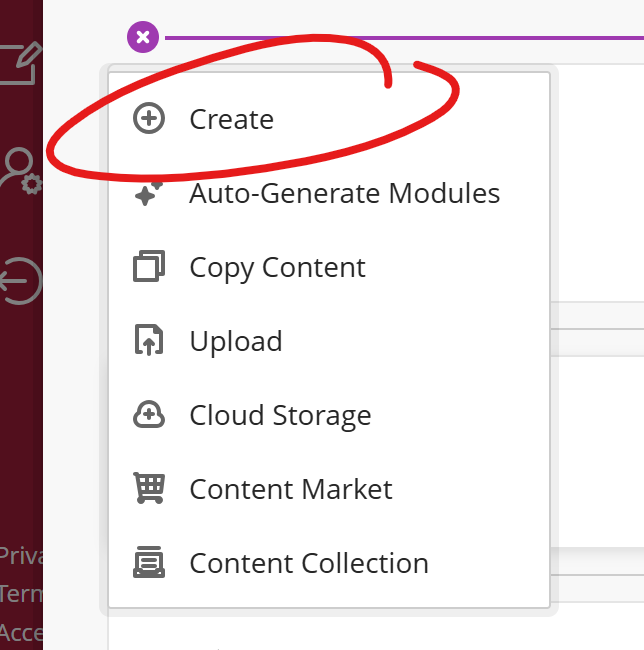
This will open the Create Item sidebar. Choose Assignment, found under the Assessment heading.
Enter the name of your assignment at the top of the window.
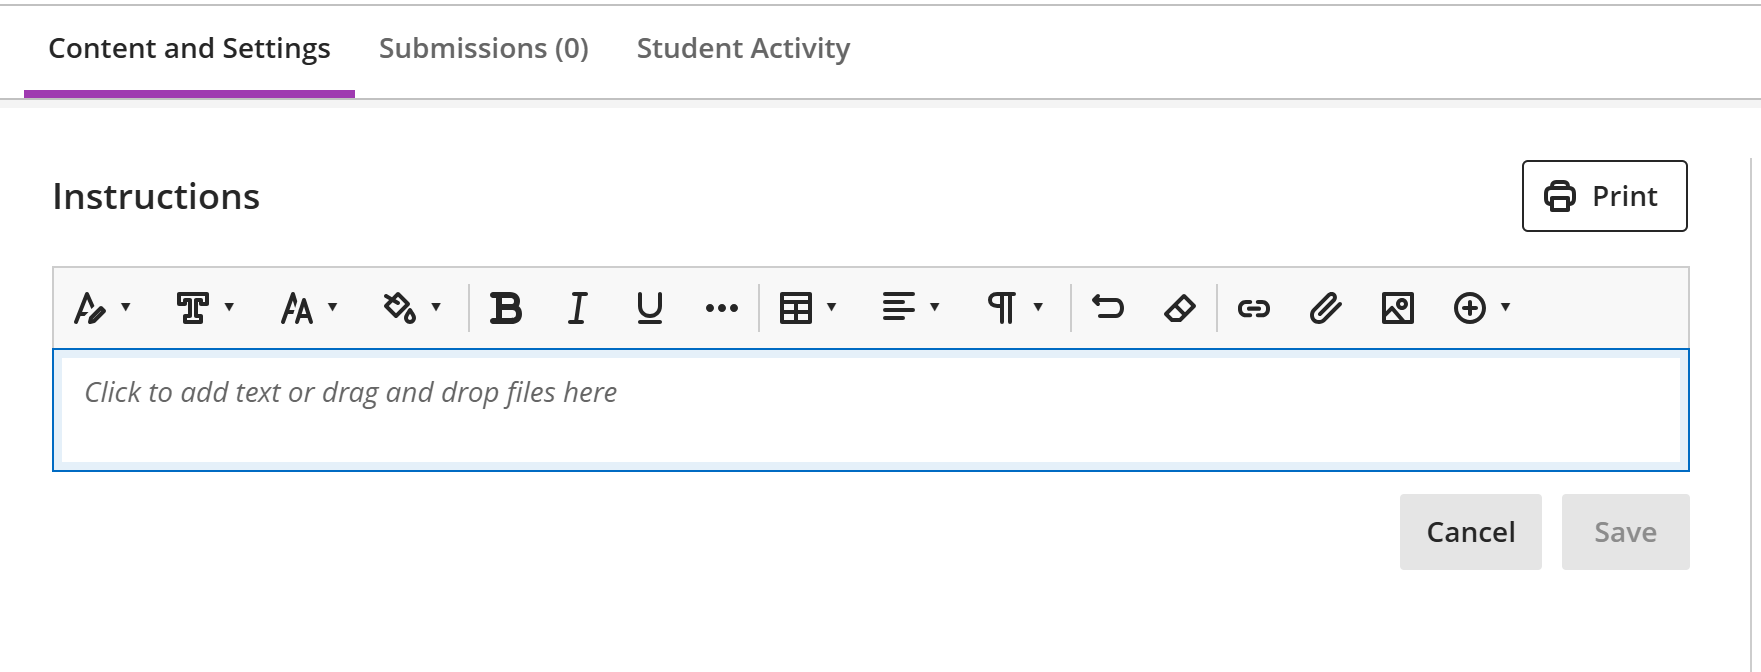
Add your instructions, writing prompt, and/or any files students might require to complete the assignment in the INSTRUCTIONS space (you can include attached files in the text box using the insert local file tool in the text box toolbar).
For information about setting the maximum possible points for an assignment, a due date, limiting attempts, enabling SafeAssign and Lockdown Browser, or using the options mentioned above, see the Assessment Settings page.
When students launch the assessment, there will be a text box at the bottom of the page that students can type into or upload a file to using the insert local file tool in the text box toolbar.