There are two ways to initiate creation of a rubric, though they have the same following steps.
Create a new rubric without an associated gradable item.
In the left-hand black course menu bar, expand Control Panel then Course Tools. Choose Rubrics.
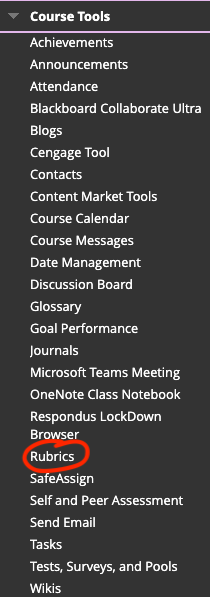
Click the Create Rubric Button

Create a new rubric from within an associated gradable item.
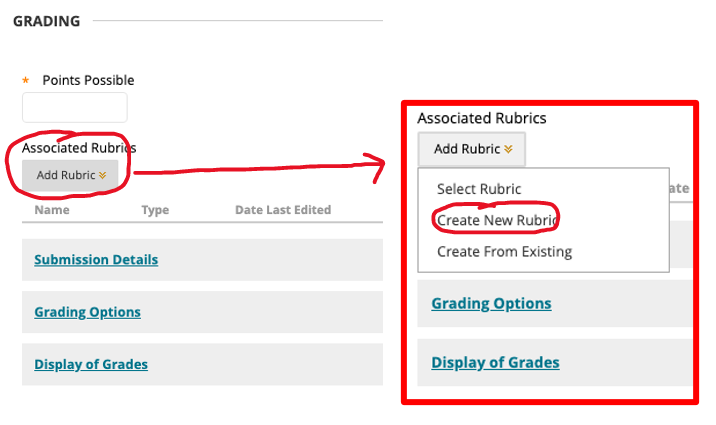
While you create an assignment, subjective test questions, discussion forums, wikis, blogs and journals, and grade center columns you can create a rubric.
Under the Grading heading, there is a gray box which says Add Rubric. Hover over that box and choose Create New Rubric.
The rest of the steps are the same for each method
Name your rubric in a descriptive way so you will be able to find it again in the future. You may also include a description for further identification.
There are default titles for the default three rows (criteria) and three columns (levels of achievement). These are all customizable (see article Edit Rubric Level Headings).
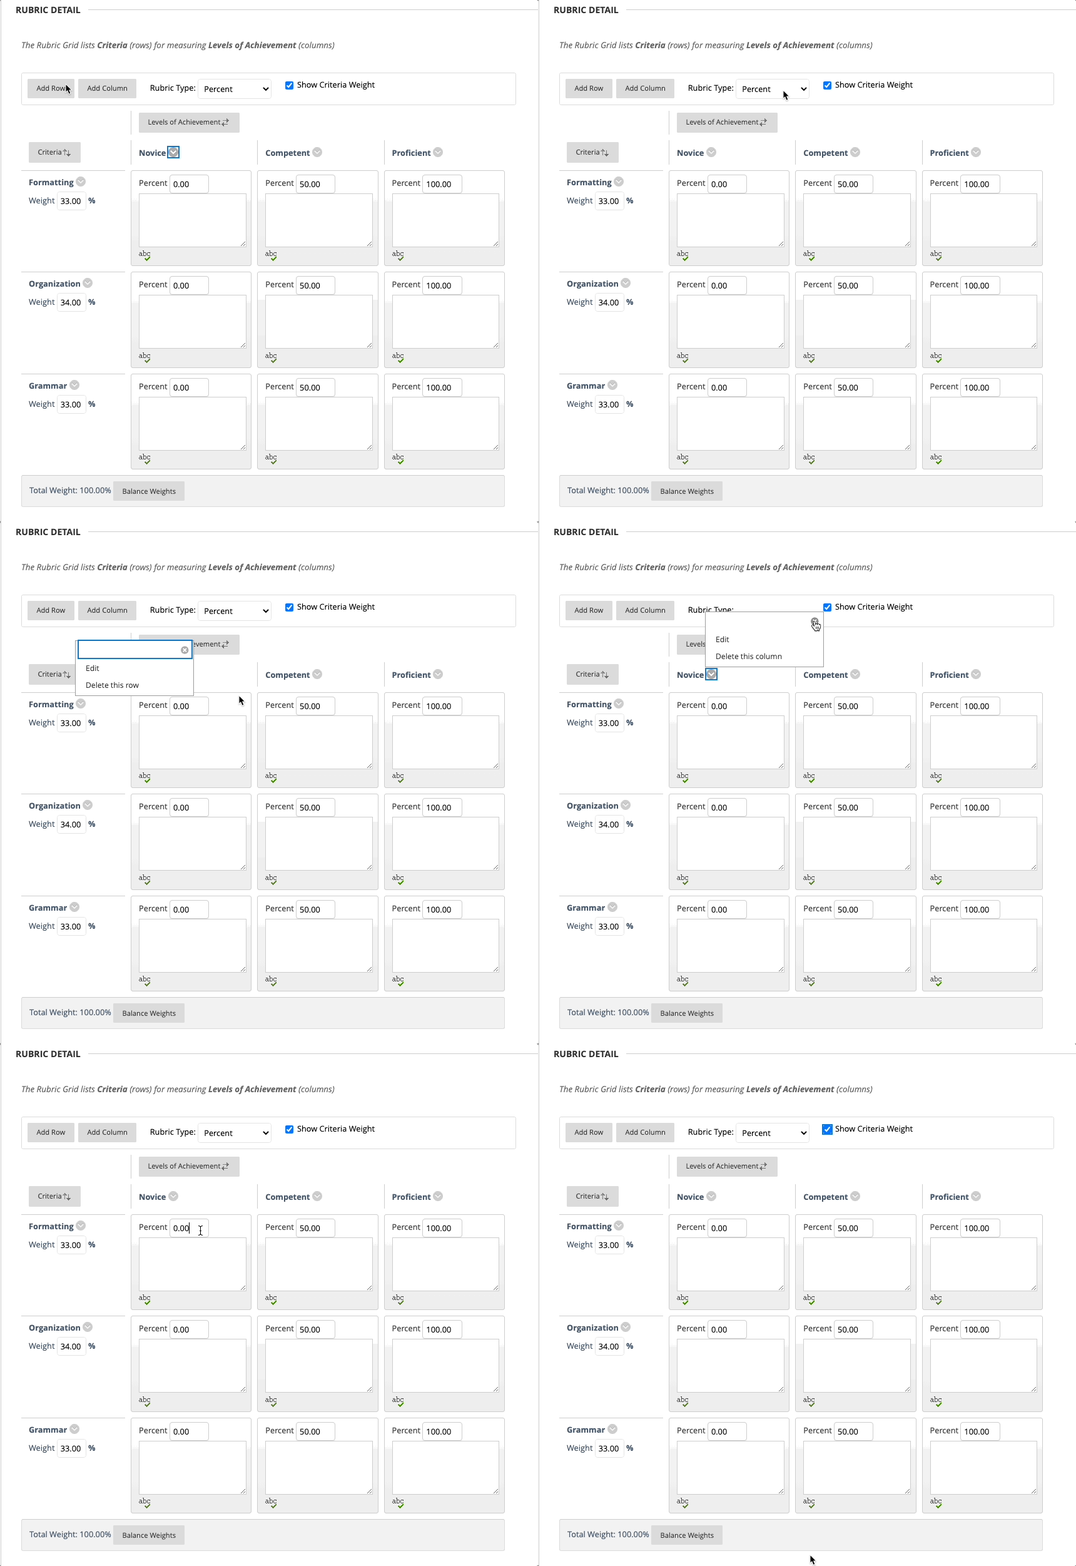
Add rows (Criteria) or columns (Levels of Achievement) as needed.

Turn on or off Criteria Weights.

Enter your criterion descriptions. It is useful to include details here in order to support student understanding and success as well as grading consistency.
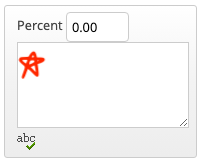
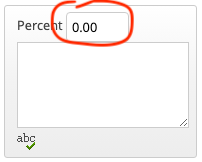
Enter your points or percentages (see article on these Rubric Types).
Be sure to click Submit to save your work.
There are two ways to initiate creation of a rubric, though they have the same following steps.
Create a new rubric without an associated gradable item.
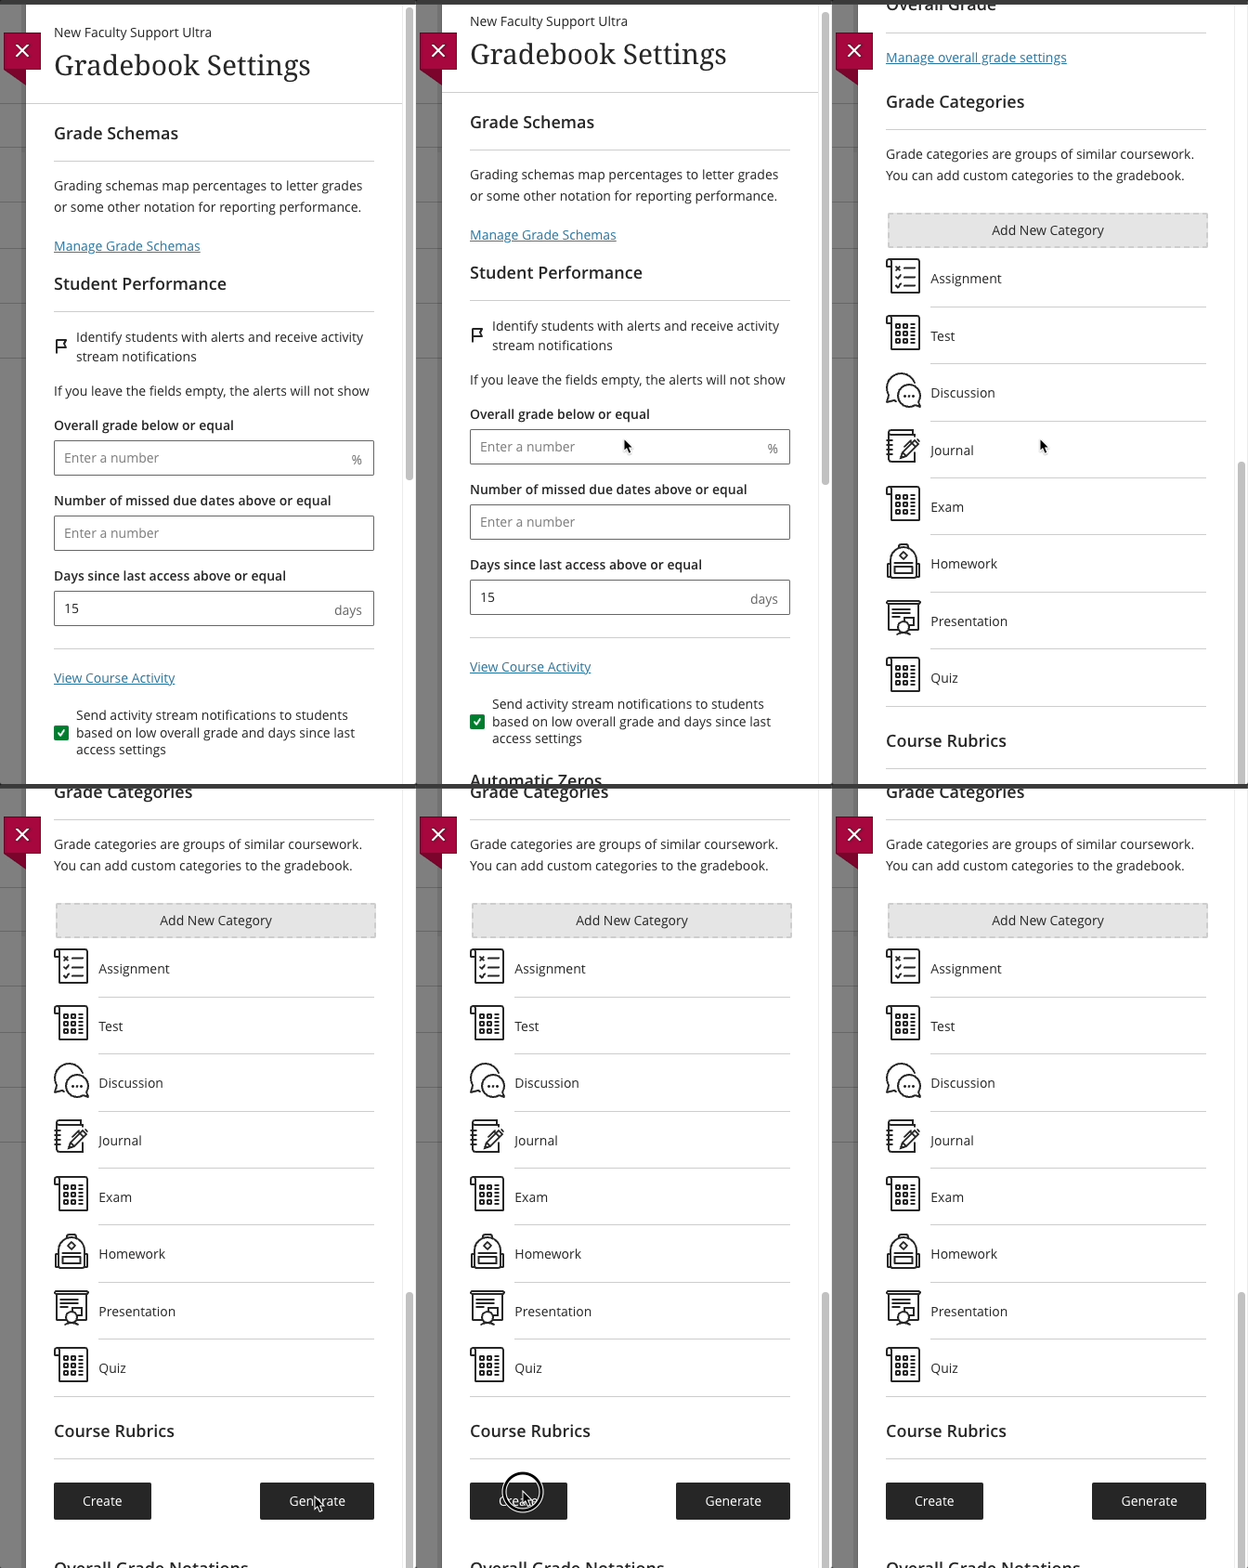
From the Gradebook screen, access the settings by clicking the gear icon in the upper right.
Scroll all the way down and click the either the Create button to create a new rubric from scratch or the Generate button to use Ai to get you started.
Create a new rubric from within an associated gradable item.
While you create an assignment, test with no questions, or discussion, you can create a rubric. Access the settings (Assignment, Test, or Discussion) by clicking the gear icon in the upper right.

Scroll almost all the way down to Additional Tools. Click Add grading rubric.
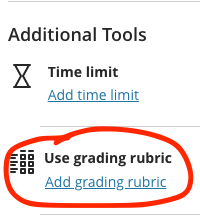
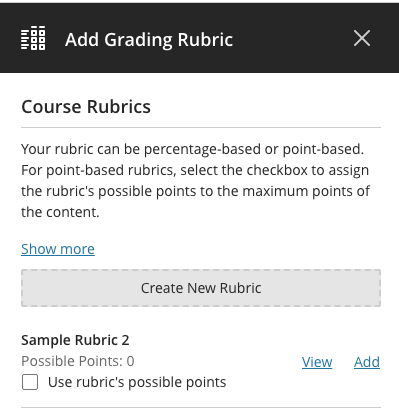
Here you will be given the option to Create New Rubric (gray button) or Add a previously created rubric (see our other article on Associating Rubrics).
The rest of the steps are the same for each method
- Name your rubric in a descriptive way so you will be able to find it again in the future.
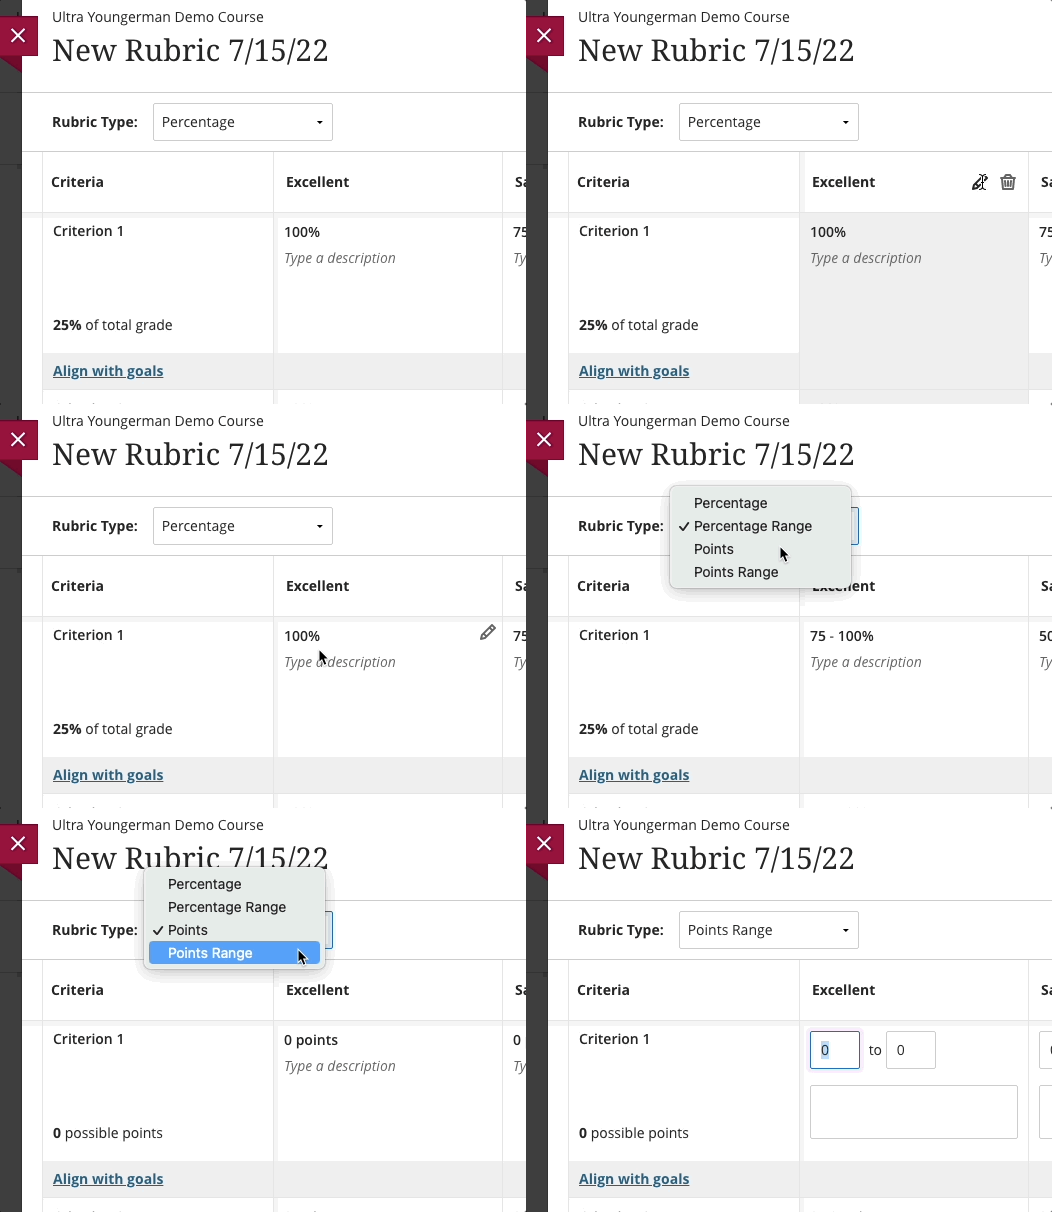
- Choose your rubric type from the drop down menu at the top (see the other article on Rubric Types).
- There are default titles for the default four rows (criteria) and four columns (levels of achievement). These are all customizable by clicking the pencil icon next to the title (see below).
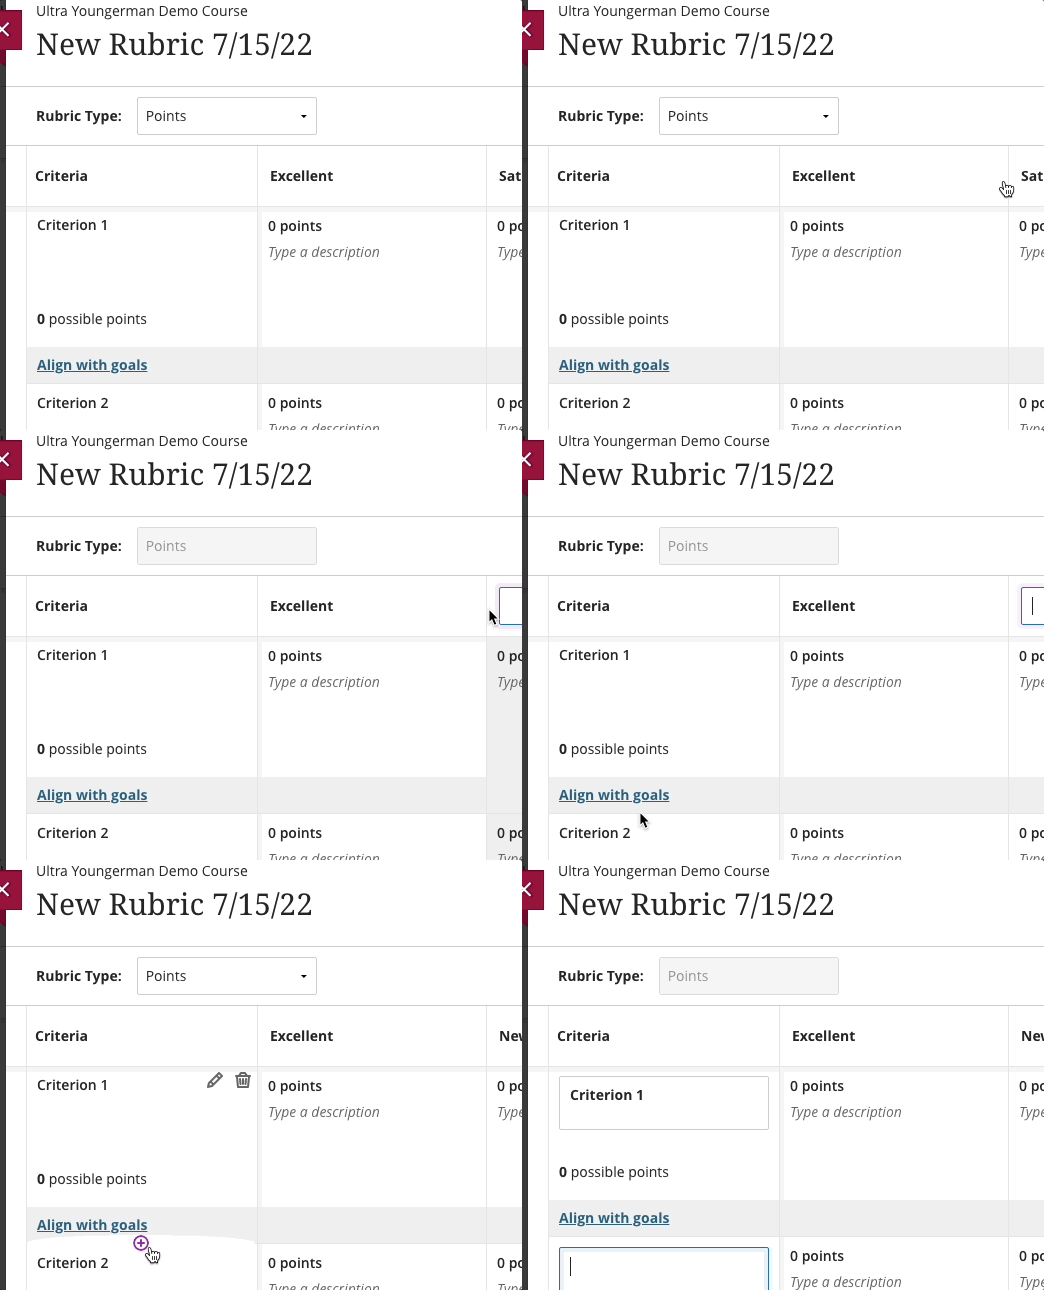
- Add rows or columns as needed by hovering over the lines between rows or columns.
- Enter your criterion descriptions. It is useful to include details here in order to support student understanding and success as well as grading consistency.
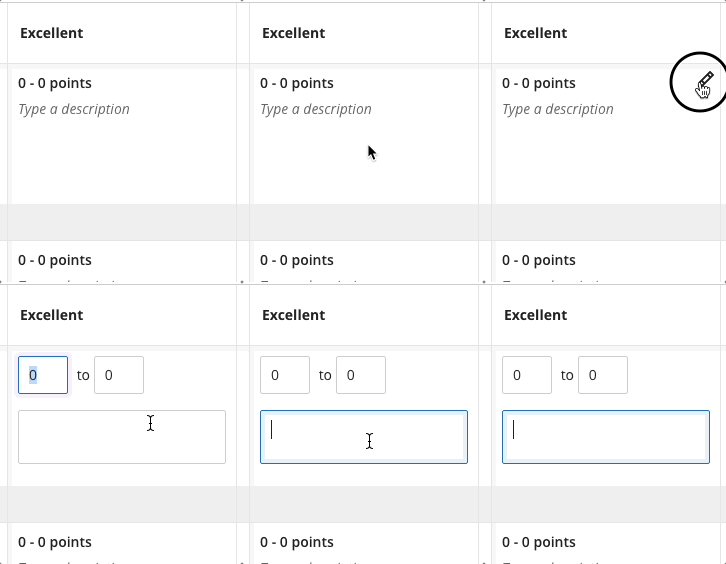
- Enter your points or percentages (see article on these Rubric Types).
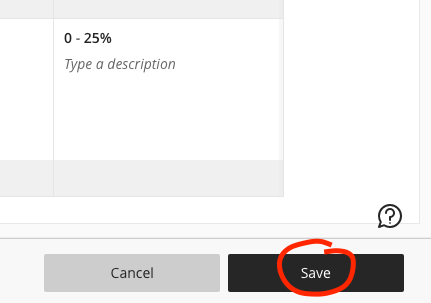
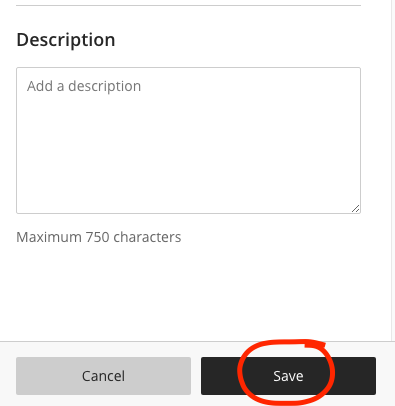
Be sure to click Save to save your work on the Rubric and then Save again to save your (assignment, test, or discussion) settings.
