Add a Flip Account
FYI: Flip was formerly known as Flipgrid.
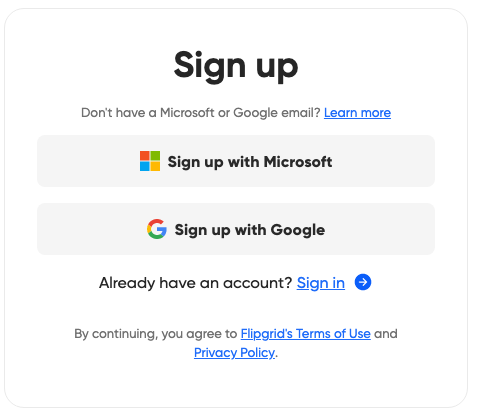
Flip is available both through a web browser (Chrome, Firefox, etc) and an app (iOS Appstore and Google Play Store). We suggest signing-up using Microsoft and your University log-in information.
Faculty: once you have an account, you can create a group (class) and then share with students.
Students: once you have an account, you can join a group (class) based on the code given to you by your instructor.
Join a Group in Flip
FYI: Flip was formerly known as Flipgrid.
Users can join a group (class) in two different ways, depending on the method provided by the creator (instructor).
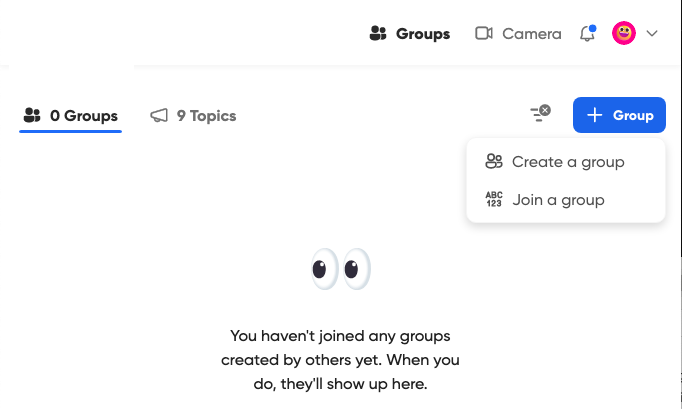
Start by accessing Flip (you should have already created an account). From the groups page, click the + Group button and Join a group.
A pop-up window will appear giving you two options: enter a code or scan a QR code.
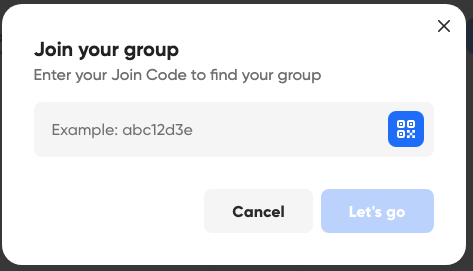
- Join your group based on the code your instructor gave you. (The code will be different for every group.)
- Click the QR code button and scan the QR image your instructor provided. (The QR code will be different for every group.)
At this point, your “lead,” aka instructor, may need to approve your join request.
If at any time you need some more help, try this link for Flip’s Getting Started page.