The ITEM tool lets you add a block of text, media (images, video, audio), and / or attached files to your course site.
If you only want to add a single file — any kind of file, Powerpoint file, PDF file, Word file — with no accompanying text, the easiest method is to use the
Add File to Content tool.
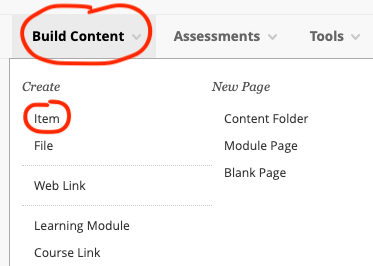
To get started, go to the Content Area in your course where you would like to add the content, then point to Build Content and choose Item under the Create heading.
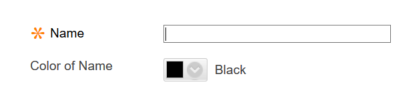
Enter a name for the item you’re adding. If you’d like to change the color of the item link, click the (default black) color tile, and select a new color. Be sure to consider legibility and accessibility and avoid colors like yellow or pastels.
Enter your text in the large text box. If you’re attaching files to this item, use this space to describe what you’re posting and what you want students to do with the material.
To add video to the item, see our Embed a Video in a Textbox walkthrough.
Be sure to Submit to save your changes.
The DOCUMENT tool lets you add a page that contains one or more blocks of text, media (images, video, audio), and / or attached files to your course site.
If you only want to add a single file — any kind of file, Powerpoint file, PDF file, Word file — with no accompanying text, the easiest method is to use the
Add File to Content tool.
To get started, go to the main Content Area of your course, click the Add button (+), choose CREATE, then from the CREATE ITEM panel that opens on the right side, choose Document.

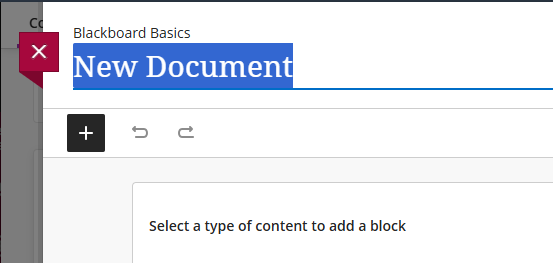
Give your Document a name at the top left.
In the top-right, you can choose whether you want the material to be hidden from students (the default), immediately available, or available to certain students under certain conditions (see our section on Content Availability Options for more detail). This option is also available from the main course content list.

On a document page, you can create multiple blocks of content.

- Content gives you a text box which you can use to add a wide variety of media types to the course. Through Content you can add text, web links, images, attached files, embedded video from your YuJa Media Library or from another source like YouTube, and even "content market" links, like activities hosted on your digital textbook's web site. See our Text Box Tools articles for more information.
- Knowledge Check lets you add a single multiple-choice or true-false question to your page, useful for doing a quick attention / comprehension check-in between blocks of content without all the overhead of a full Blackboard Test.
- File Upload lets you add one or more files stored on your computer. This will open your local storage (Windows Explorer or Mac Finder) and let you can choose your file/s. When adding a file this way you cannot add a description, so be sure to use a "Content" block before or after your files to include information about what the attached files are, why they are of interest, and how your students should use them. When attaching files, Blackboard will give you the option of letting your students view only, download only, or view and download the attached file.
- Cloud Storage lets you copy a file into Blackboard from a cloud storage location like your Detroit Mercy OneDrive account or a personal Google Drive account. Follow these directions to first connect to your Cloud Storage.
- Content Collection lets you add a file from Blackboard storage.
- Image lets you add an image to the document page. This uses the same process as adding an image via the Image button on the textbox toolbar (which you'll find on a Content block), but this button serves as a dedicated shortcut.
- Convert a File is only available when a page is first created, or by clicking the "+" button that appears in the page (as opposed to the big black + button at the top). Convert lets you select a file saved to your computer (Word, PowerPoint, PDF, etc), which Blackboard will then attempt to convert into a Content item. In testing, the CETL found text and basic formatting is kept -- bold, italic, underline, images, hyperlinks, tables -- but some of the more complicated formatting or formatting that may impact document accessibility -- colors, fonts, image placement, for example -- is lost. This is probably most useful for making content more useful to your students who are on a mobile device, where uploaded files are significantly more difficult to view and navigate.
To add another block
Click the black + button in the upper left to open a side menu, or click the plus buttons that appear between each content block on the page, then select the type of content you wish to add.
To edit, move, or delete an existing block
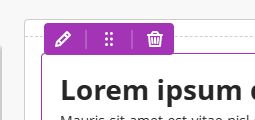
Mouse over the block. A purple menu will appear above the block's top-left corner with an edit button, a move handle (for changing the order of blocks on the page), and a trash icon for deletion.
Be sure to click SAVE in the upper right of the page to save your changes before closing the document.
