Note: CETL strongly recommends using YuJa instead of Stream.
Please take a moment to read
About the Media Library [YuJa], a page introducing the current video sharing solution at Detroit Mercy. YuJa supports view statistics, Blackboard gradebook integration, better user management, and is fully supported/managed by CETL.
If you run into trouble sharing videos through Stream/Teams, CETL does not have access to the videos or your share settings and cannot help troubleshoot problems.
In October, 2023, Microsoft retired the classic Stream interface, removing the ability to create user groups for restricting access to videos. This page explains how to use Teams to restrict access to a video in the new Stream for SharePoint.
Teams
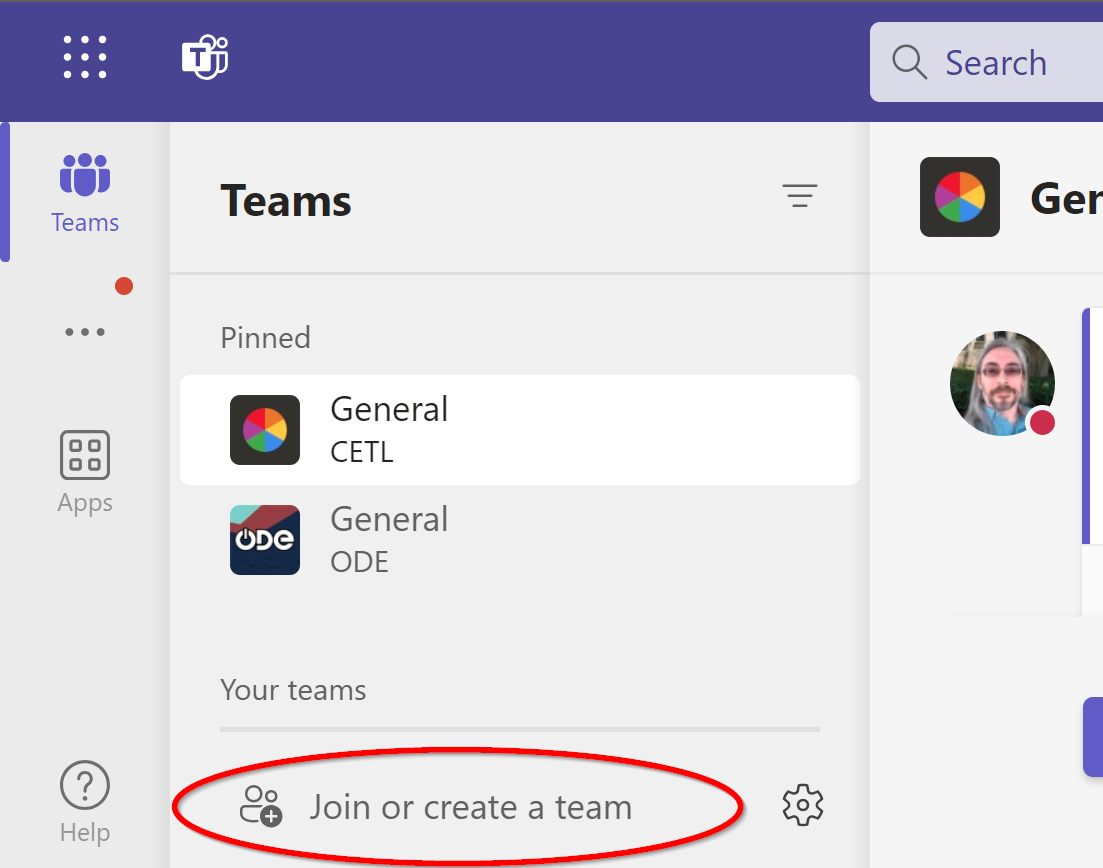
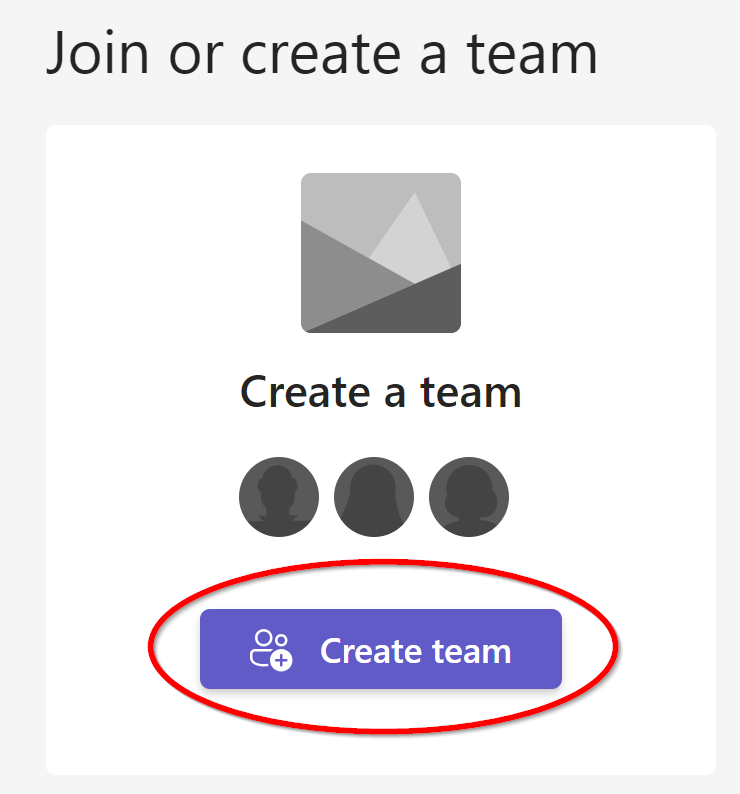
1. To start, open either the Teams desktop app or the Teams web app then click "Join or create a team" then "Create team" button the next screen.
2. Next, choose a type of team to create. Use Class for academic groups or Other for non-academic groups.
3. Give your Team a name and optional description. Make sure to include the section, term, and year in your Team name so it won't get confused with other sections of the same course. To make this easy you can just use the full Blackboard course ID, which will always be unique.
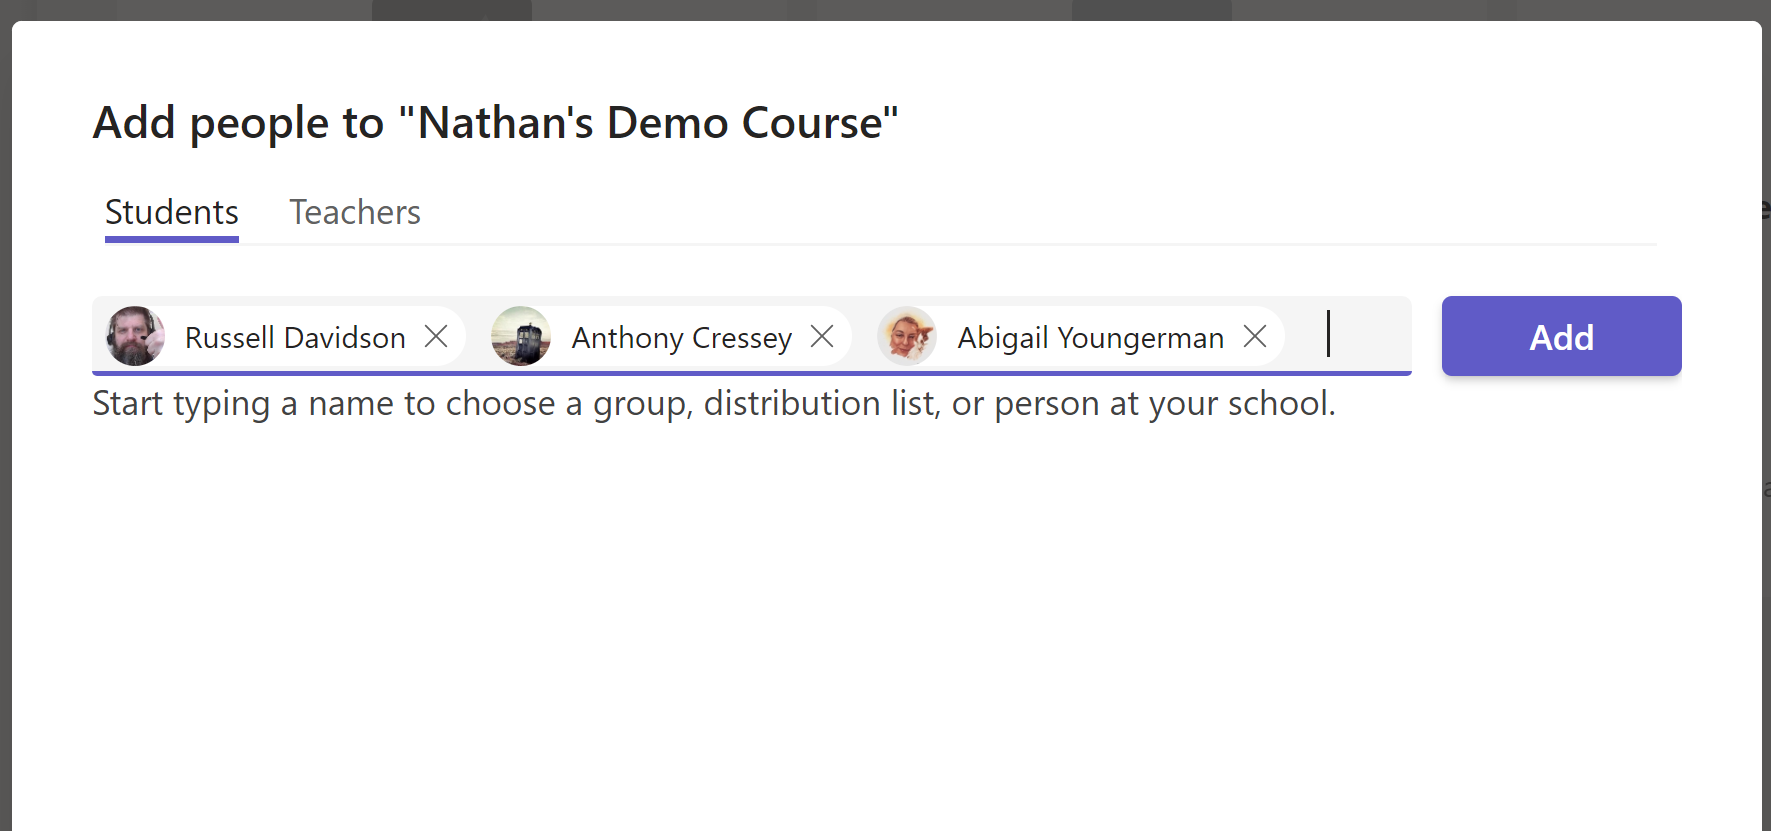
4. When you see the "Add people to ____" screen, start searching for the users you want to allow access to the video(s). You can add them one at a time or search for multiple names then click add. When you're done adding names, click the Close button.
Your Team is now ready to use. Teams can be used for online meetings, file sharing, OneNote notebook, and more, but today we're just using the Team to control access to a SharePoint video.
Stream for SharePoint
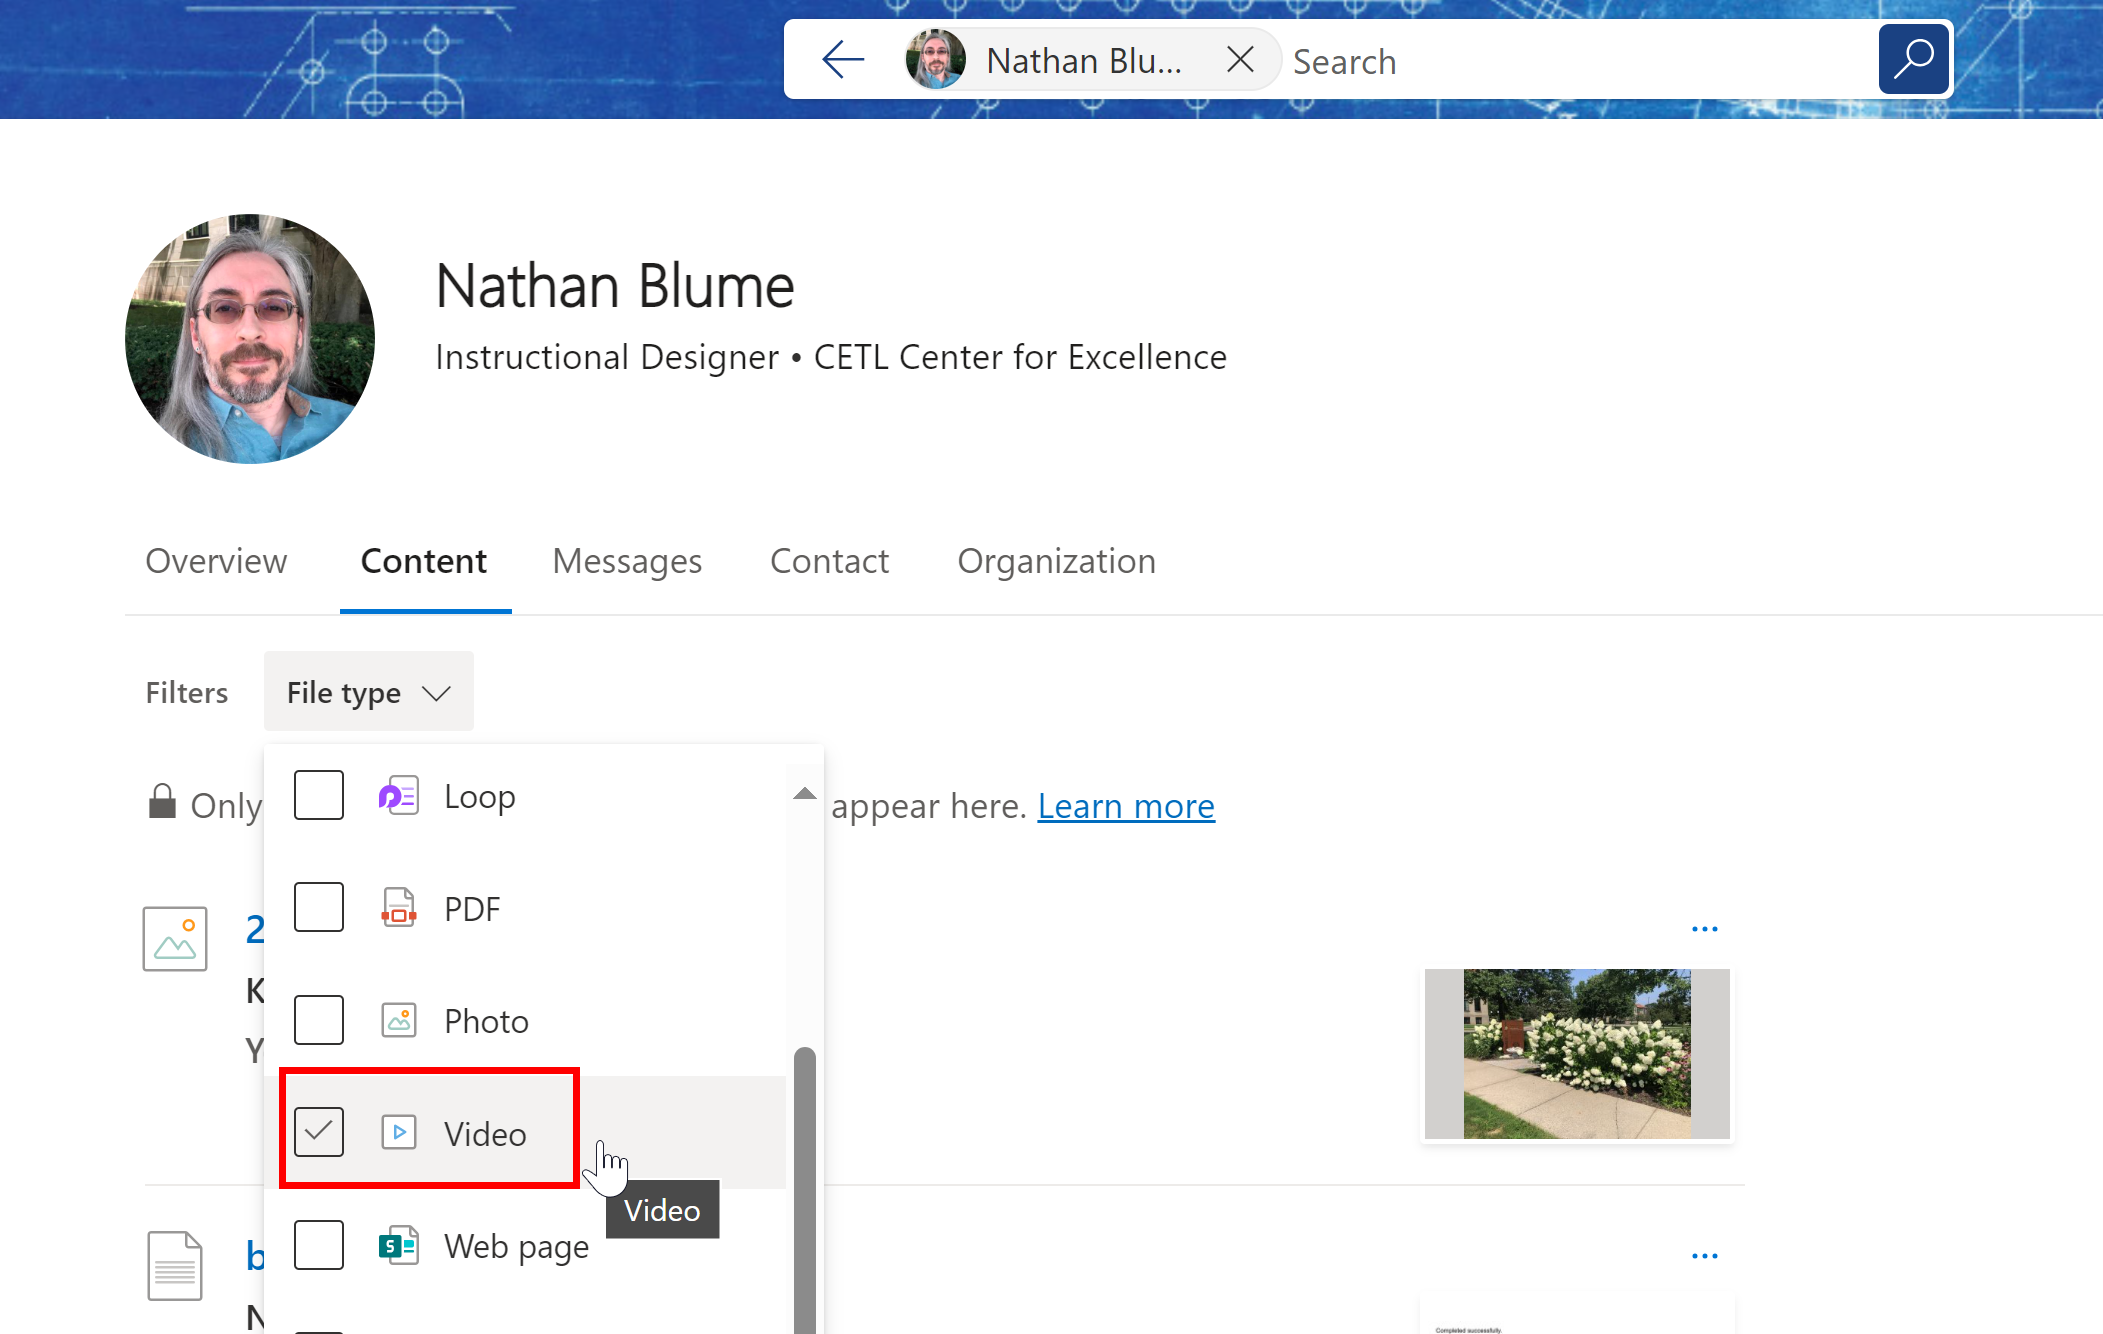
To find all your Stream (Classic) videos, go to the SharePoint website and search for your name. Click your name then switch to the Content tab. Click the "File type" dropdown and select Video. The search results should contain all the videos you previously added to Stream and/or OneDrive.
1. Find the video you want to share with your Team and click the three dots menu button and choose Share.
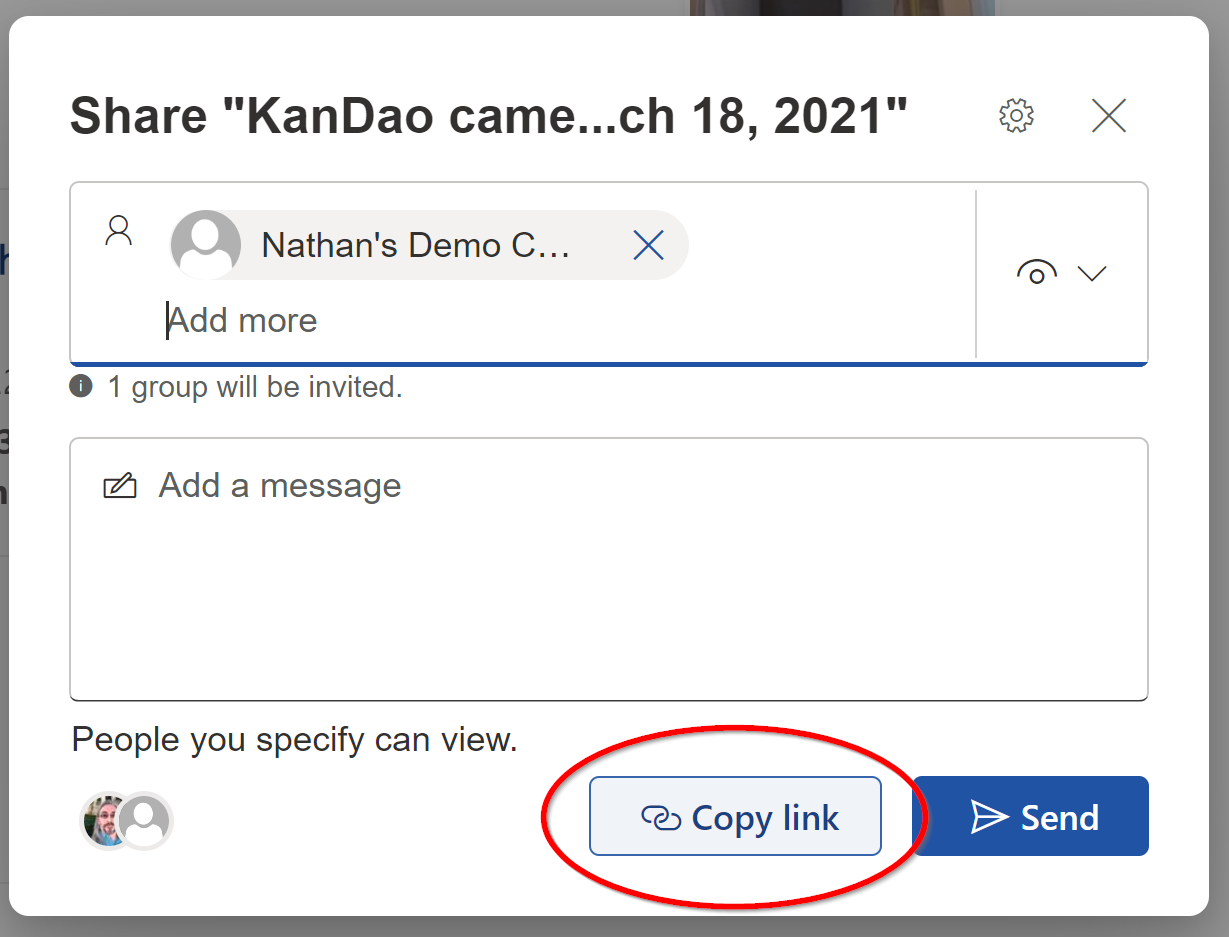
2. In the popup box, use the search bar to find your Team. It will be listed with "Members" after the name of the team. Click the name of your team but DO NOT click Send or Copy link yet.
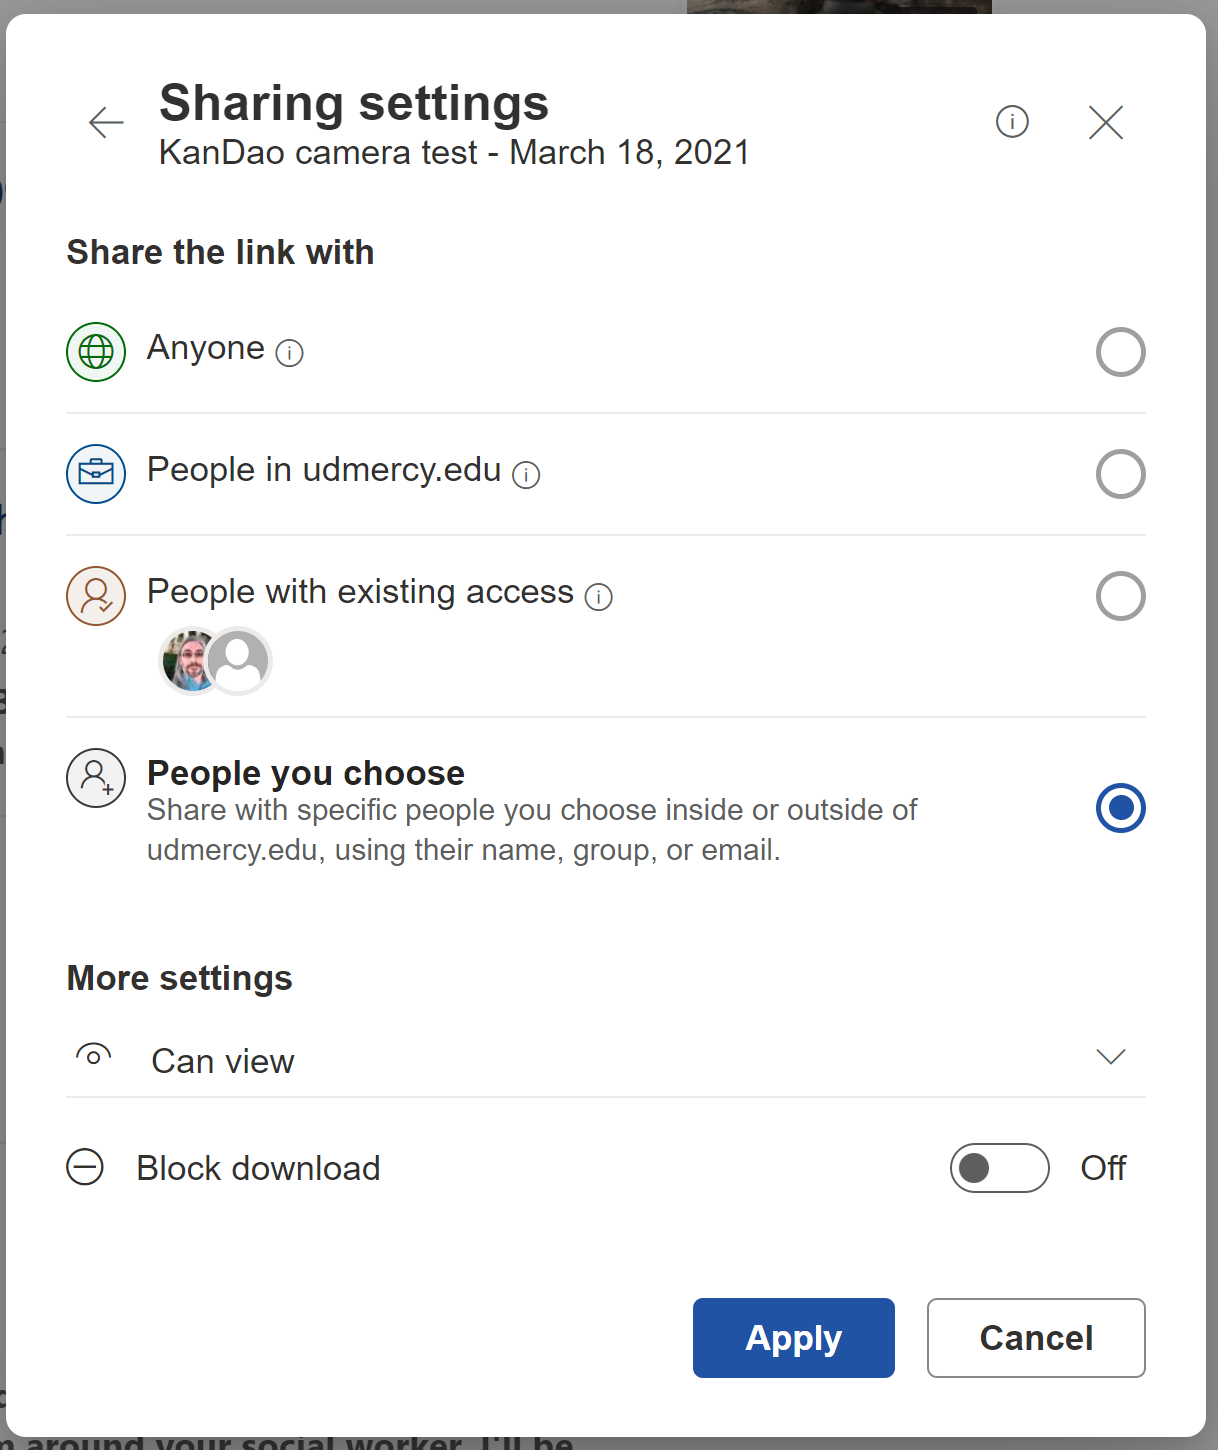
3. Click the Settings gear icon in the upper right corner of the popup box to open the advanced sharing options. Switch "Share the link with" to "People you choose" and "More settings" from "Can edit" to "Can view". You can also disable video downloads, if desired. Click Apply when the settings are correct.
4. Click "Copy link" to get a URL that's ready to share on Blackboard by following the steps at Add a Web Link to Content.
Remember: Only accounts included in your Teams group will have access to this video. If you need to share the video with more people later, or you want to adjust the sharing settings, return to SharePoint and click Share under the three-dots menu again. From the Share popup, click the profile icons in the lower-left corner to adjust settings for the existing Team(s) or provide access to a new Team by following the previous steps 2 and 3.