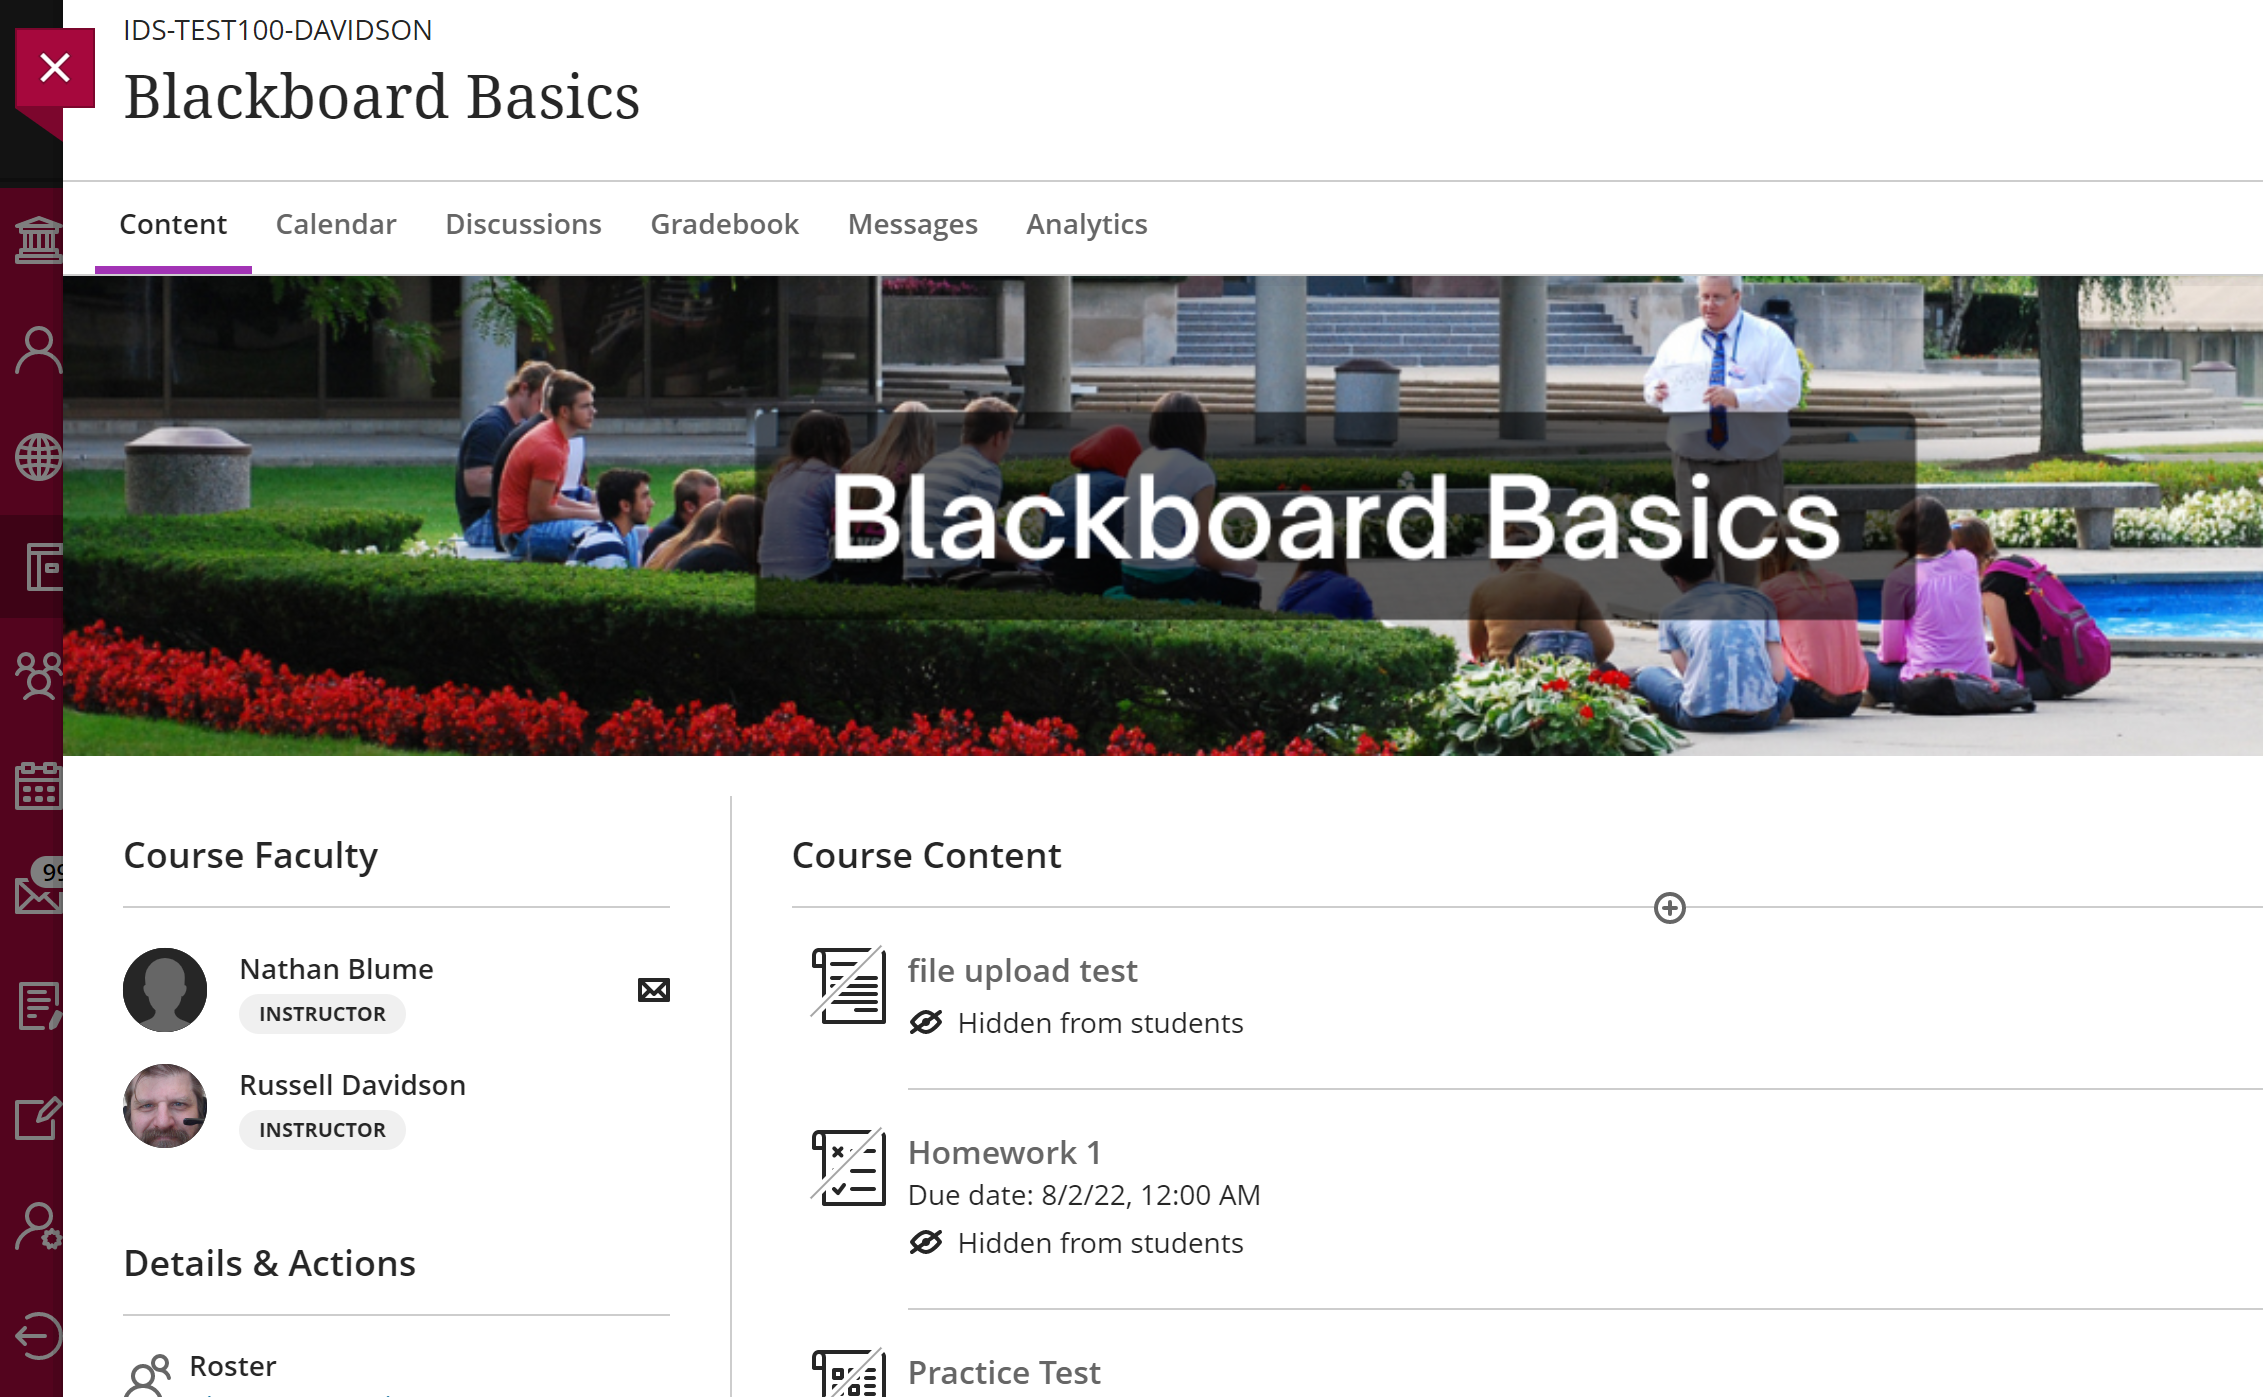
Course banners appear at the top of the course home page, as well as above the course card in the tile view of Blackboard's Courses page.
Course banners should be 1200 x 240 pixels.
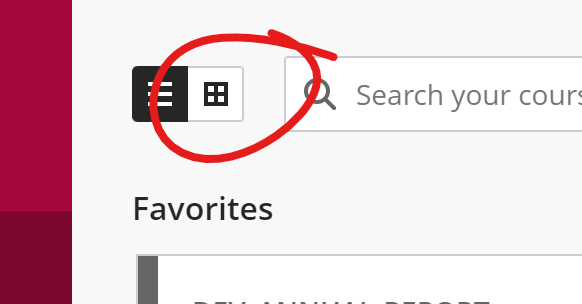
The easiest way to add a banner to your course is to switch your courses page to tile view (if you are not already using tile view) by clicking the grid icon in the upper left of your Courses page.
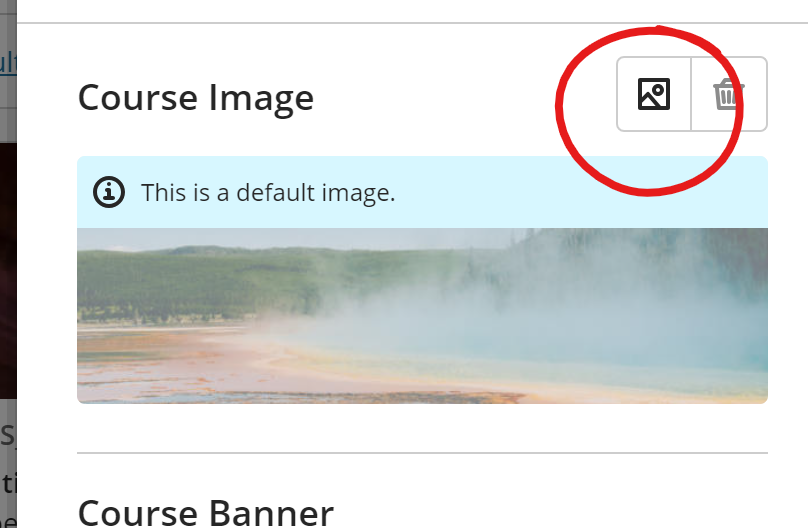
If you have not set a banner image for the course, Blackboard defaults to a nature scene for the course banner.
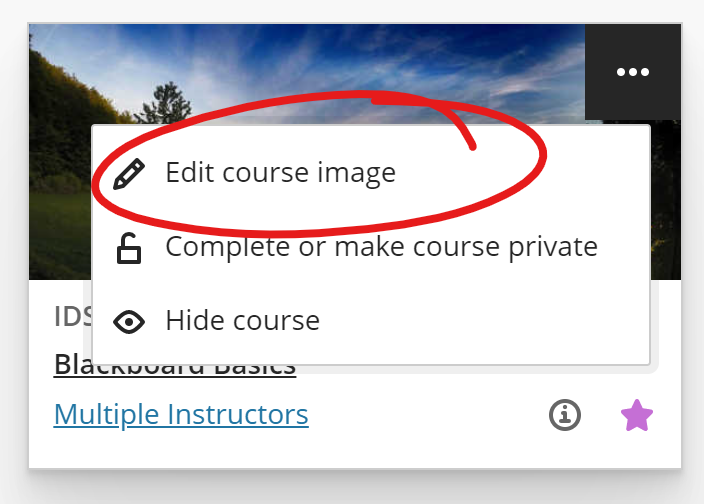
Click the More Options button in the upper right corner of the course tile you want to add a banner to (the button appears when you mouse over the tile). Then choose Edit Course Image.
This will open a DISPLAY SETTINGS panel on the right.
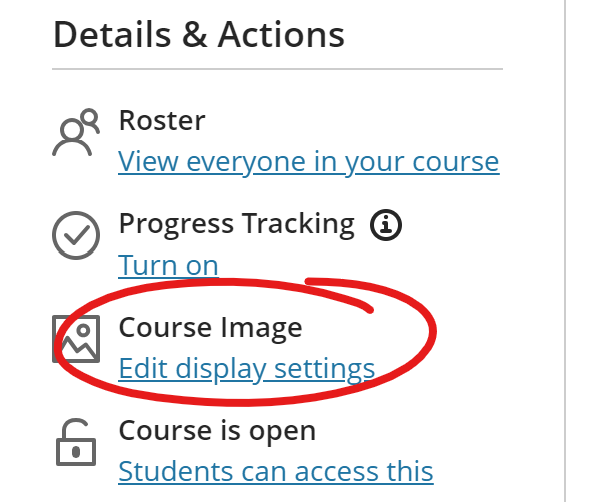
If you're teaching an ultra-style course, you can also access this DISPLAY SETTINGS panel by opening the course and choose EDIT DISPLAY SETTINGS under the Course Image heading in Details & Actions.
To add your own image, click the IMAGE button in the upper right, across from the "Course Image" label.
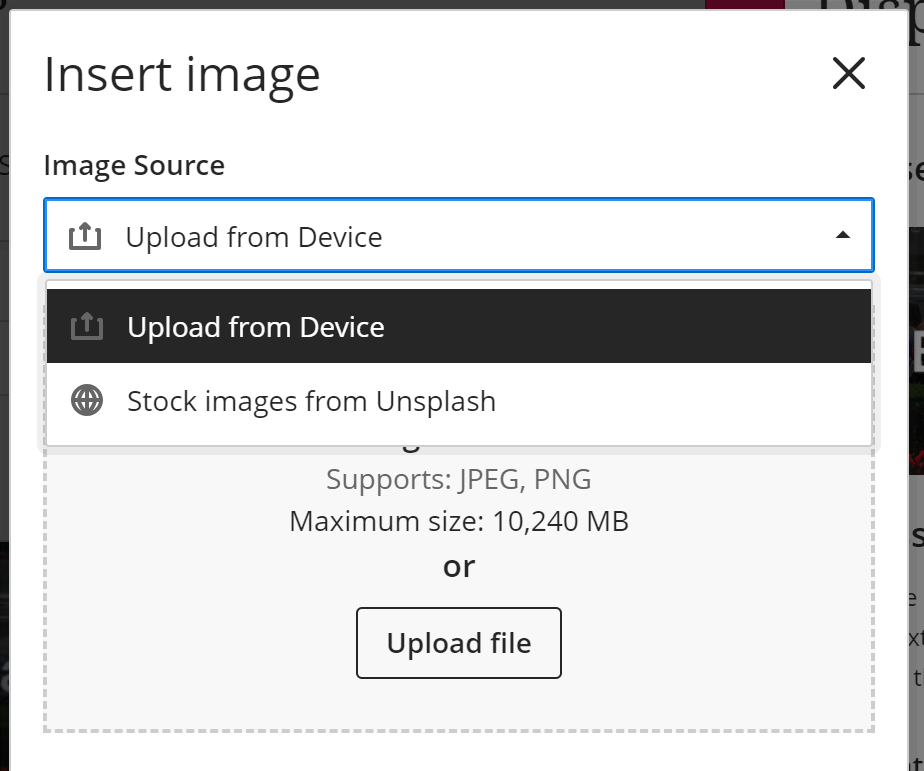
This will open an INSERT IMAGE overlay. From here, you can upload an image from your computer (1200 x 240 pixels are the recommended dimensions).
If you are using an Ultra Style course, you will also have the Image Source option "STOCK IMAGES FROM UNSPLASH," which lets you choose from a library of stock photos.
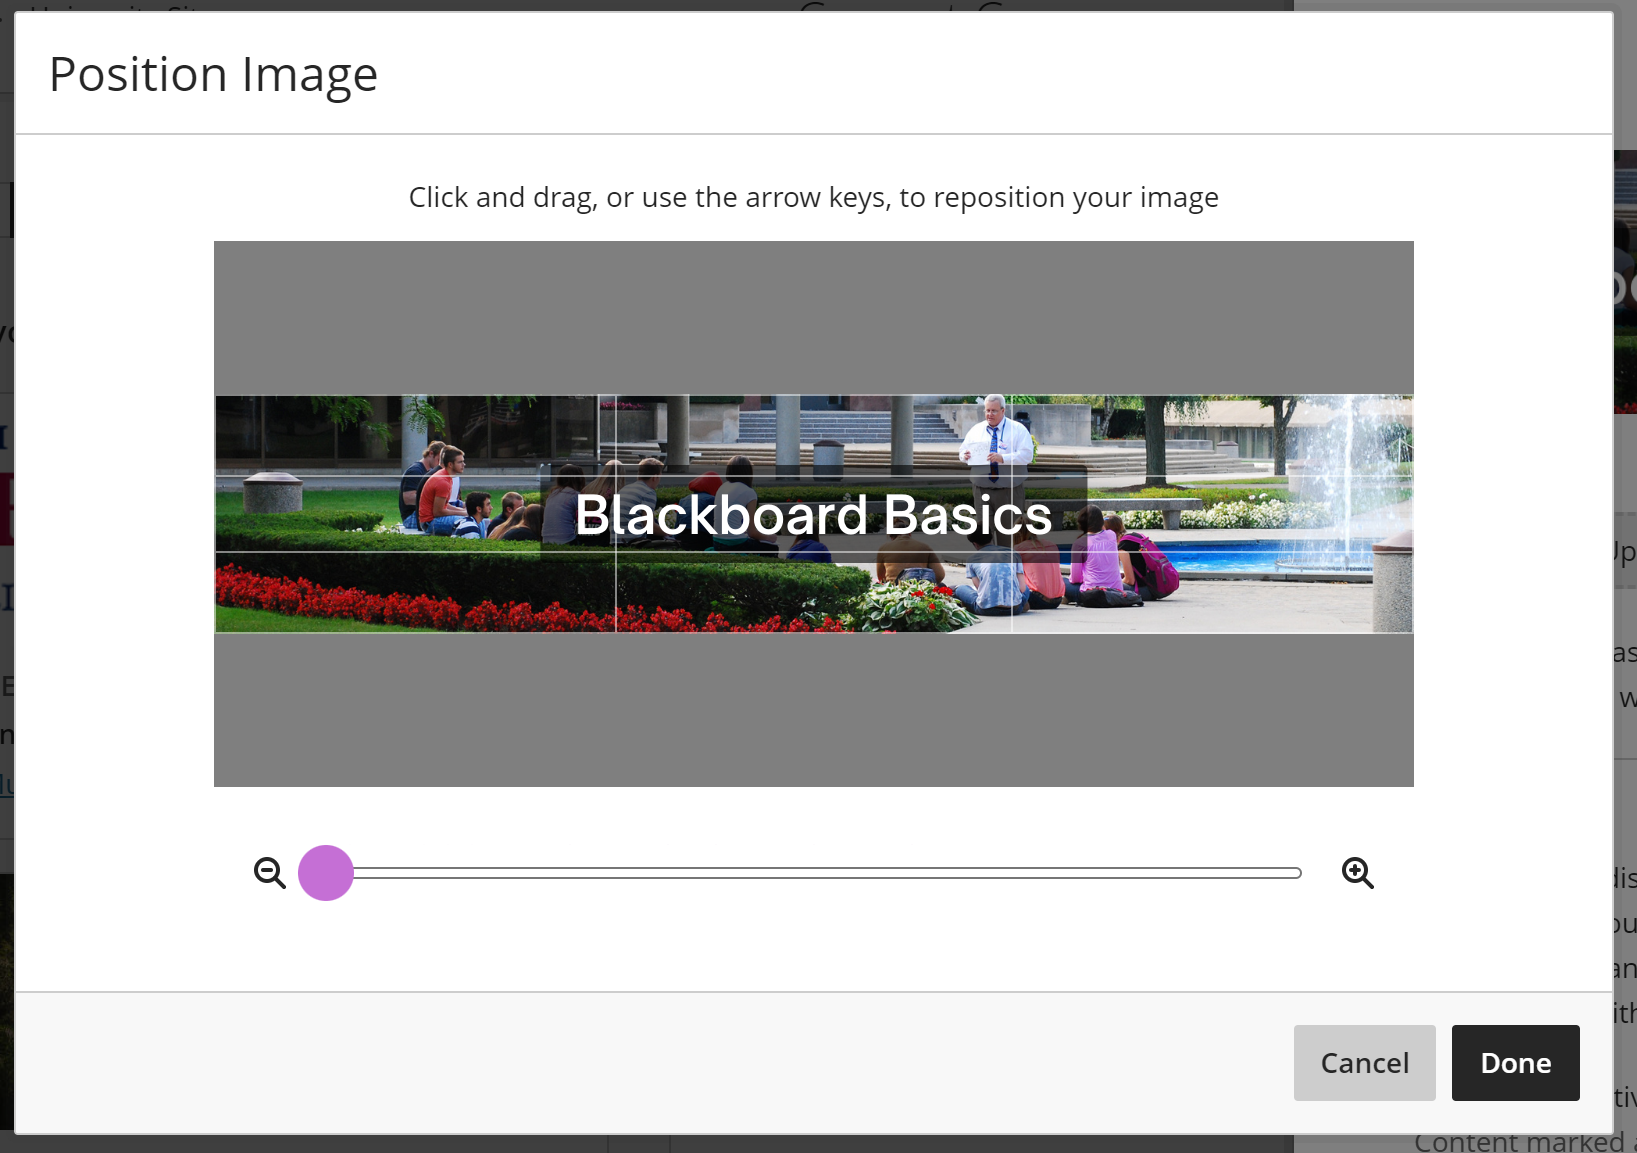
Next you will be prompted to adjust the magnification and position of your image. If your banner image is the recommended 1200 x 240 pixels, no adjustment should be necessary. Click Done.
To use this image as a banner in your course, toggle the gray X on the Course Image line above your image preview so it becomes a green check. This will put the image at the top of your course when students open the course site itself.
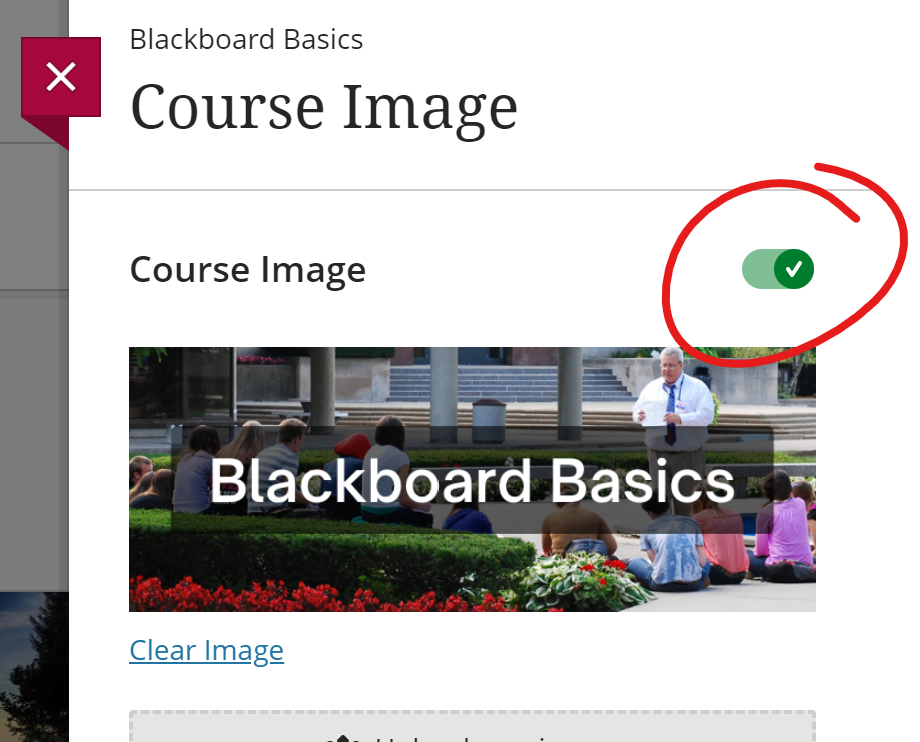
Click SAVE at the bottom of the panel to save your change.
In an ultra-style course, the banner will appear on the Course Content page, below the menu and above the content.
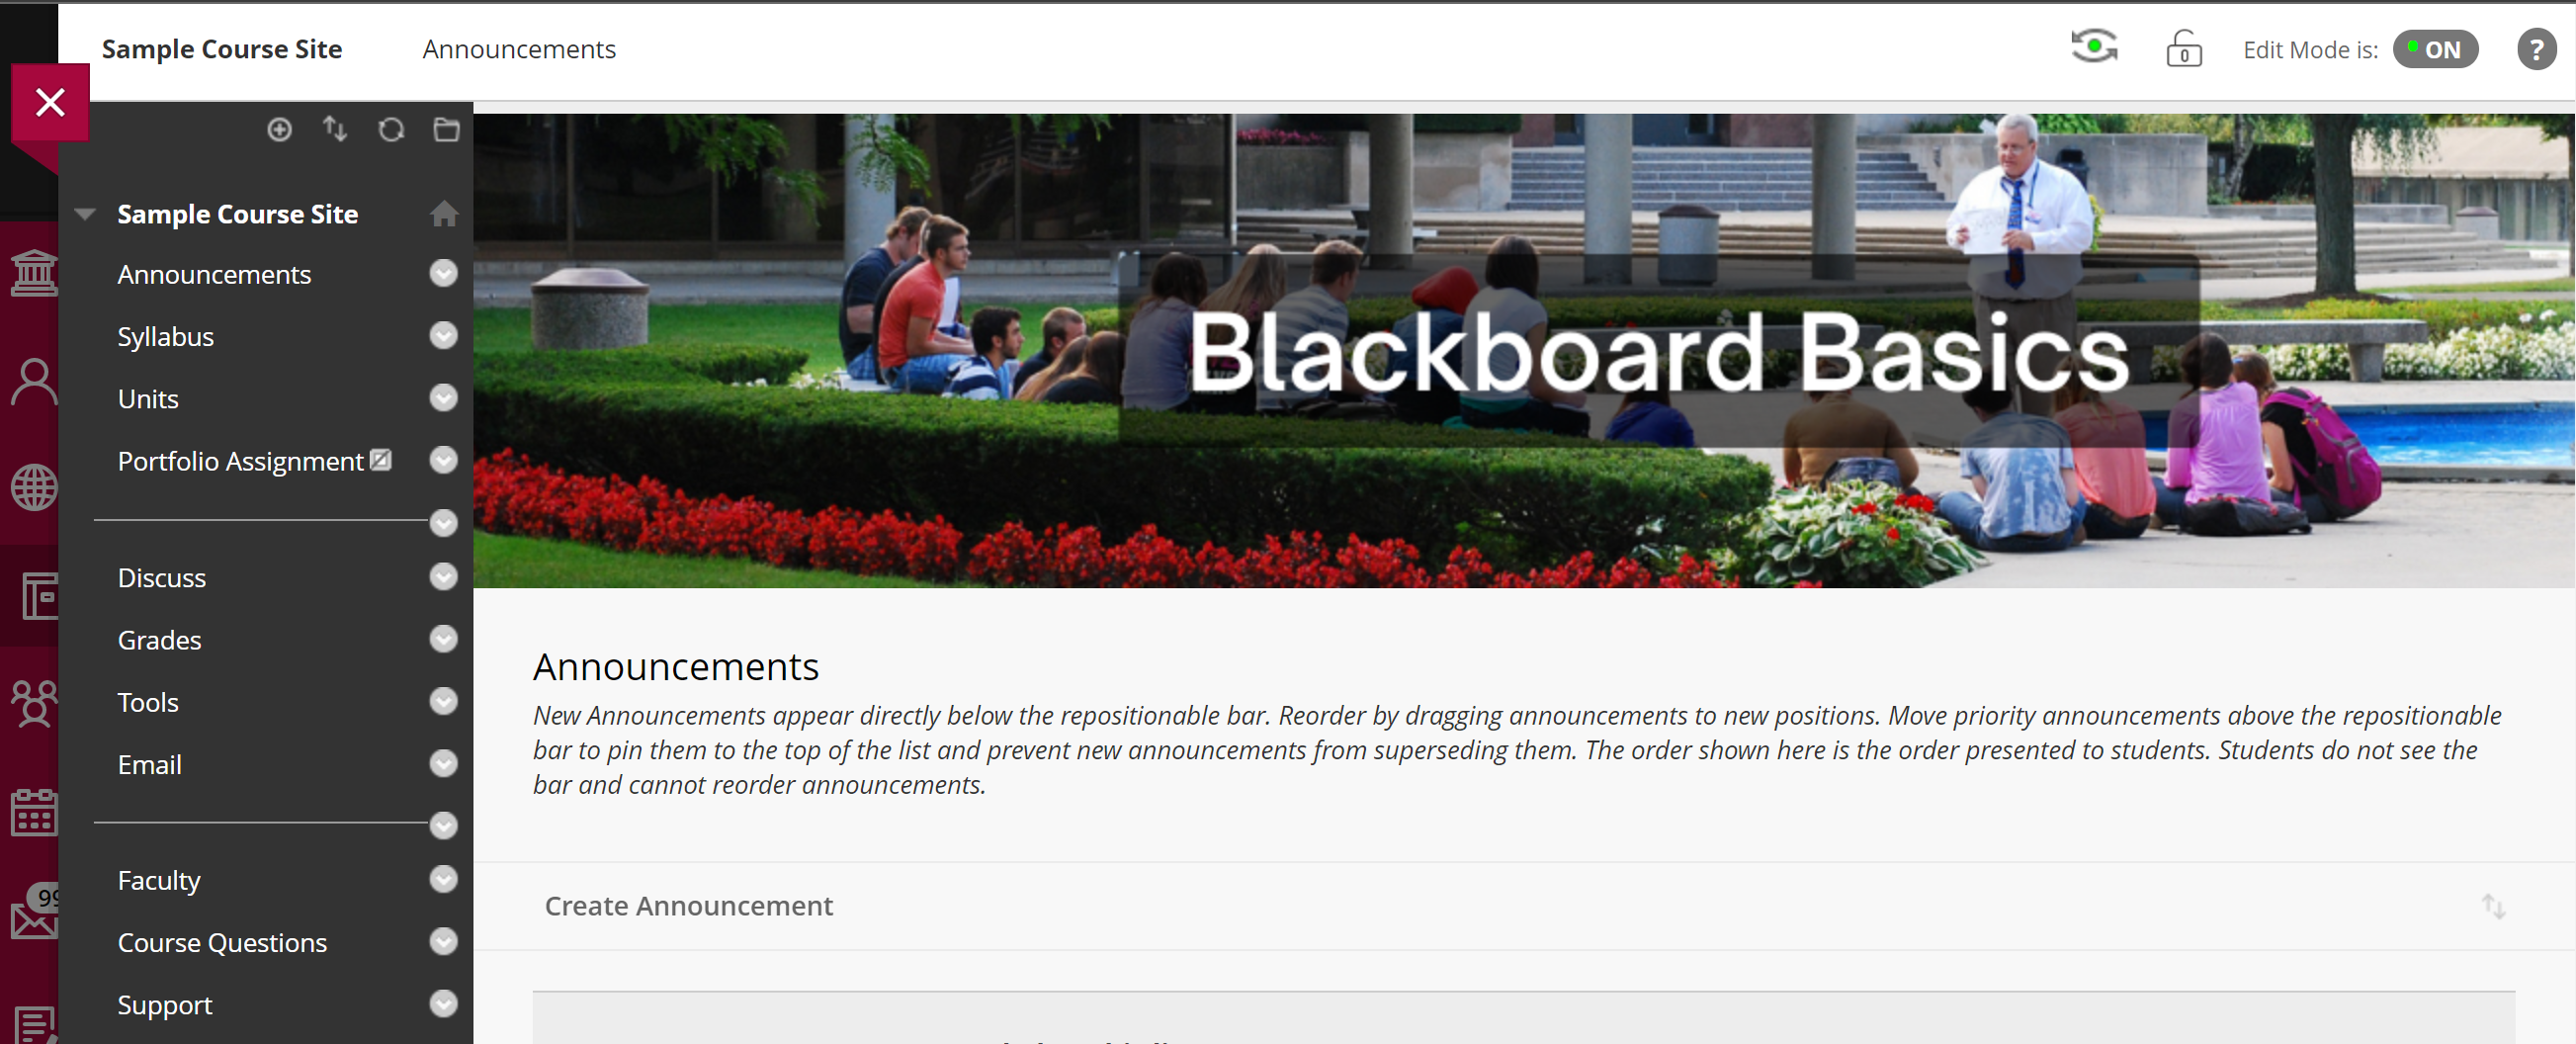
In a classic-style course, the banner appears at the top of the course home page (announcements).