Here we look at the full process of creating a learning module in your Blackboard course site, adding materials to it, and establishing forced sequence (to make sure students know which content to access and in what order).
Notes: Learning Modules, in this form, are only available in Ultra-style Blackboard courses. In addition, Learning modules can ONLY be added to the top level of the content area -- you cannot add them to a folder or sub-folder.
Create a Learning Module
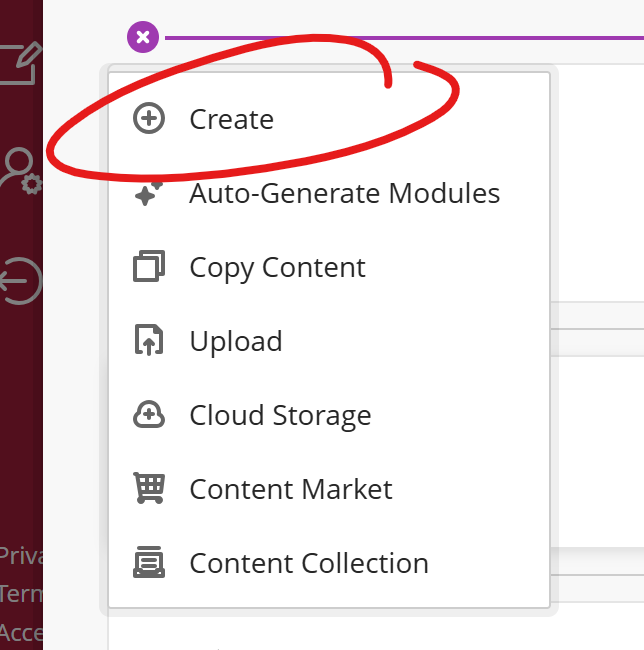
To create a Learning Module, click the ADD button on your main Course Content page and choose CREATE.
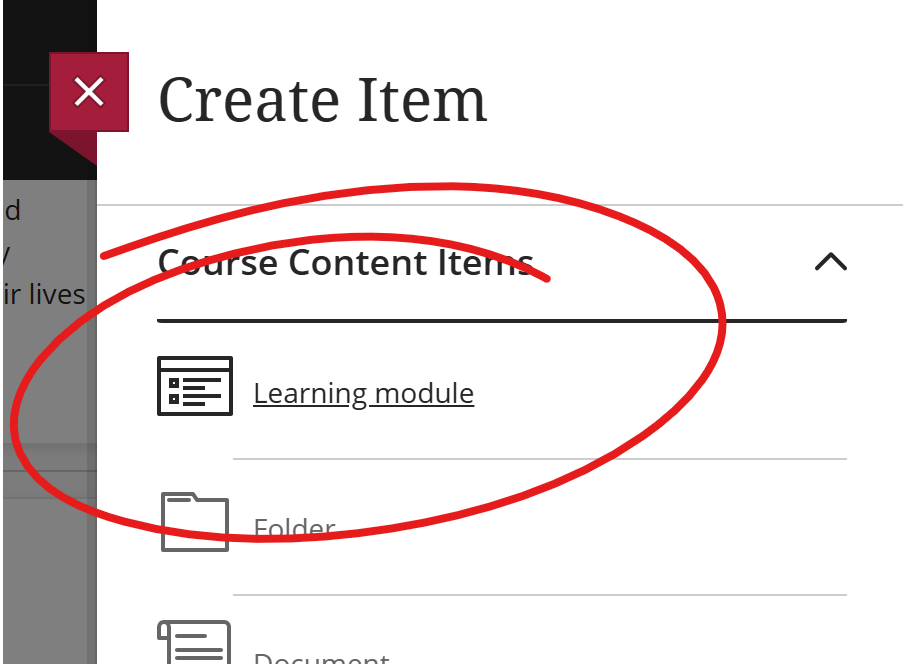
Then choose Learning Module.
Click the module's current name in order to give it something clearer or more appropriate. Add a description to the text box below the name.
Notes: Click here to learn more about Forced Sequence. Be advisde, you can only set the Forced Sequence condition if students haven't started working in the module. You can remove the condition after students start working, but you can't reapply it.
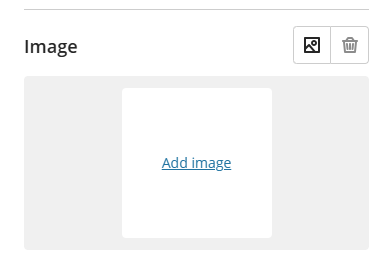
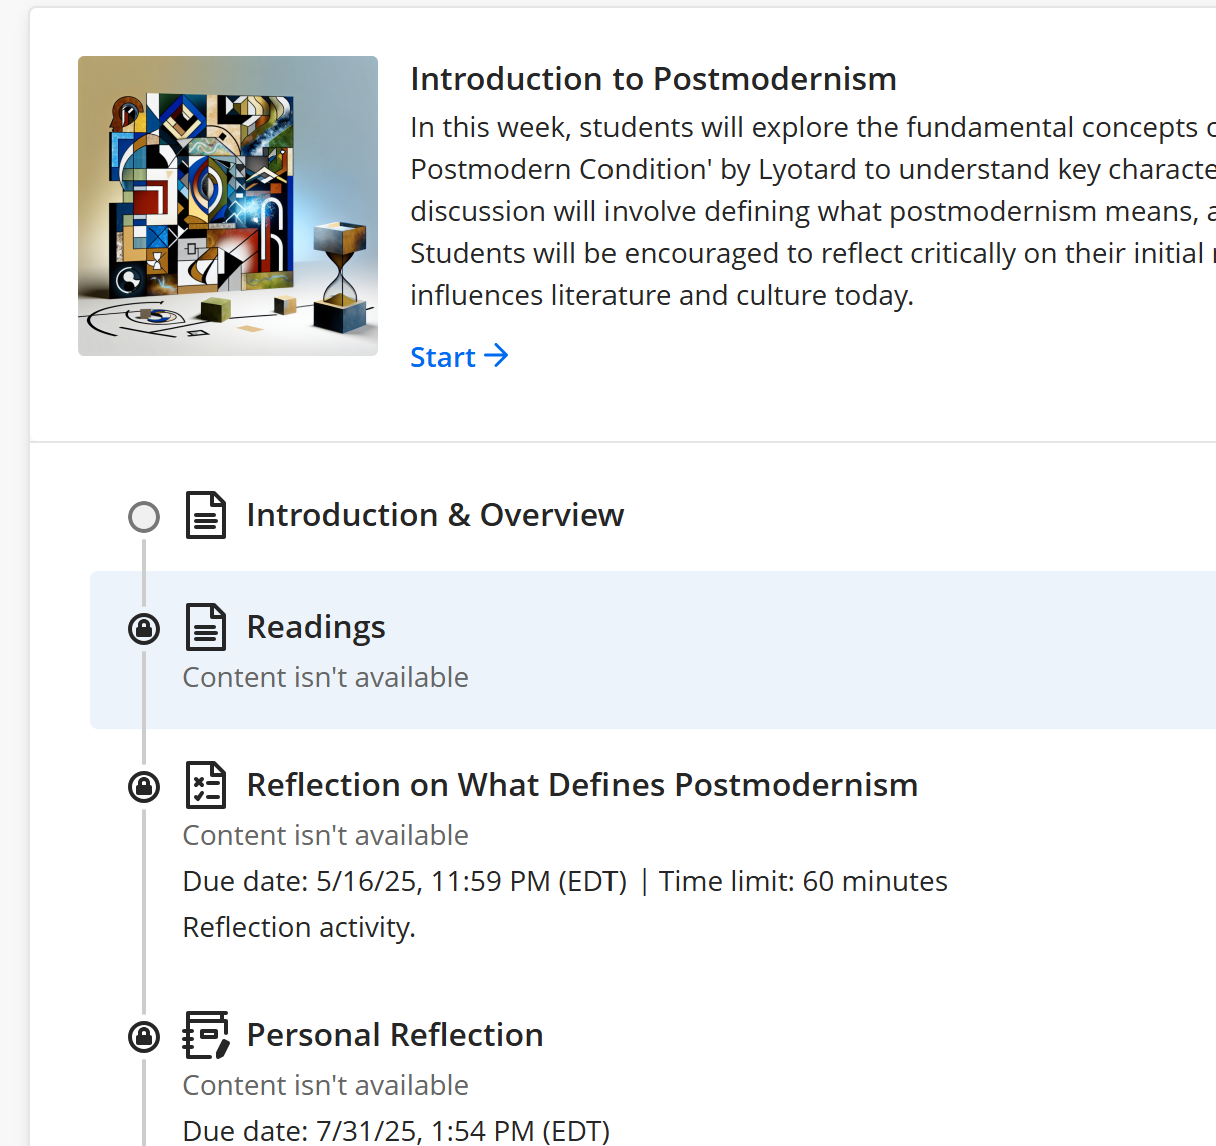
Lastly, you may wish to add a "cover" image to your learning module. Click the Add Image link to upload an image, search for and select an image from a stock photo gallery, or use AI to generate an image.
Save your changes.
Edit Learning Module
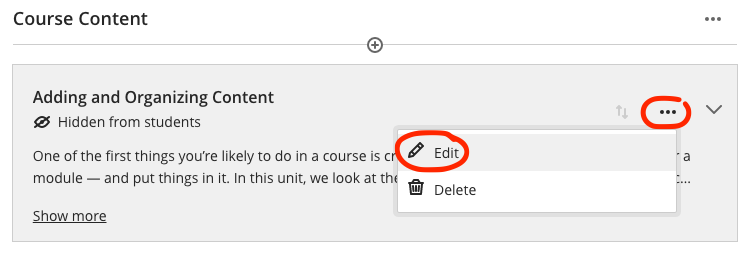
On the main Course Content page, click the three gray dots to the right of the Learning Module and then click Edit. From here you can change the title, description, Forced Sequence status, and release conditions.
To move items around within the module, drag and drop them just as you would any other item in Blackboard Ultra content.
Notes: See other articles about
Forced Sequence and Release Conditions. If you want to use sequential viewing (Forced Sequence), make sure your module is all set up before you turn it on. Once you've activated this you won't be able to make changes to the module. In addition, you can only set the Forced Sequence condition if students haven't started working in the module. You can remove the condition after students start working, but you can't reapply it.
Add to Learning Module
Once initially created, Learning Modules function like folders -- click the Add (+) button inside the Module to put an item or activity into the Module.
Forced Sequence
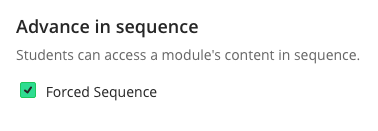
The biggest difference between Learning Modules and folders is the option to include required sequential viewing.
Notes: You can only set the Forced Sequence condition if students haven't started working in the module. You can remove the condition after students start working, but you can't reapply it.
From the Edit Learning Module window, click the Forced Sequence box.
When students open an item that has Forced Sequence turned on, they'll see all the items in the unit listed with locks beside the items they haven't reached yet. They can jump directly to an item they've already viewed (no lock), but they need to view a preceding item before the next item in the list is unlocked.
Note: You can also control access to individual pieces of content within the module. You can show or hide content within the module and the visibility setting is preserved even when the module is visible. In addition, you can make this content available based on other conditions (see other articles on Date or Time Release Conditions or Performance Release Conditions.)