Under the picture-icon you'll find the Image and Stamp tools.

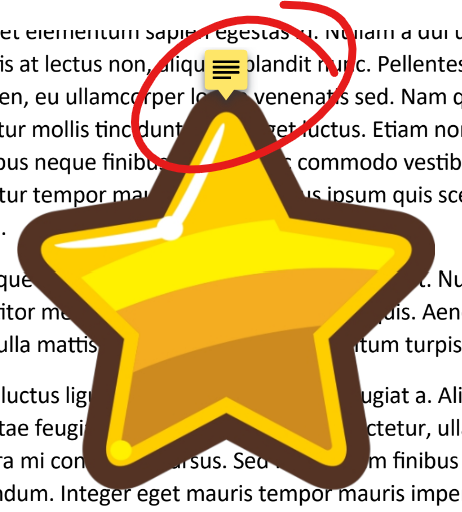
The image tool lets you upload an image that will appear over the document. Clip art is an excellent source for this type of image -- a gold star, for example.
The Stamp tool lets you add a simple colored background shape with some basic text over the top.
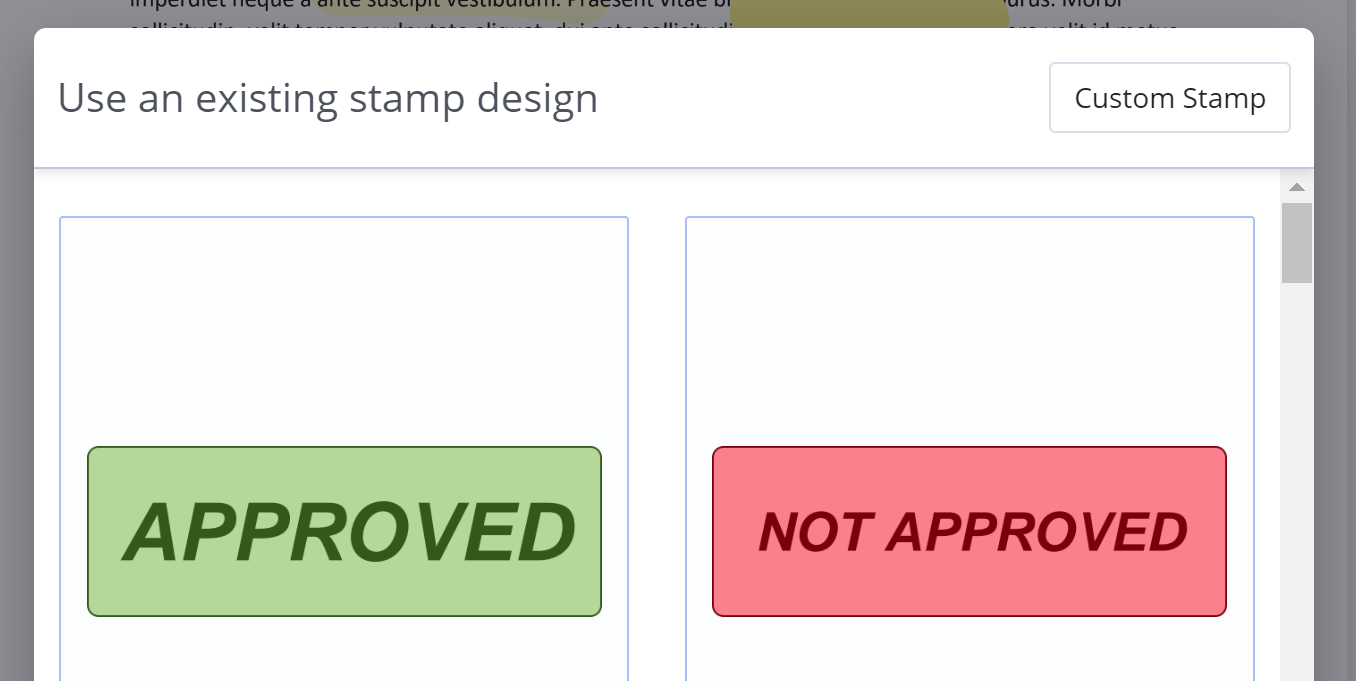
The CUSTOM STAMP button lets you create a stamp -- select a color for your rectangular background, then type some text to appear over the shape.
Once your image or stamp has been added to the page, the tools for modifying this element are the same.
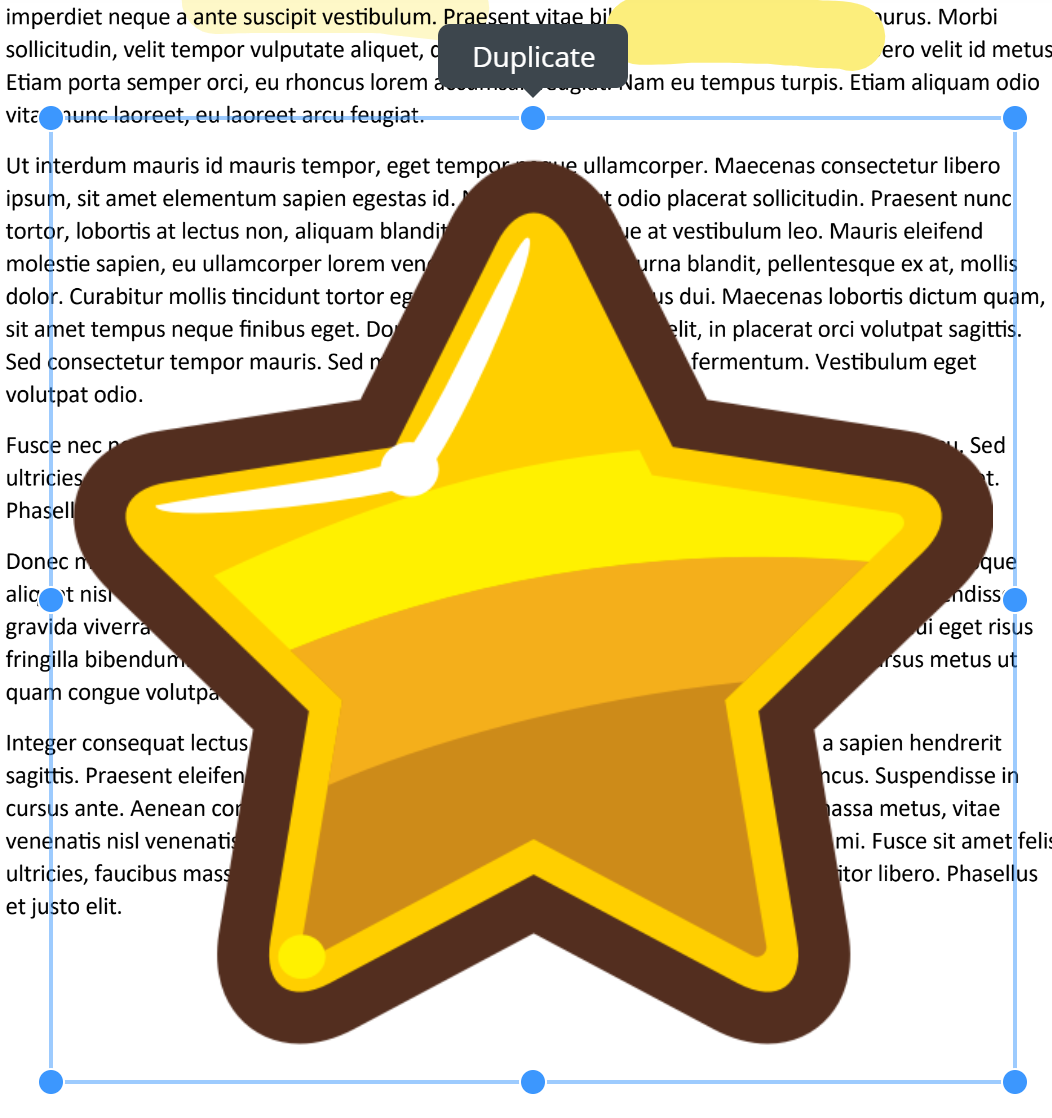
To Resize
Click the item to select, then click-and-drag the edge-dots to squish the image vertically or horizontally. Click and drag the corner-dots to resize and maintain aspect ratio.
To Delete
Click the item to select, then hit DELETE on your keyboard or click the trashcan icon in the toolbar.

To Make Semi-Transparent
Click the item to select, then click the two-boxes overlaid button on the right of the toolbar. Change the percentage to suit your preferred level of opacity.

To Quarter-Turn Rotate an Image
Click the image to select, then click the left- or right-rotation buttons on the far right of the toolbar. Click the appropriate button again to rotate further. Only quarter-turn steps are available. Rotation is not available on stamps.

To Sticky-Note Image or Stamp
Click the image to select, then click the note icon. Type your note text into the sticky-note graphic.

Sticky-notes are applied to the image or stamp, not the page. If you want to add a note to the page, use the note tool instead.
Sticky notes will not be immediately visible to students. They will need to click the notes icon on your image or stamp to see note text.