Once you have created a rubric, you can associate it with as many gradable items as you wish. You can do this the first time you create the gradable item or you can add it later by editing the item.
Within the assignment (creating it or editing it), under the Grading heading, there is a gray box which says Add Rubric. Hover over that box and choose Select Rubric.
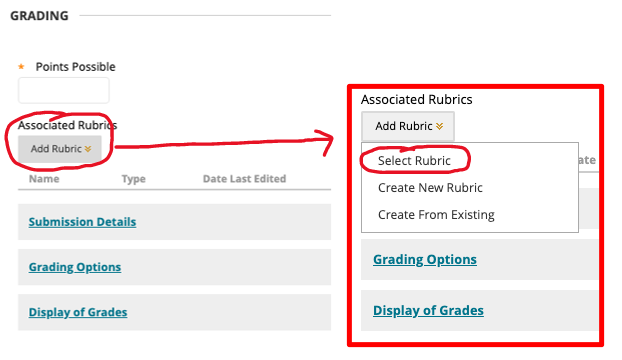
This will open a pop-out window showing all of your rubrics saved within the course.
You can preview the contents of each rubric before you select one.
Once you’ve chosen, check the box next to the rubric title.
Click Submit.
That rubric is now connected to your assignment, discussion forum, wiki, blog, or journal.
Note: When a rubric is connected to a gradable item it is by default hidden from student visibility. We strongly suggest making your rubrics always visible to your students.
Additional options (see other articles about these items):
• Detach the rubric from this item (it will not delete it from the course as a whole).
• Preview the rubric again.
• Edit the rubric.
• Change the student visibility of the rubric. We suggest keeping the rubric visible to students at all times.
Be sure to click Submit to save your work.
Once you have created a rubric, you can associate it with as many gradable items as you wish. You can do this the first time you create the gradable item or you can add it later by editing the gradable item.
Note: in Blackboard Ultra, unlike Classic, you can only associate a rubric with an assignment, a test with no questions, or a discussion. The process for each gradable item is the same.
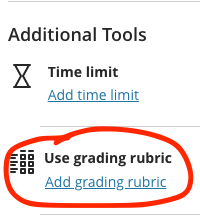
In the pop-out Settings window (Assignment Settings, Test Settings, or Discussion Settings)...

...scroll almost all the way down to Additional Tools. Click Add grading rubric.
This will open an additional pop-out window showing all of your rubrics saved within the course.

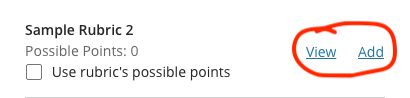
You can preview the contents of each rubric before you select one by clicking the blue View link.
Once you’ve chosen, click the blue Add link.
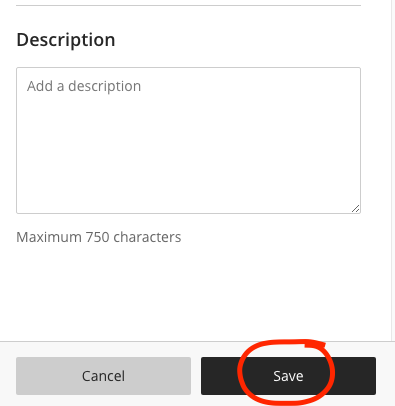
Click Save on the Settings page.
That rubric is now connected to your assignment, a test with no questions, or a discussion.
Additional options (see other articles about these items):
• Detach the rubric from this item (it will not delete it from the course as a whole).
• Edit or duplicate the rubric.