If you are creating a single manually enrolled group, you'll be able to jump right to adding users by clicking the ADD USERS button at the bottom of the group's properties page.
If you're creating a group set, you will need to enter the number of groups you want to create at the bottom of the group set's properties page
Ideally, your groups should consist of 3-5 (no more than 6) students.
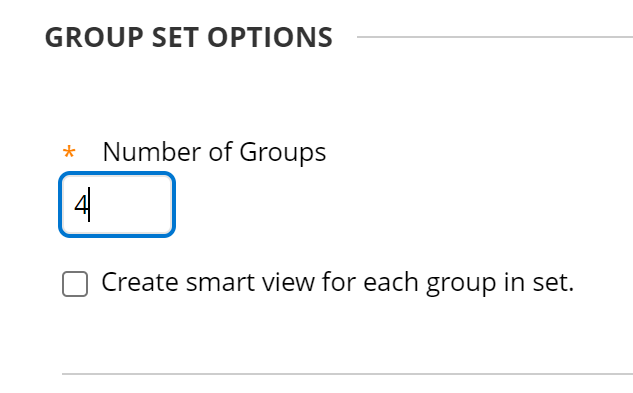
After entering the number of groups, click SUBMIT to move to the Group Set Enrollments page.
By default, the "Hide members already in another group in this set" box (under Filter Available Members) is checked. This is to prevent you from mistakenly adding the same student to two groups in the set. If you want to add the same student (or students) to multiple groups in the set, uncheck this box.
If you've changed your mind about random enrollment (or if you would like to start with random enrollment, then move some users around), you can click the RANDOM ENROLLMENTS button.
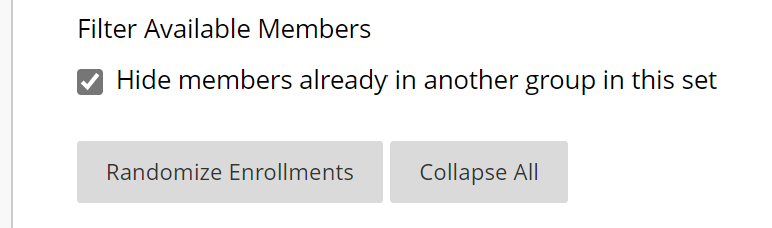
You'll be prompted whether you want to only enroll students (default) or if you want to include instructor / TA / support staff users in the groups as well.
Next is the list of groups. By default, each group in the set will be named with Group Name (#). You can rename each group by typing a new name into the NAME field. In the example below, the group set was titled Final Project, so this first group entry is named "Final Project 1" by default.
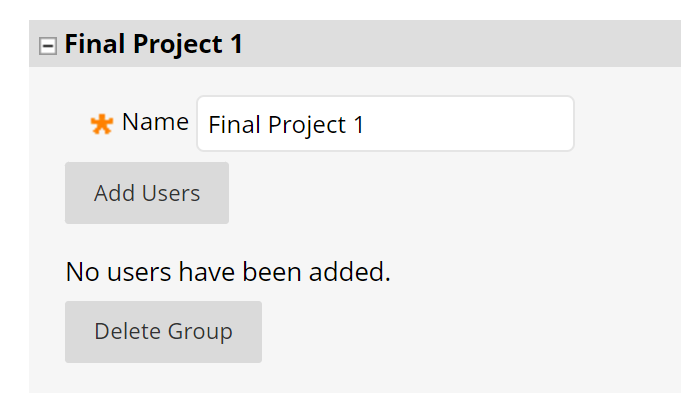
To add users to a group, click ADD USERS. This will open an ADD USERS window.
You can search for students by username, firstname, lastname, or any of these. Or you can list ALL users in the class by setting the middle field to NOT BLANK.

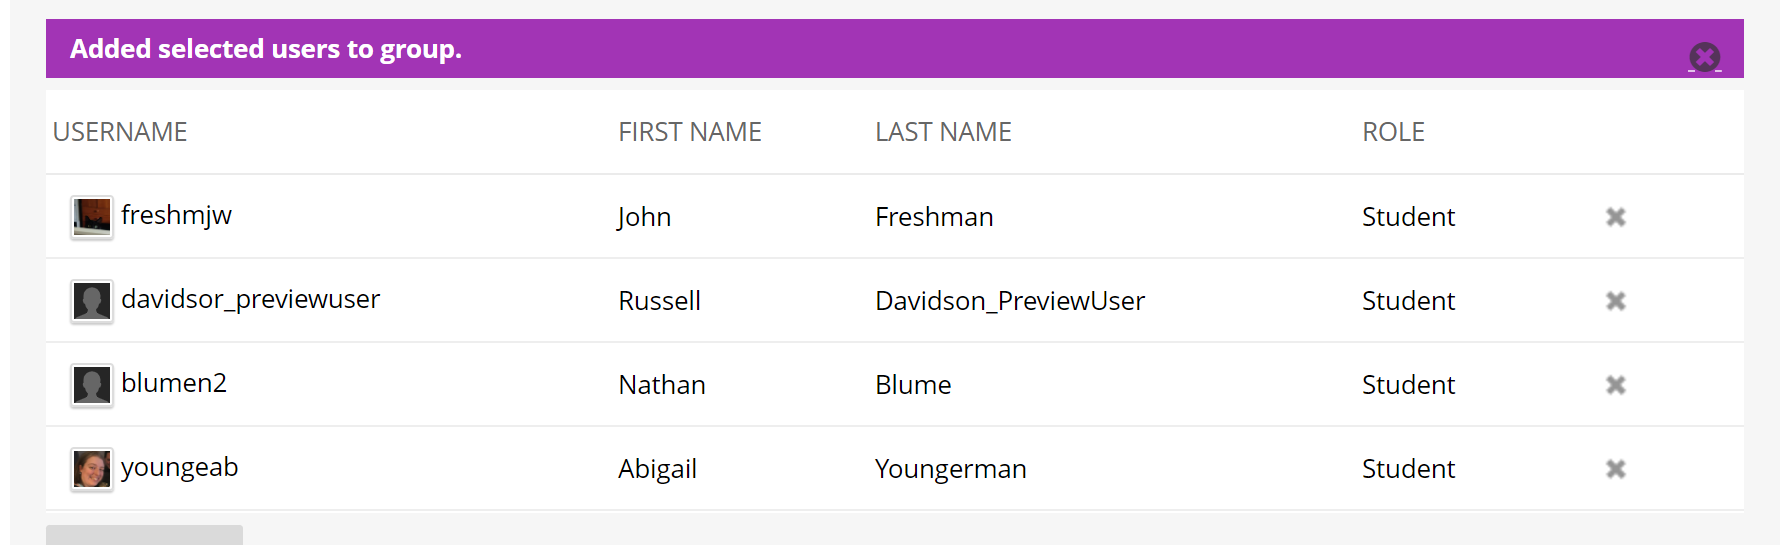
Check the box left of the users you wish to add to the group, then click SUBMIT at the bottom to add those users.
Once names have been added, you can remove users by clicking the x right of their name on the list
Click SUBMIT at the bottom of the page to save your changes.
To return to the Group Set Enrollment page, go to Control Panel > Users & Groups > Groups then click any dropdown menu in the Group Set column and select Edit Group Set Membership.
To manually create and enroll a set of groups in an ultra-style Blackboard course site, choose CUSTOM from the "Group students" list near the top of the group set's properties page.
In the Unassigned students section of the page, click the names of all the students you want to add to a group. As you select the names, they will be highlighted in black.
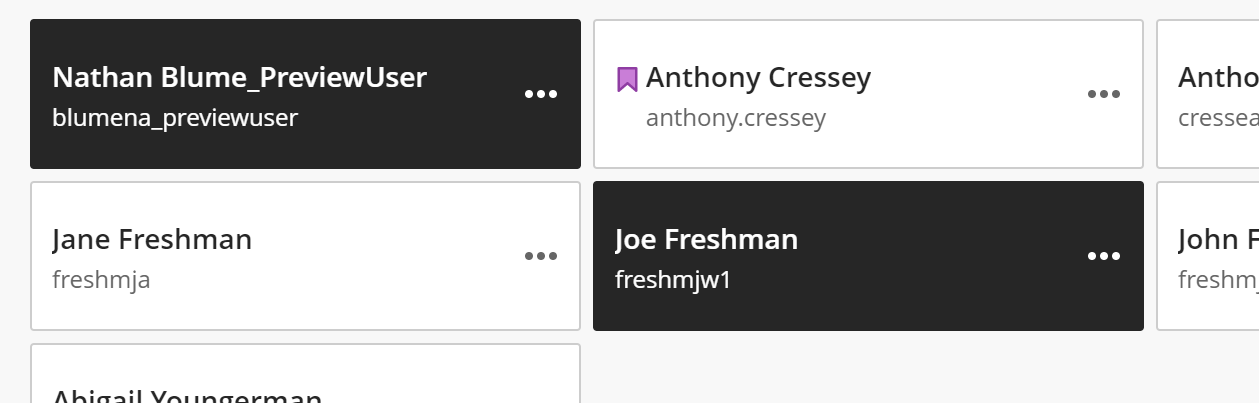
Click the "..." button on the right side of one of the selected student's name.
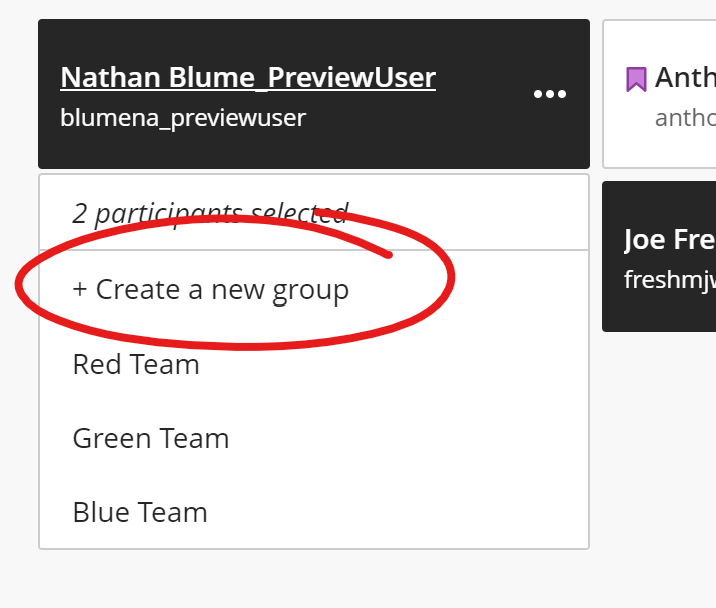
An options menu will appear under the student's info box. The top line indicates how many students have been selected. Beneath that, click "+ Create a new group" to add the selected students to a new group. If you wish to add the selected students to an existing group, select that group from the list.
Ideally, your groups should consist of 3-5 (no more than 6) students.
Rename Your Groups
By default, groups will be named "New Group 1" (or "New Group 2" or "New Group 3"). Providing a descriptive name for your groups (like, Final Project Group 1 or Discussion Group 1 or Red Team or North Shore Project Case Study) will be helpful to both you and your students when applying the groups to activities later.
To change the group name, click the default name and type your new name.

Though there is a group description field, at present this description is only visible on this page (the instructor's group set properties page).
When you have finished making changes, click SAVE at the bottom of the page