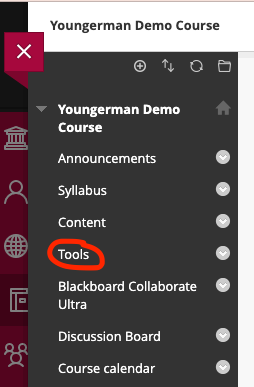
To start, first go into your class then choose tools from the course menu.
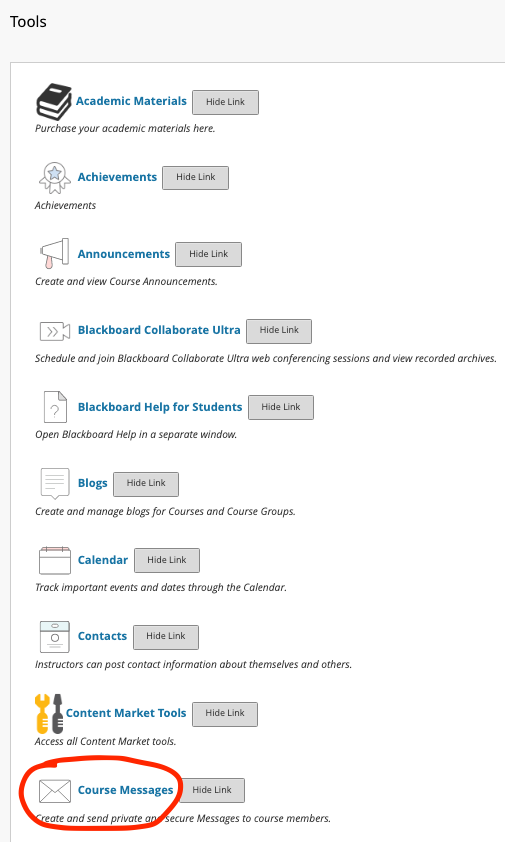
From the list of available tools, select Course Messages.
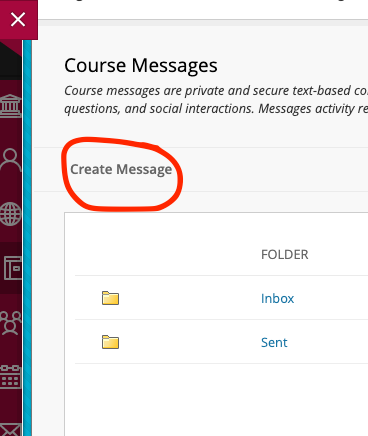
Select Create Message.
To open the recipient fields, click either To, Cc (Carbon copy), Bcc (Blind carbon copy), or all of them. Select the name of the recipient/s in your course based on how you wish to send them the message. Click the > button to add the recipient/s to your message. You can choose any number from one person to the whole roster.
Then type your Subject line and Body message.
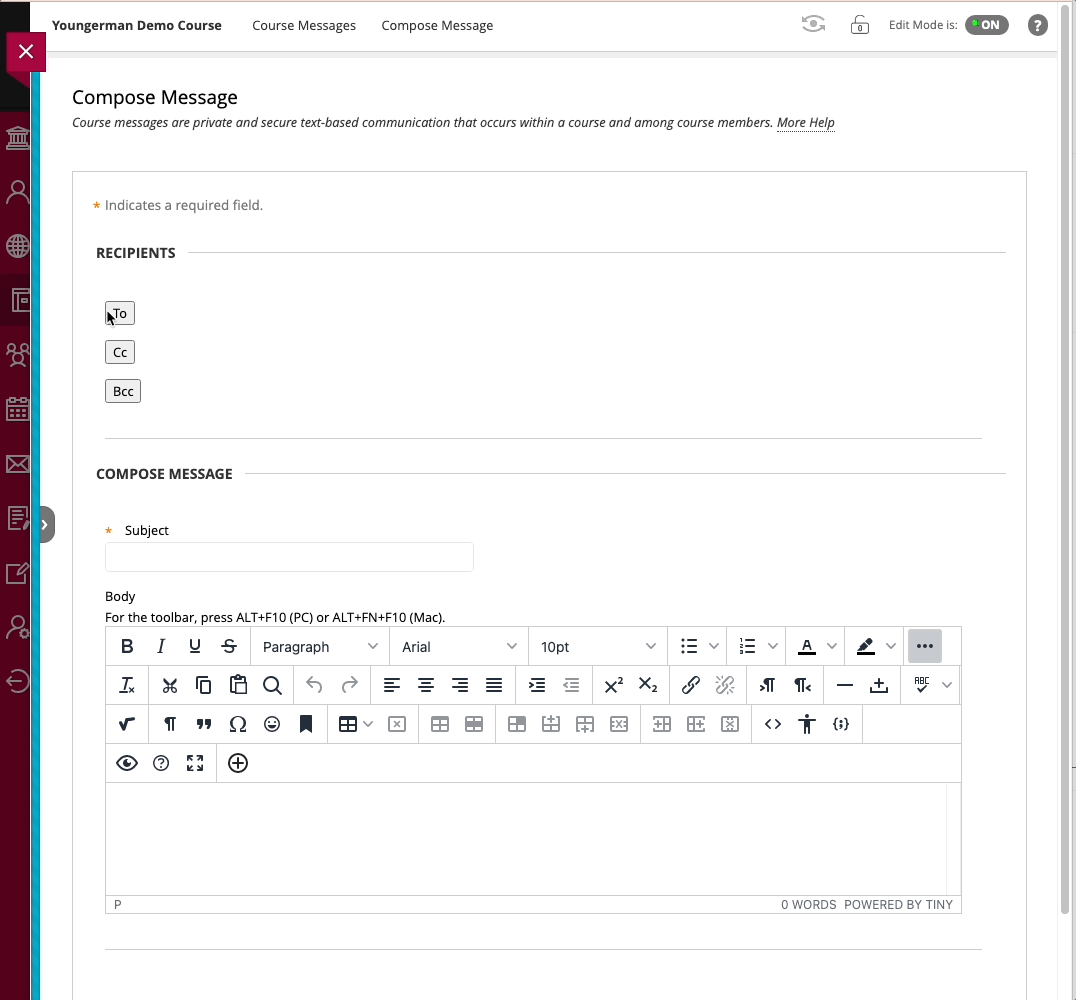
Be sure to click Submit when you are finished.
Note: Recipients will be notified of their messages when opening Blackboard. They may also receive an automated notification depending on their Blackboard settings.
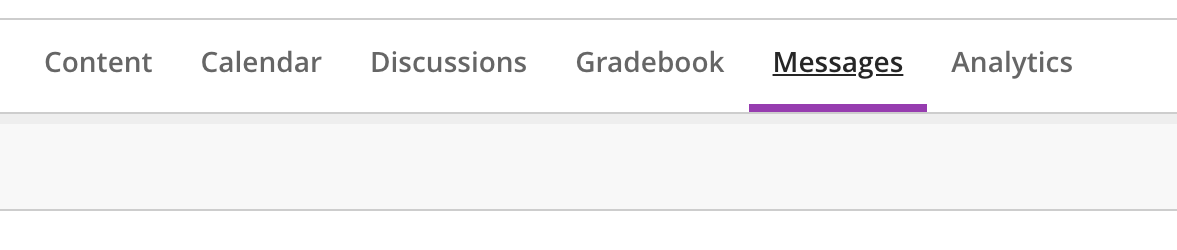
To start, first go into your class then choose messages in the top menu bar
The "plus" icon will appear just below and to the right. (Note: from this screen you can also see all messages you’ve sent or received.)

A pop-out window will appear to the right of your screen.
Type in the name of the recipient in your course. You can choose any number of recipients from one person to the whole course roster.
Then type your message.

When you're done with all settings, be sure to click send.
Notes:
- Messages cannot be edited once sent.
- Course must be open to students in order to send messages.
- If you send a message to "everyone" and someone adds to your course later, they won't get that message. A message to "everyone" is a message to everyone enrolled in the course at that time. So if you want to post something that everyone will see regardless of when they enroll in your course, you want it to be an announcement or a "Document.”