Here we walkthrough the basic steps to create a Flip account, create a class, and add a topic (aka assignment).
Add a Flip Account
FYI: Flip was formerly known as Flipgrid.
Flip is available both through a web browser (Chrome, Firefox, etc) and an app (iOS Appstore and Google Play Store). We suggest signing-up using Microsoft and your University log-in information.
Faculty: once you have an account, you can create a group (class) and then share with students.
Students: once you have an account, you can join a group (class) based on the code given to you by your instructor.
Add a Group in Flip
FYI: Flip was formerly known as Flipgrid.
In order to organize and have students access Flip for your course, you need to create a group. Think of groups as based on your course roster. For example, each CRN (how to Find CRN) would have its own Flip group and the students on that roster would join that particular group.
Things to Keep in Mind
Who can join: the "Anyone with the link" option allows you to simply share the link Flip will create for your group. Students can then share this link with others and they will be automatically added to your group. The "Only people you approve" option will alert you when someone attempts to join your group and you will then need to approve them from the group homepage.
Email: this option allows you even more control over who can join your group. By including the Detroit Mercy domain (@udmercy.edu), only people with that type of email address can join your group.
Add a Topic in Flip
FYI: Flip was formerly known as Flipgrid.
Topics in Flip can be thought of as threads (similar to discussion boards) or individual assignments. It's advisable to organize your topics based on your course objectives or individual concepts. For example, you might have one Flip topic (thread) for students to get to know each other at the start of the term. You might have another topic (thread) for students to reflect on the information in your most recent lecture or reading assignment.
Basics
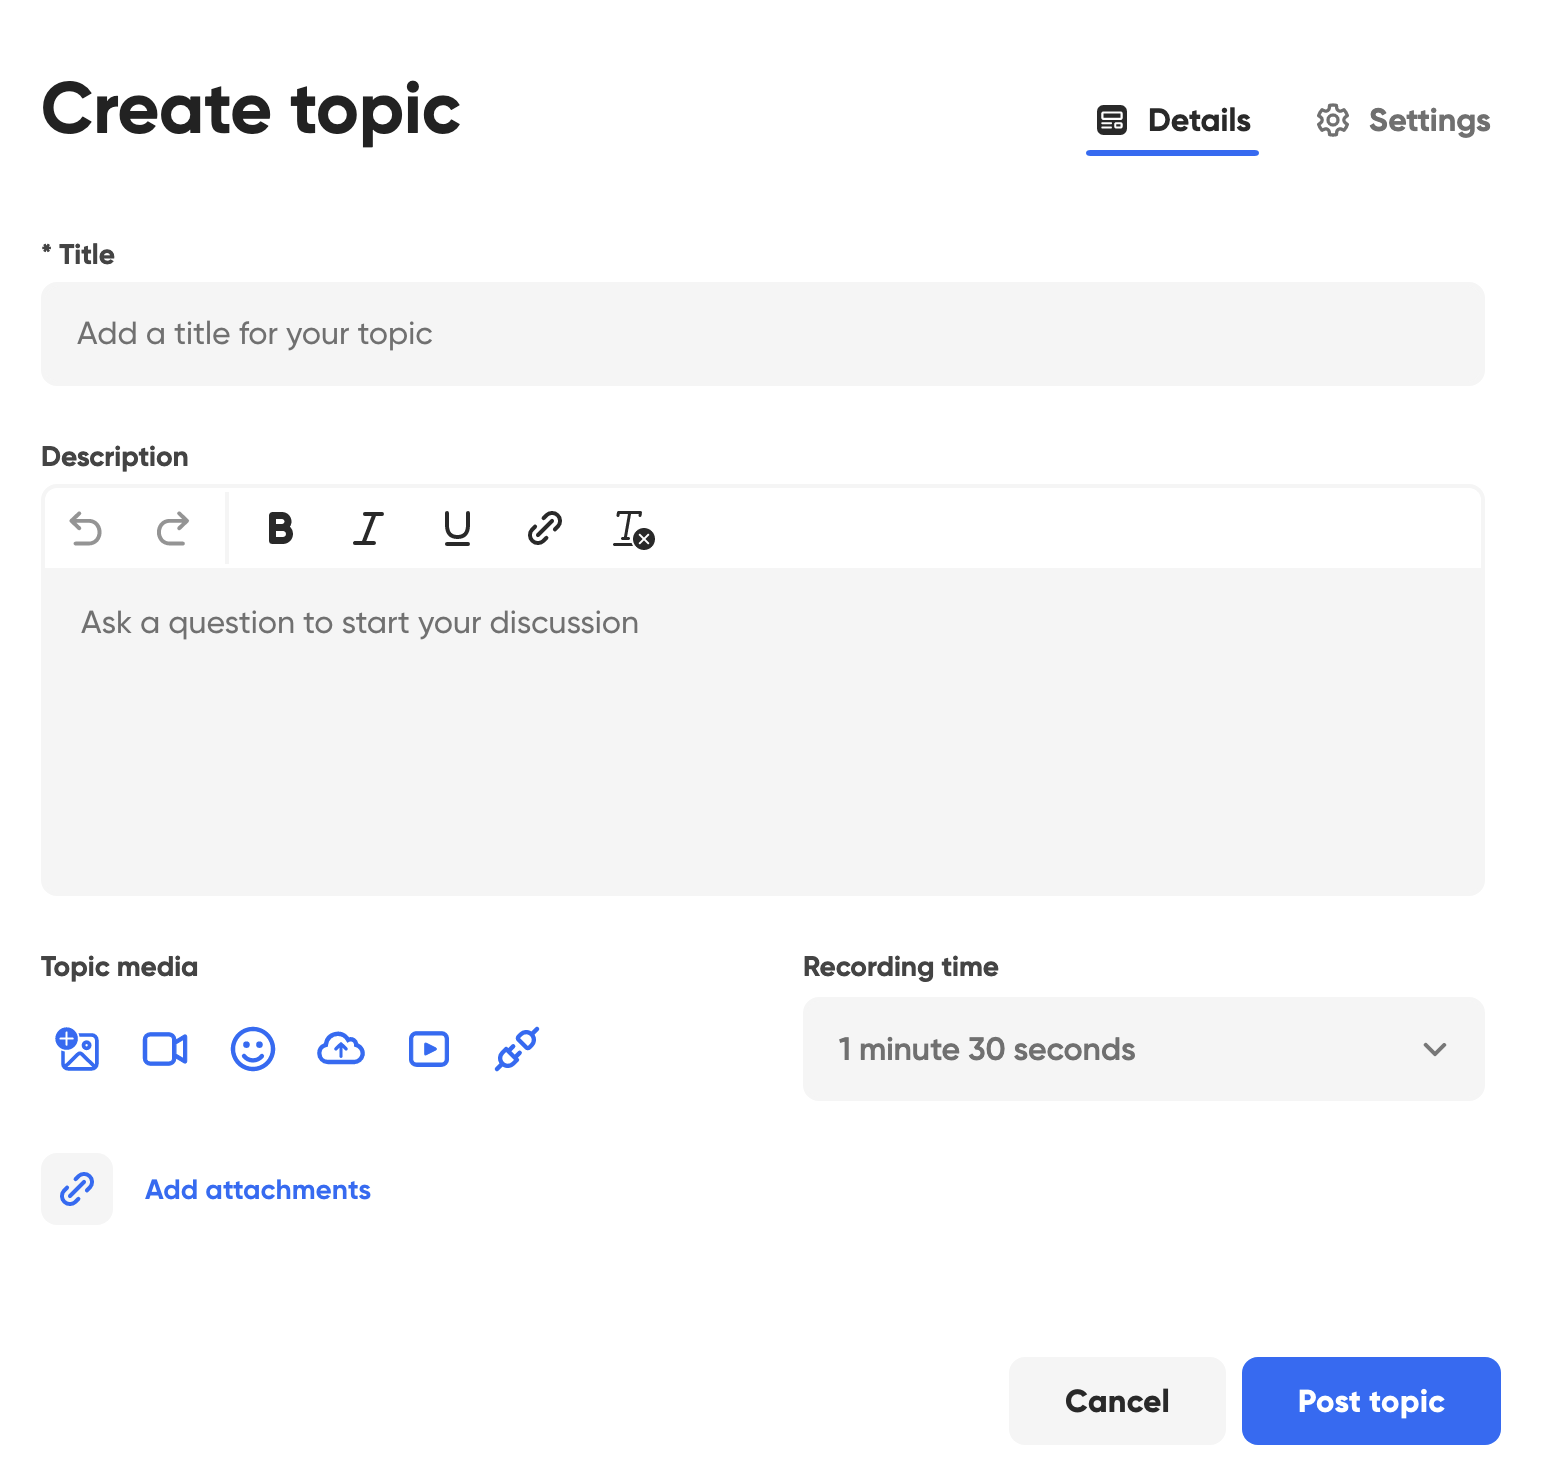
From your group page, choose the + topic button.
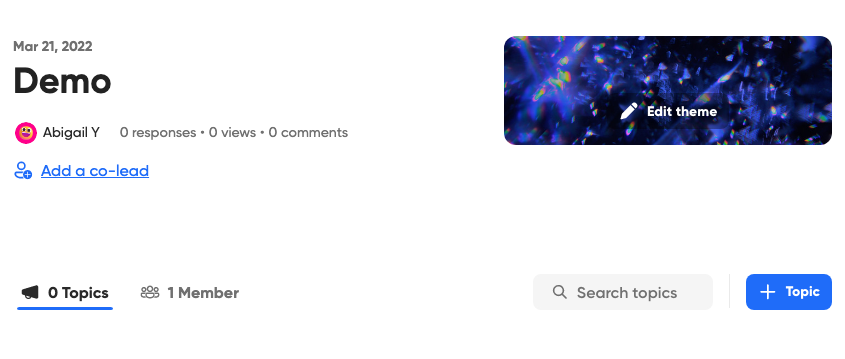
- Add a descriptive title so students are clear on which topic they need to complete.
- Use the description box to include your prompt or explanation of the task.
- You can include various media such as pictures or your own video for students to respond to.
- Set the recording time to restrict students and required them to focus. The limit is 10 minutes.
Topic Settings in Flip
FYI: Flip was formerly known as Flipgrid.
If you click the Settings gear at the top of the Create Topic page, you can control the status of the topic (visible or not), start and end dates, and more. For accessibility standards, you should always keep Closed Captions active.
Important note: the end date refers to the very beginning of that day, aka midnight. For example, if we set our start and end dates to 05/20/2022-05/21/2022, students will only be able to post from 12:00AM-11:59PM on the 20th.