When you use the insert content button (instead of attach) the item becomes embedded in the text. Blackboard supports many different file types, including the standard .docx, .pdf, .pptx, .jpg, .png, etc. This page outlines the file types Blackboard supports.
Note: DO NOT insert or attach actual video files such as .mp4 or .mov as they consume excessive storage space. Please instead hyperlink or embed your captioned video on a
streaming service like Yuja which Detroit Mercy supports.
To insert a local file, first click the insert content button on the bottom right of the tool bar.
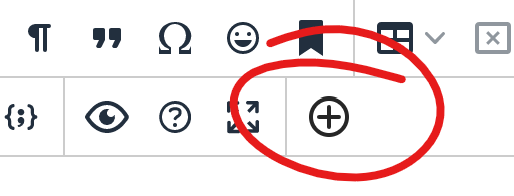
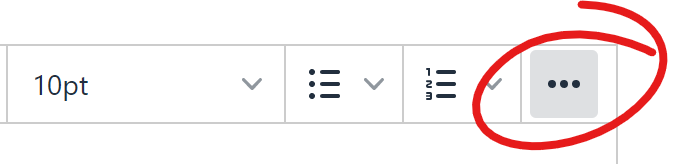
If your toolbar consists of a single row, click the three-dot "more" button to expand the toolbar.
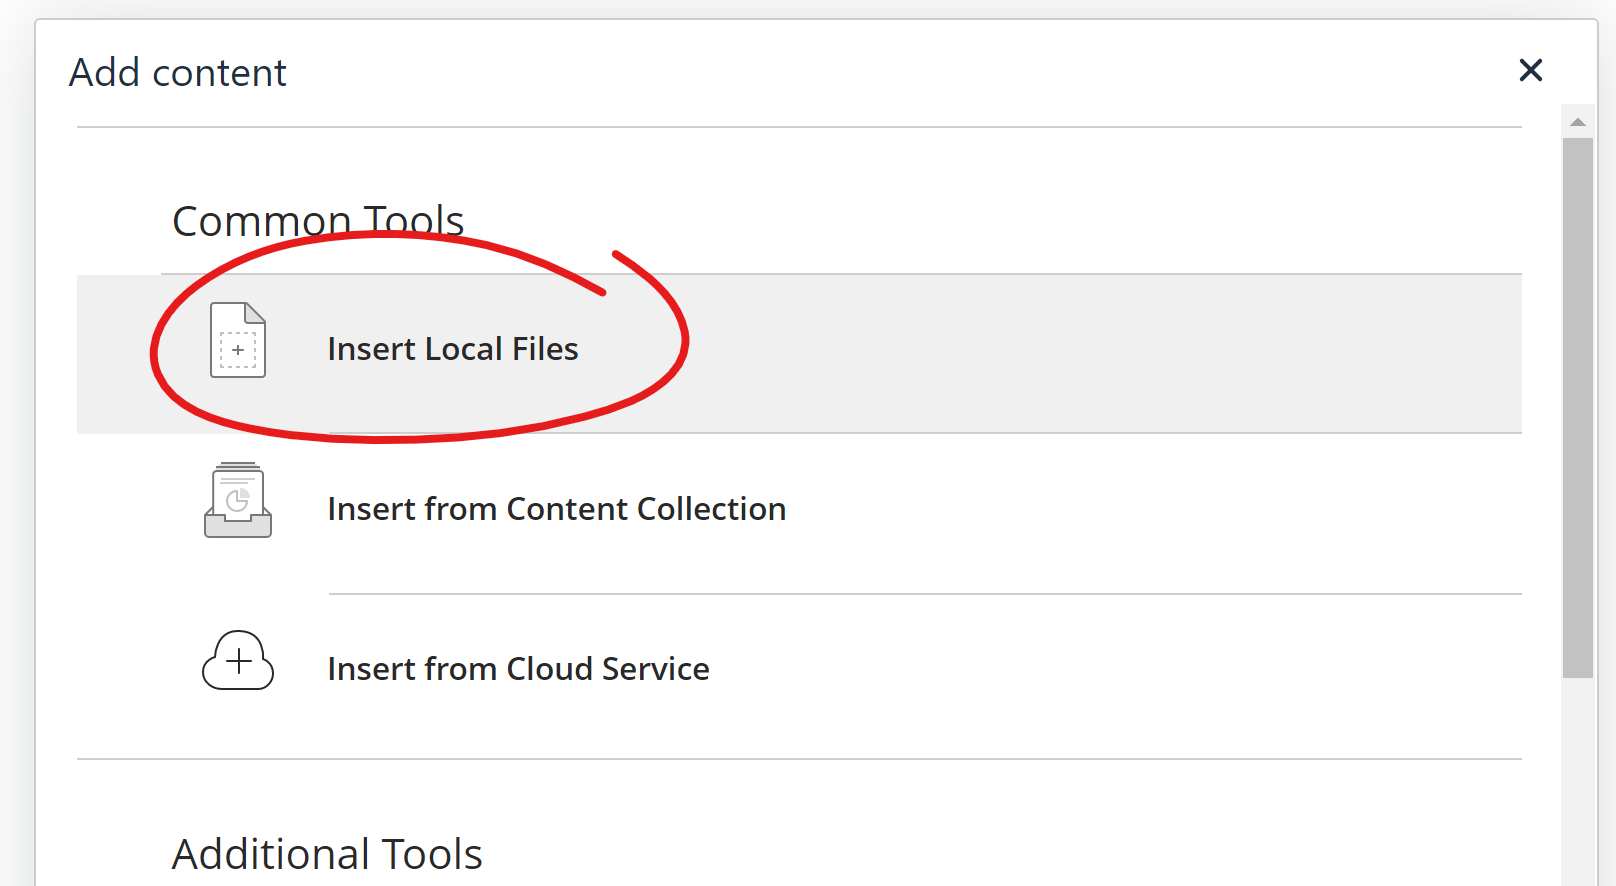
This will open a pop-out window with multiple content options. Choose Insert Local Files.
This will open your document storage (aka Finder on Mac and Windows Explorer on PC). Find the file you wish to insert. Select it and click Open.
Depending on the type of file, this will either:
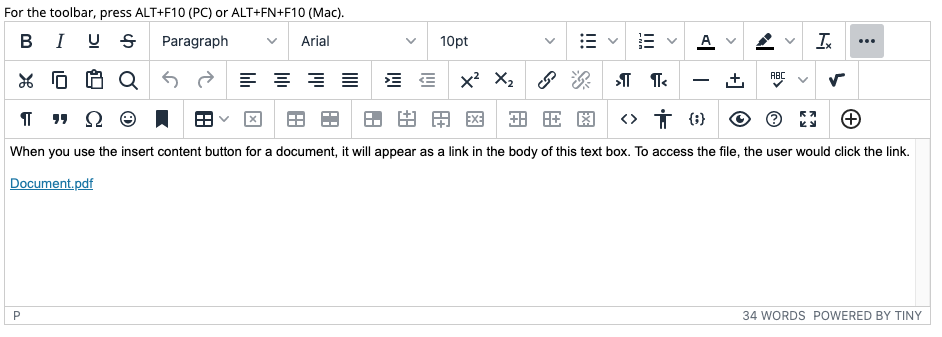
A) embed a link to your document within the text box. Users will click that link to access the file, which will either open in a new tab/window or require download.
OR
B) embed an image within the text box which will most likely fill the space. To adjust the size of the image, click on it and a blue box will appear around the edges. Move your cursor to one of the corners. Click and drag that corner to resize to what you’d like.
Be sure to save your changes.
When you use the attach button in Blackboard Ultra, the item becomes embedded in the text. Blackboard supports many different file types, including the standard .docx, .pdf, .pptx, .jpg, .png, etc. This page outlines the file types Blackboard supports.
Note: DO NOT insert or attach actual video files such as .mp4 or .mov as they consume excessive storage space. Please instead hyperlink or embed your captioned video on a
streaming service like Yuja which Detroit Mercy supports.
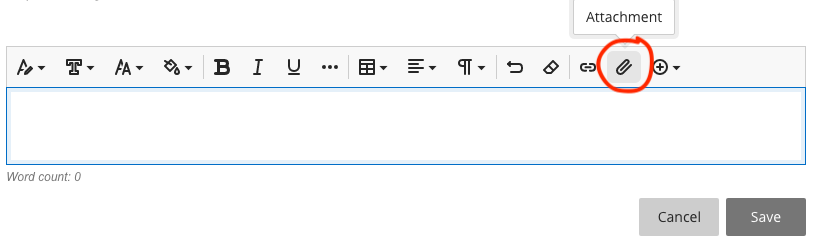
To insert a local file, first click the attach button in the toolbar.
This will open your document storage (aka Finder on Mac and Windows Explorer on PC).
Find the file you wish to insert. Select it and click Open.
Depending on the type of file, this will either:
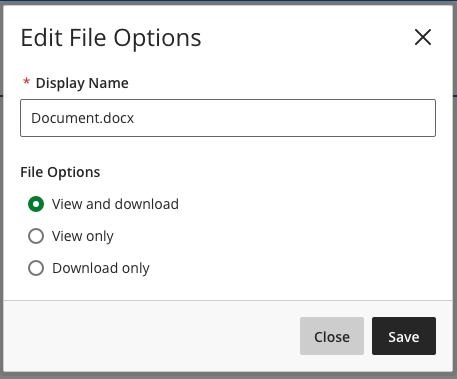
A) embed a link to your document within the text box. You will be given the option to change the Display Name for the file. You will also be given the options for how you wish users to works with your file: view only, download only, or both.
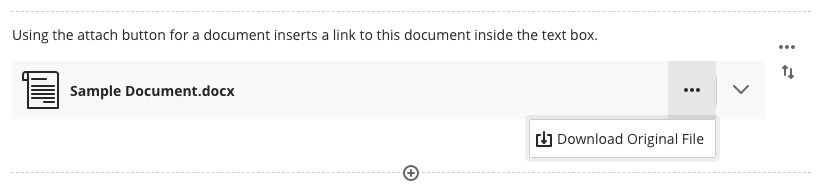
Users will click that link to access the file, which will either open in a new tab/window, preview on the main screen, or require download.
OR
B) embed an image within the text box. You will be given the option to change the Display Name for the file and to set Alternative Text (for the visually impaired). You will also be given the options for how you wish users to works with your file: view only, download only, or both.
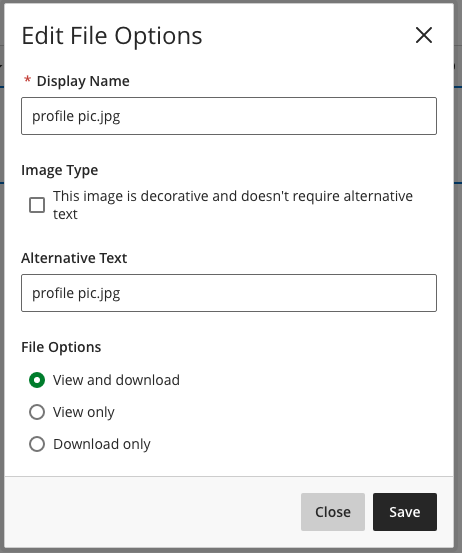
There is no current way to adjust the size of the image.
Be sure to save your changes.