When you request CETL merge two or more Blackboard course sites via our form (found here), CETL also creates a group in your course for each site that is merged. This allows you to filter the gradebook so it displays only enrollees from one or the other course sites. It also lets you make items available to different sections at different times.
First, you'll need to keep your group enrollments up to date. Students who are added to the course after the merge is done won't automatically be assigned to a group. The walkthrough below shows how to add students to a group.
Note: If you requested your merge very early, you can email ask-CETL@udmercy.edu and request we update the groups for you. Be sure to include the parent course's Blackboard course site ID in your email.
Add a Student to a Group
To add a student to an existing group, such as adding a new enrollee into a CETL-created merge group, you'll first need to navigate to the GROUPS section of your course.
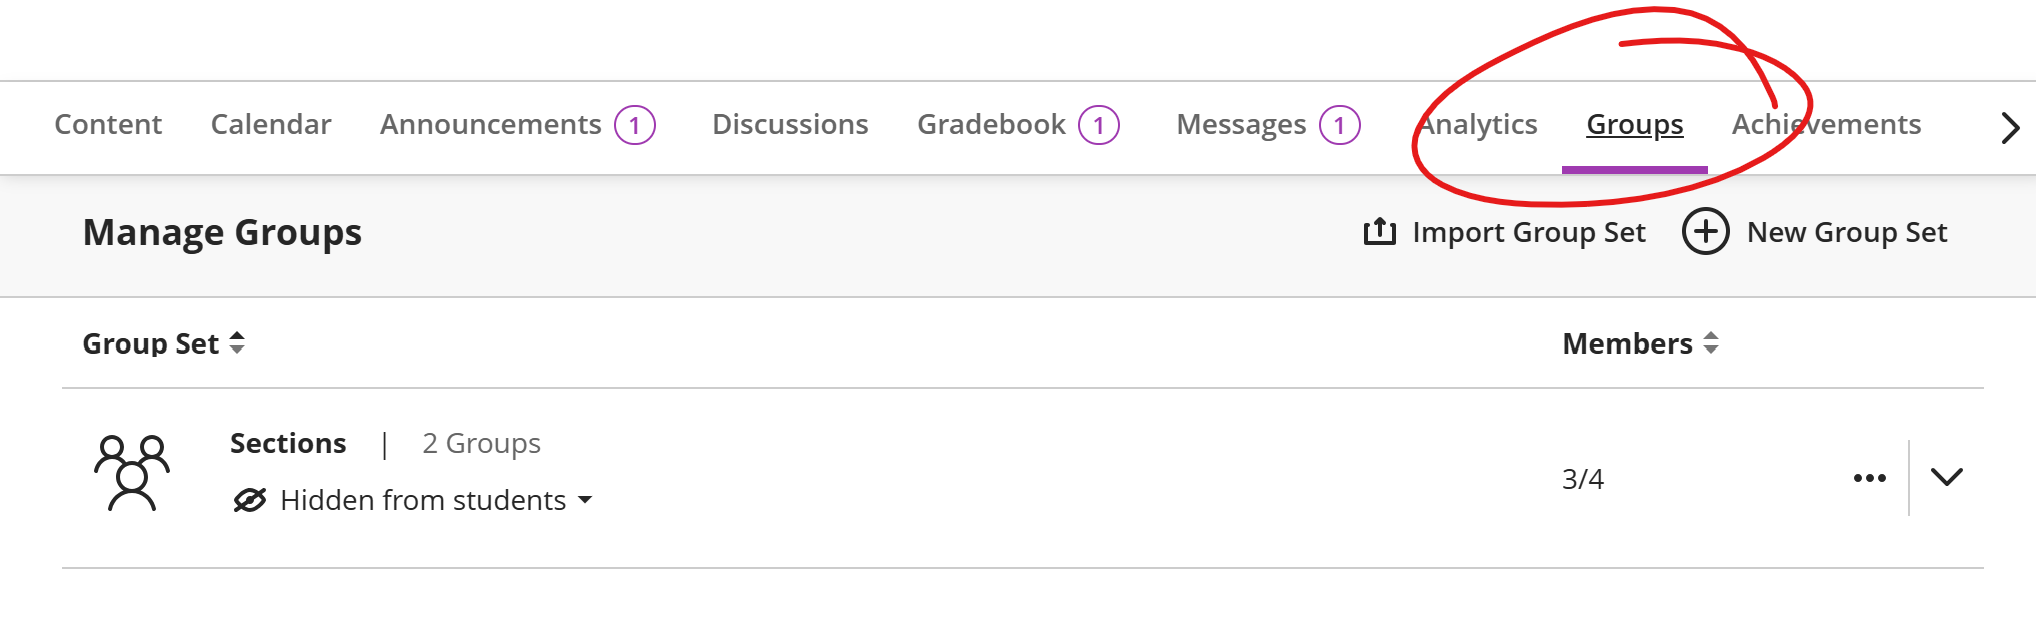
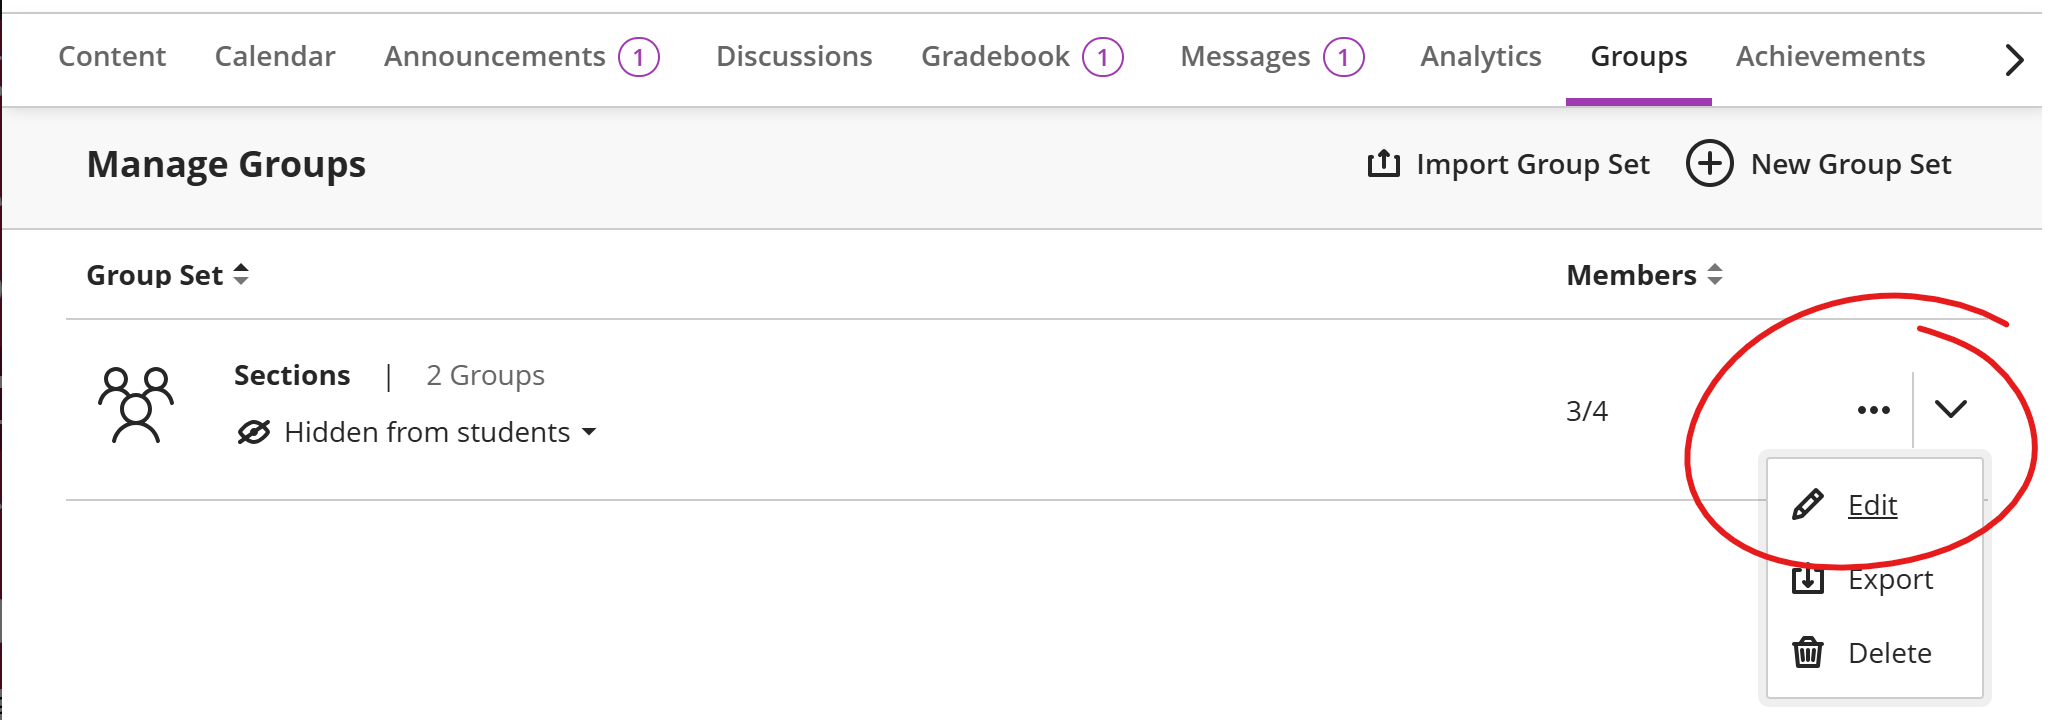
The Groups page defaults to a list of all the group sets in your course. Locate the group set that has enrollments you need to manage (the CETL CETL-created merge group set is called Sections). Click the more button on the right of the set in question and choose Edit.
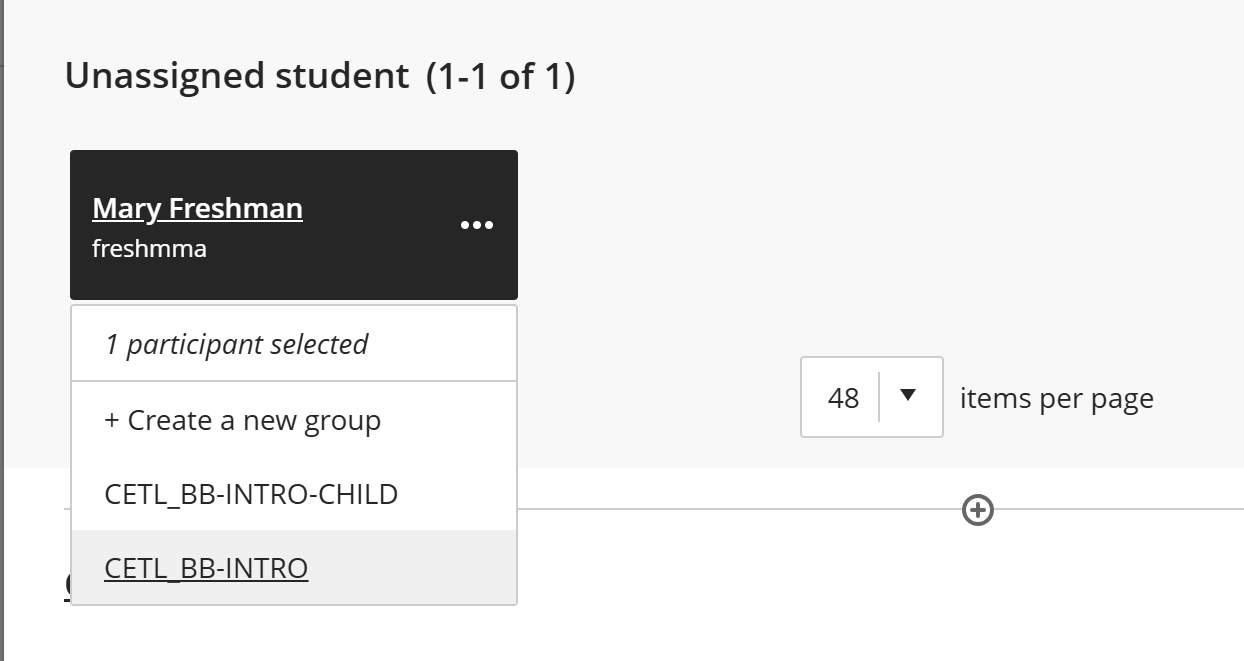
Any students who are enrolled in the course and not already included in a group in this set will appear in the space at the top labelled Unassigned Student(s).
To assign the student to a group, click the more button in the student's name-box, then choose the appropriate group.
Finally, click SAVE at the bottom of the page to save your changes.
Filter Gradebook by Group
Next, we look at how you can filter the spreadsheet view of your gradebook to only show members of a particular section, using groups.
The Blackboard Gradebook's Grades view can be filtered in several ways, making it easier to find sets of students or grades, particularly in gradebooks with a large number of gradable items.
Filtering the gradebook by Group is particularly helpful to faculty who have requested a course merge through CETL's Merge Course Sites Blackboard service request page, CETL creates groups for the parent and child course students as part of the merge process (though faculty are responsible for updating these groups if students are added after the merge has taken place).
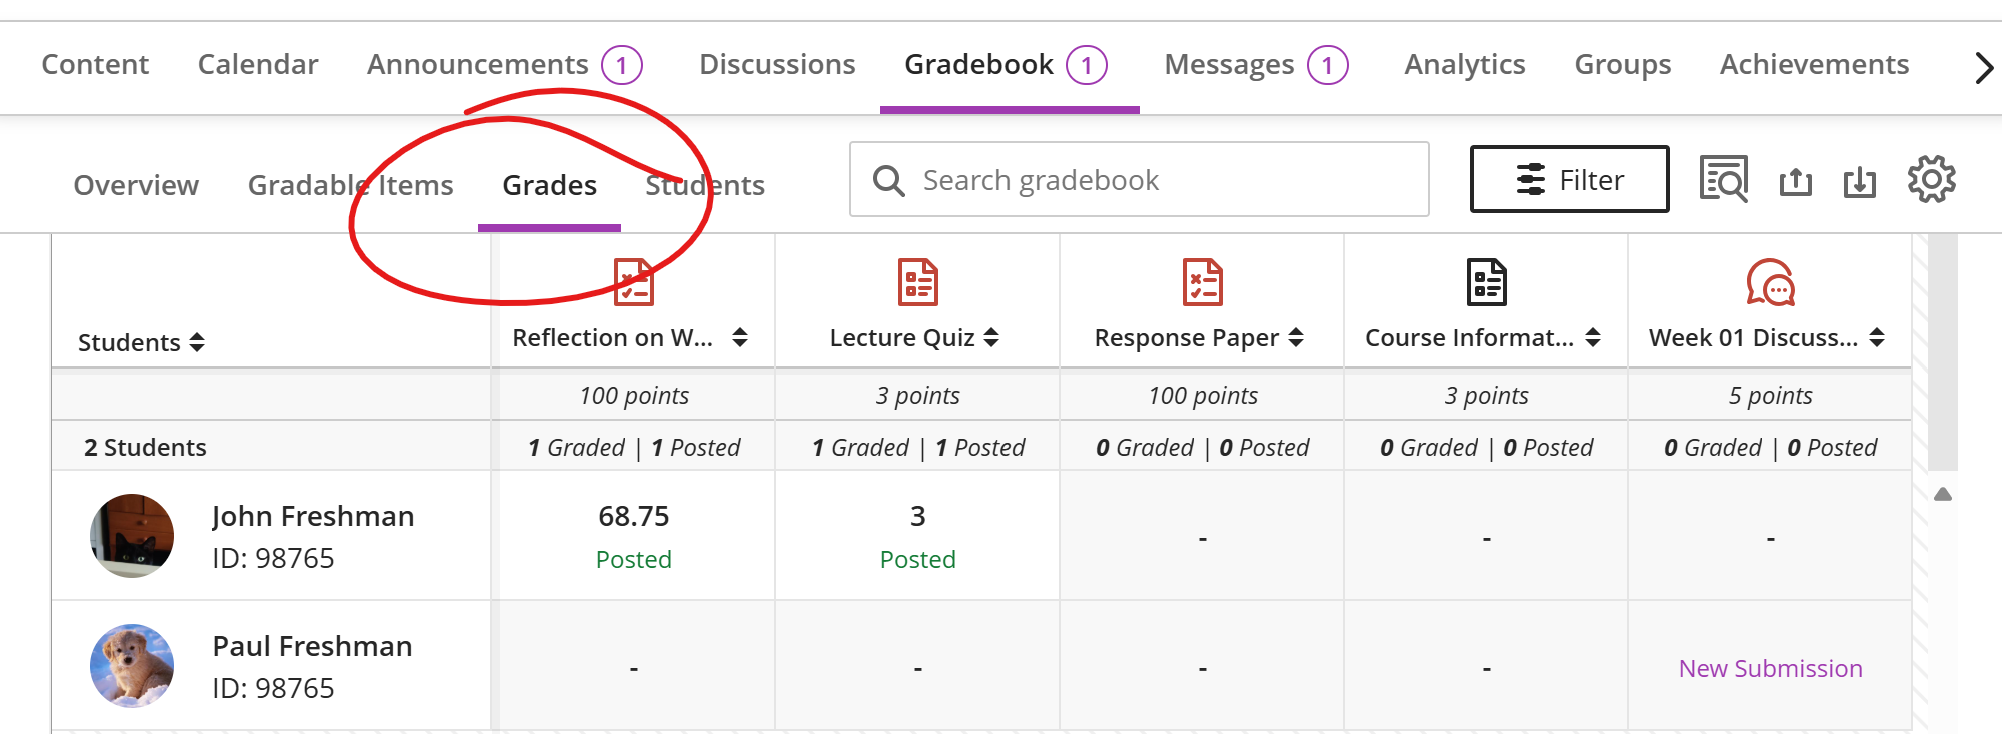
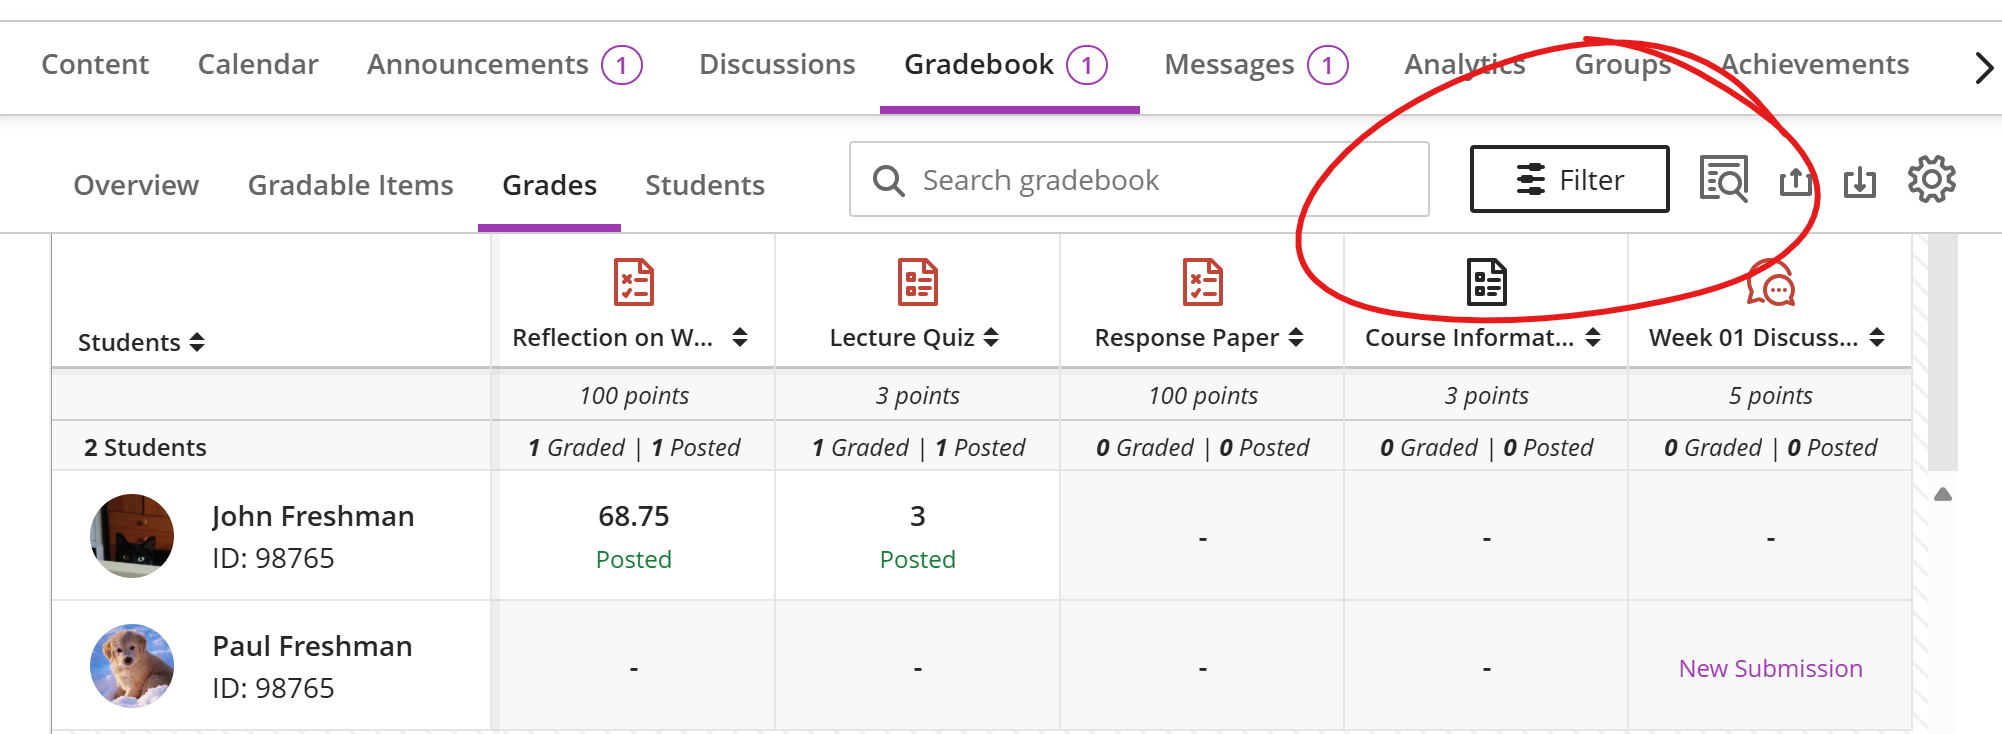
To filter the gradebook by group, you first need to navigate to the course Gradebook, then choose the GRADES view (which most closely resembles a spreadsheet, rather than a list).
Click the Filter button right of the "Search gradebook" box to open the filters side panel.
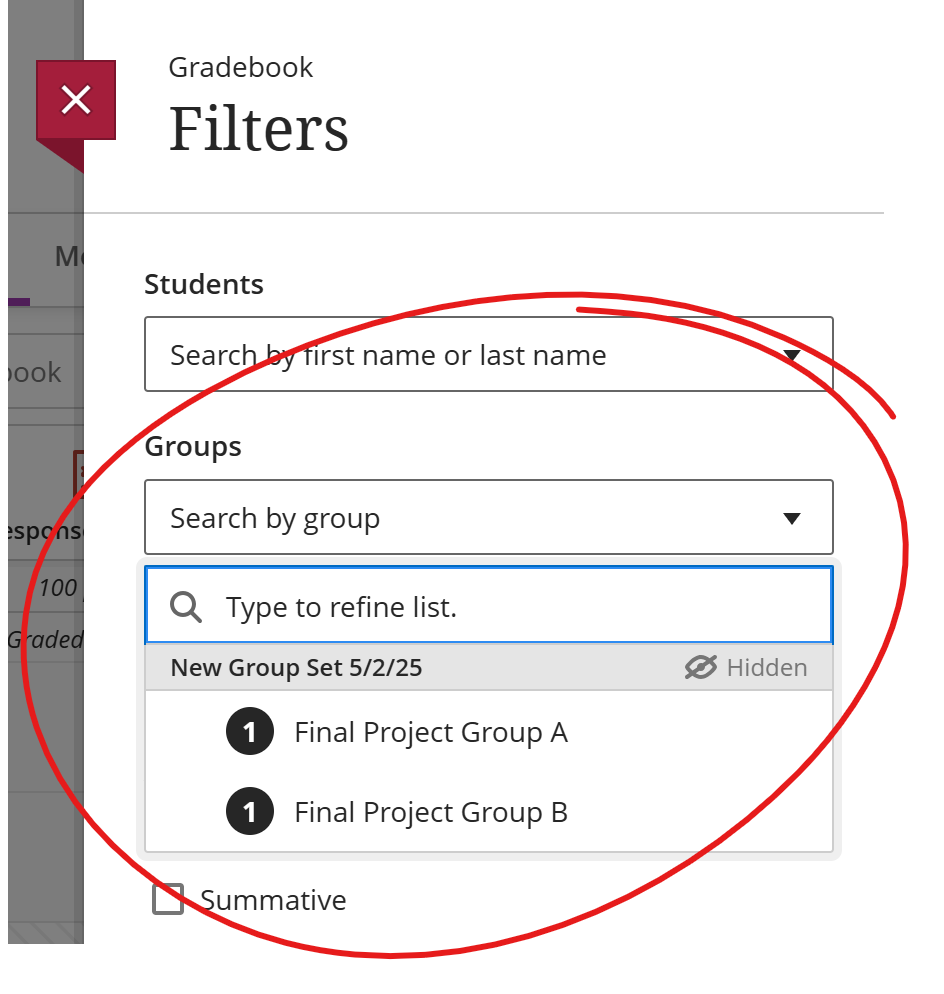
On the filters panel, under GROUPS, select the group whose members you wish to view.
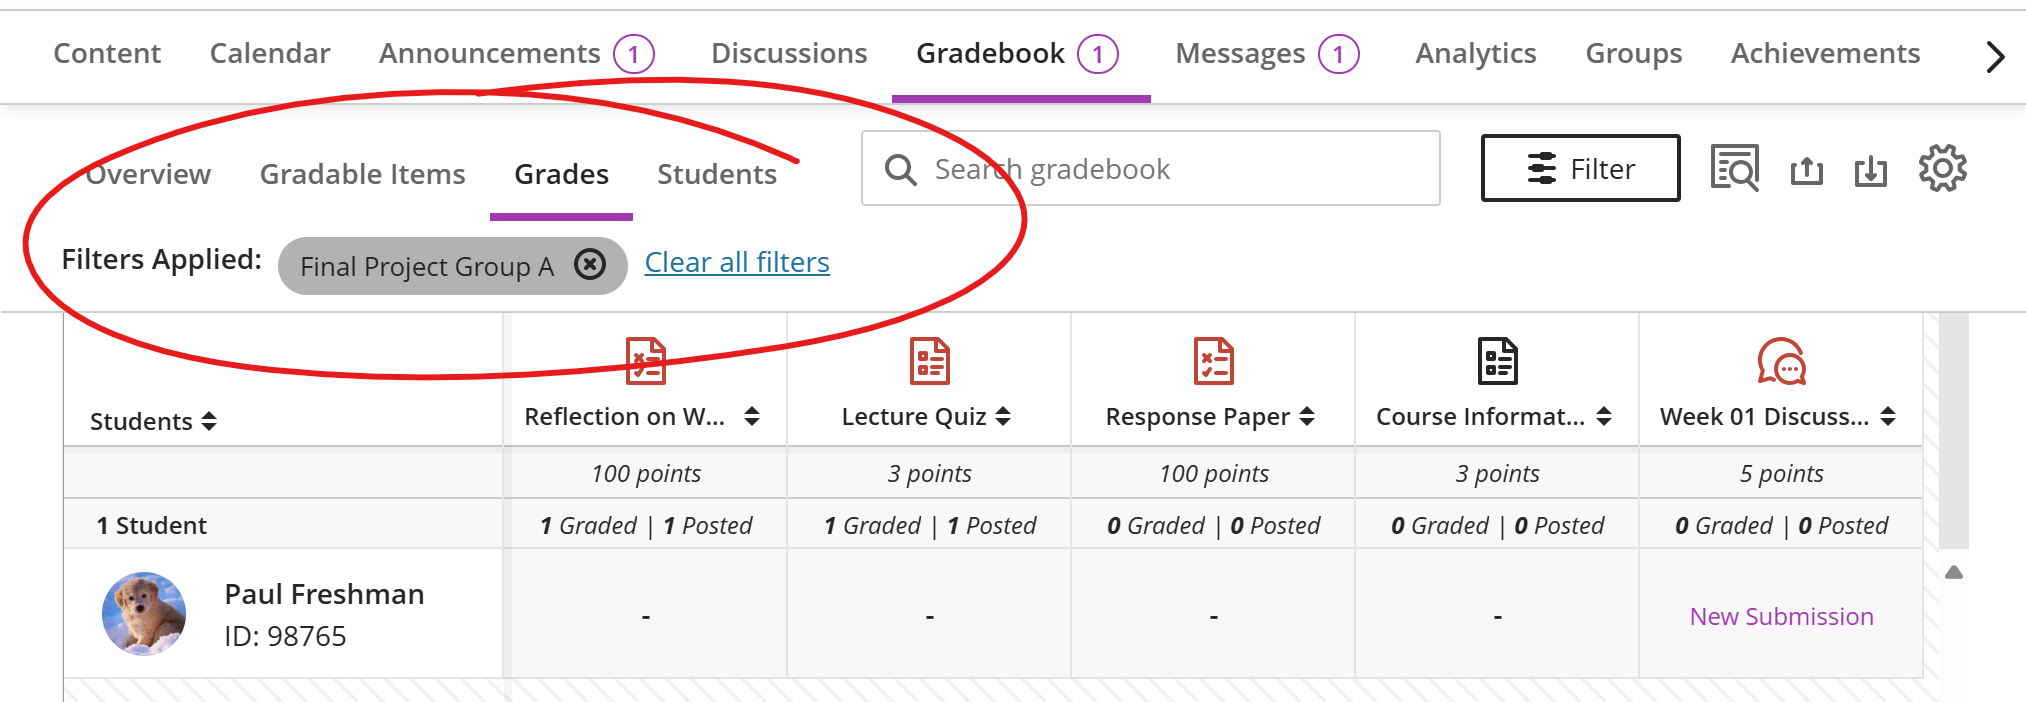
This adds a Filters Applied row above the gradebook spreadsheet. Click the X in the gray group name capsule to remove that filter (and return to a full gradebook view), or click CLEAR ALL FILTERS (if you have added more than one filter and you wish to return to the full view).
Group-Based Availability
This next set of instructions covers how Release Conditions may be used to make items available to specific groups at different times.
Blackboard's Release Conditions tool lets you make folders, items, and assessments available to students who meet a set of requirements. Most often, we use this tool to make content available after a certain date or only during a particular range of dates. We can also use this tool to make content available to students who belong to a specific group.
Combining the group requirement with an availability window lets you make content or an assessment available to different groups at different times. This can be particularly useful when running a course site that has merged sections (CETL creates groups for your merged sections when you place your request via our form).
Note: While an assessment can be made available to different groups at different times, assessments can only have a single due date.
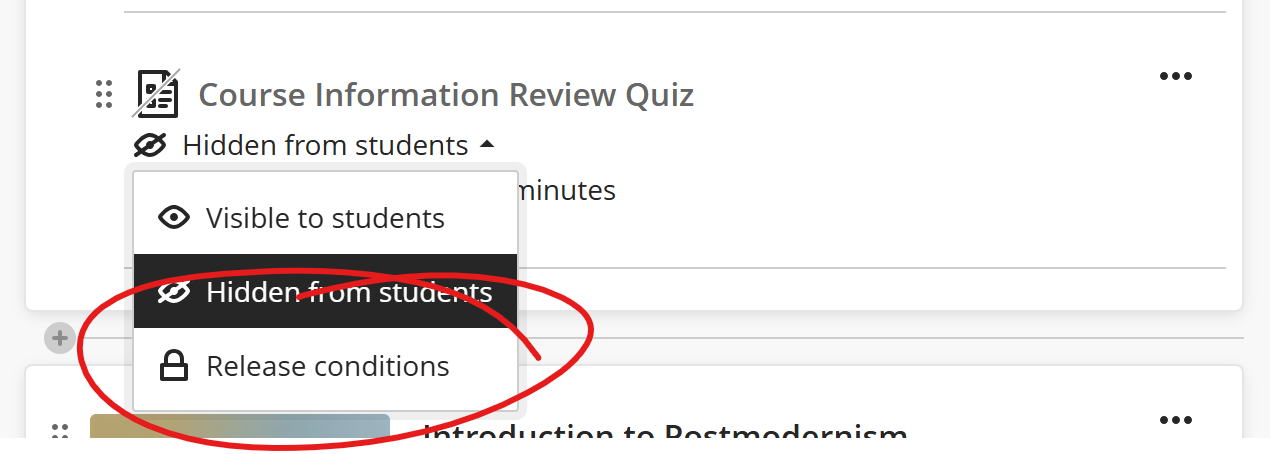
To set group-based release conditions, first locate the item (folder, learning module, test, assignment, etc.) in your Course Content list.
Click the availability list that appears directly under the item's title and choose RELEASE CONDITIONS.
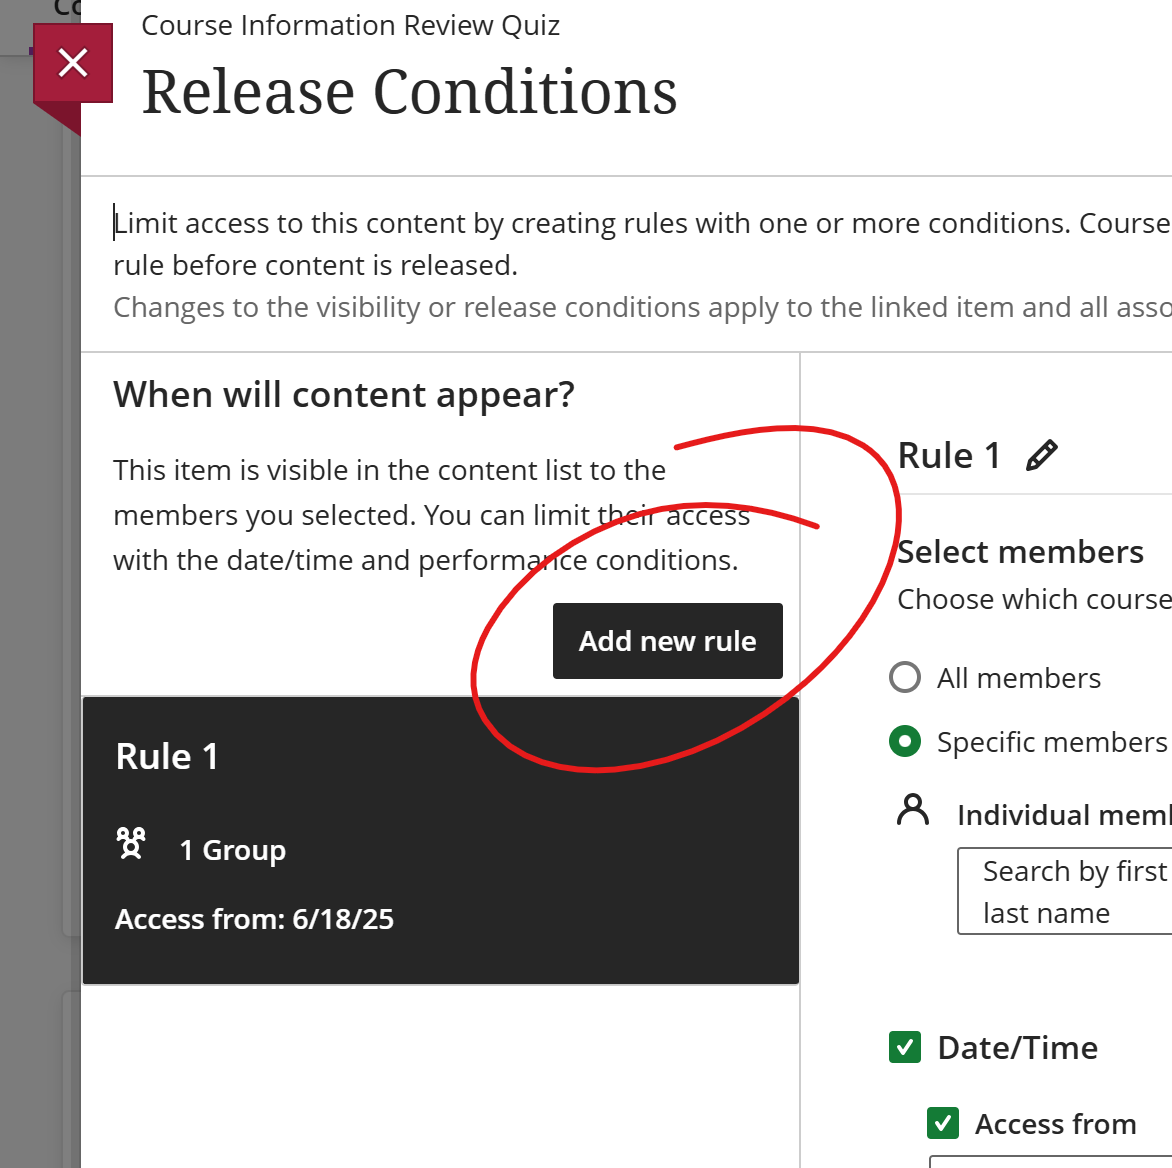
The Release Conditions page has a space for listing release rules on the left, and a space for creating release rules on the right.
On the right, under SELECT MEMBERS, choose "Specific members or groups."
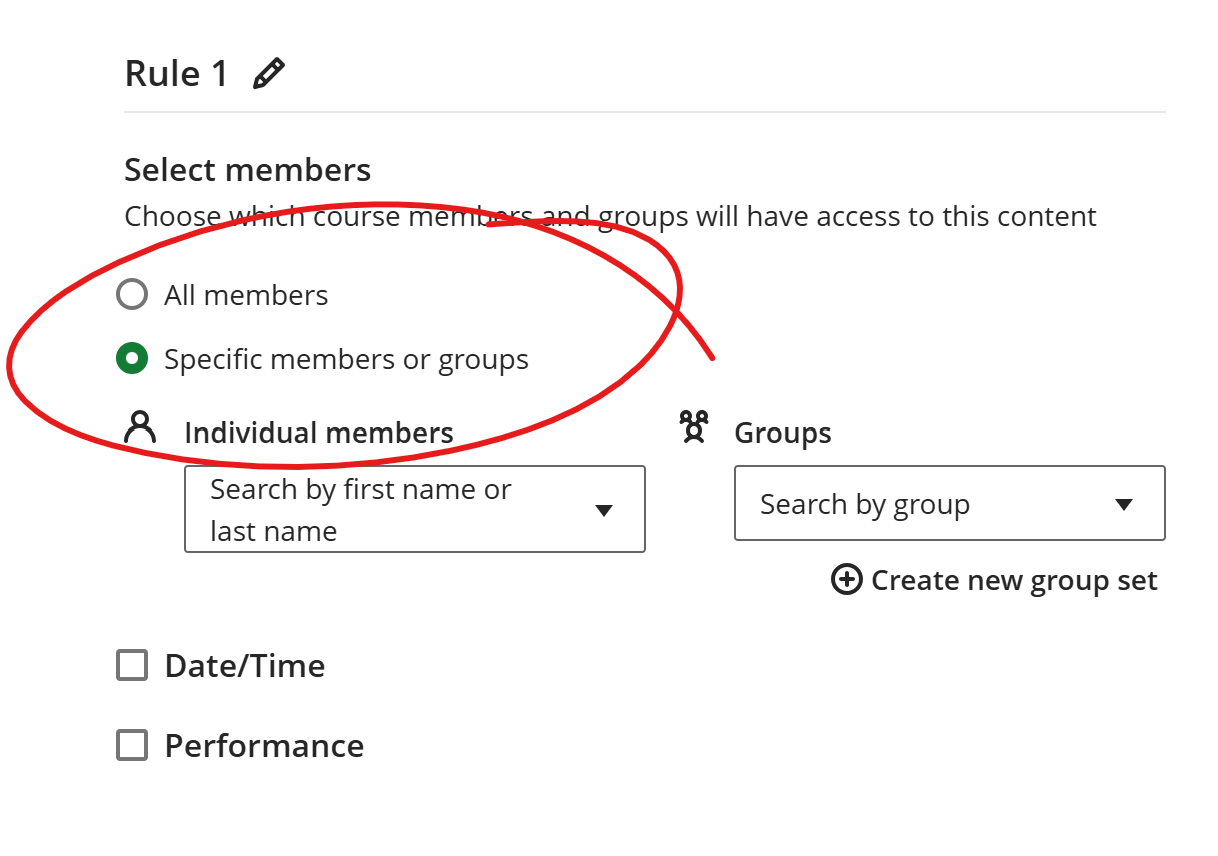
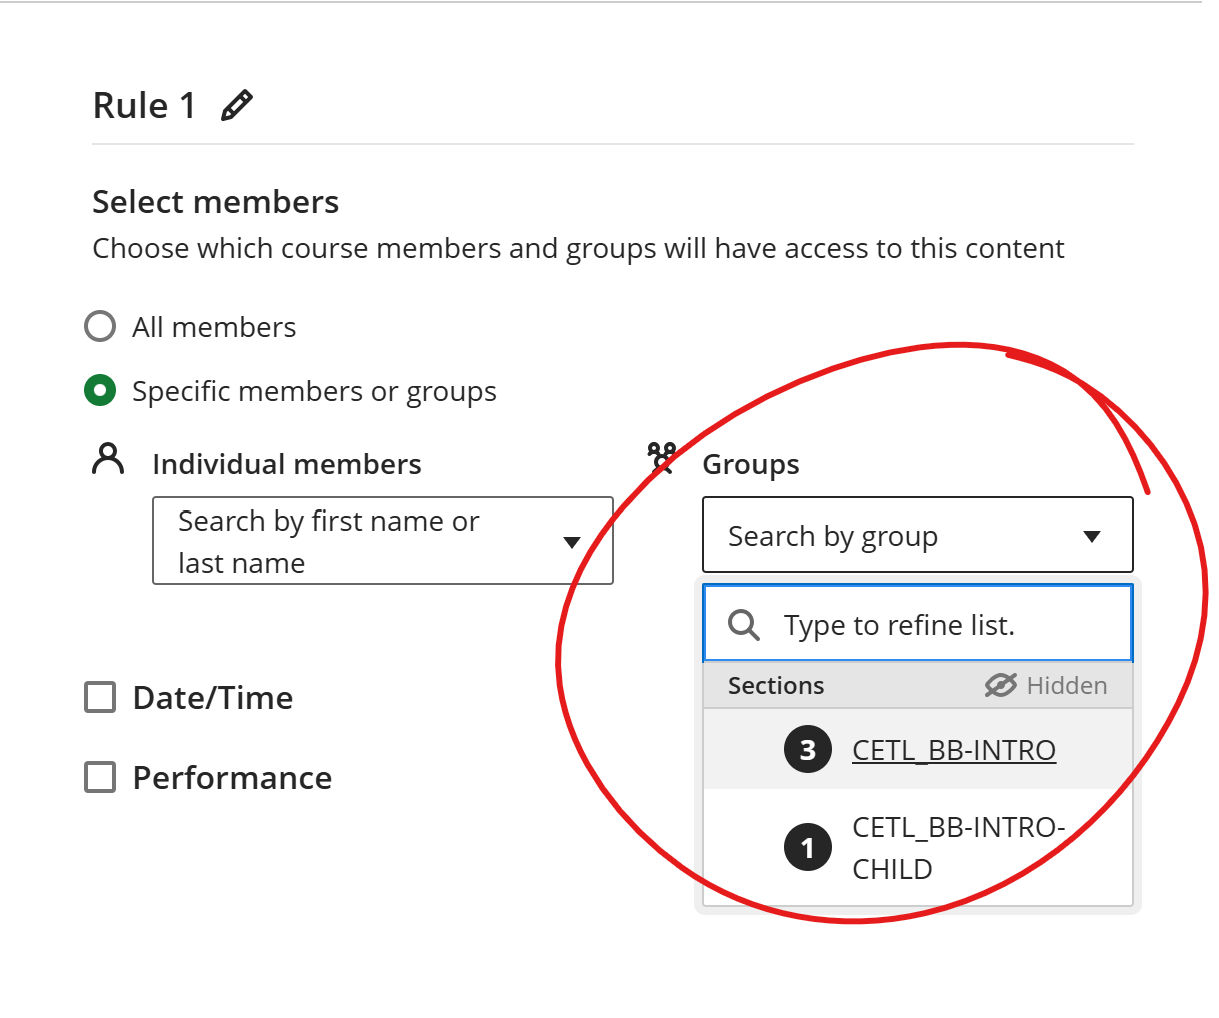
This will add selection boxes for individual members or groups. Under groups, choose the group you wish to set an availability window for.
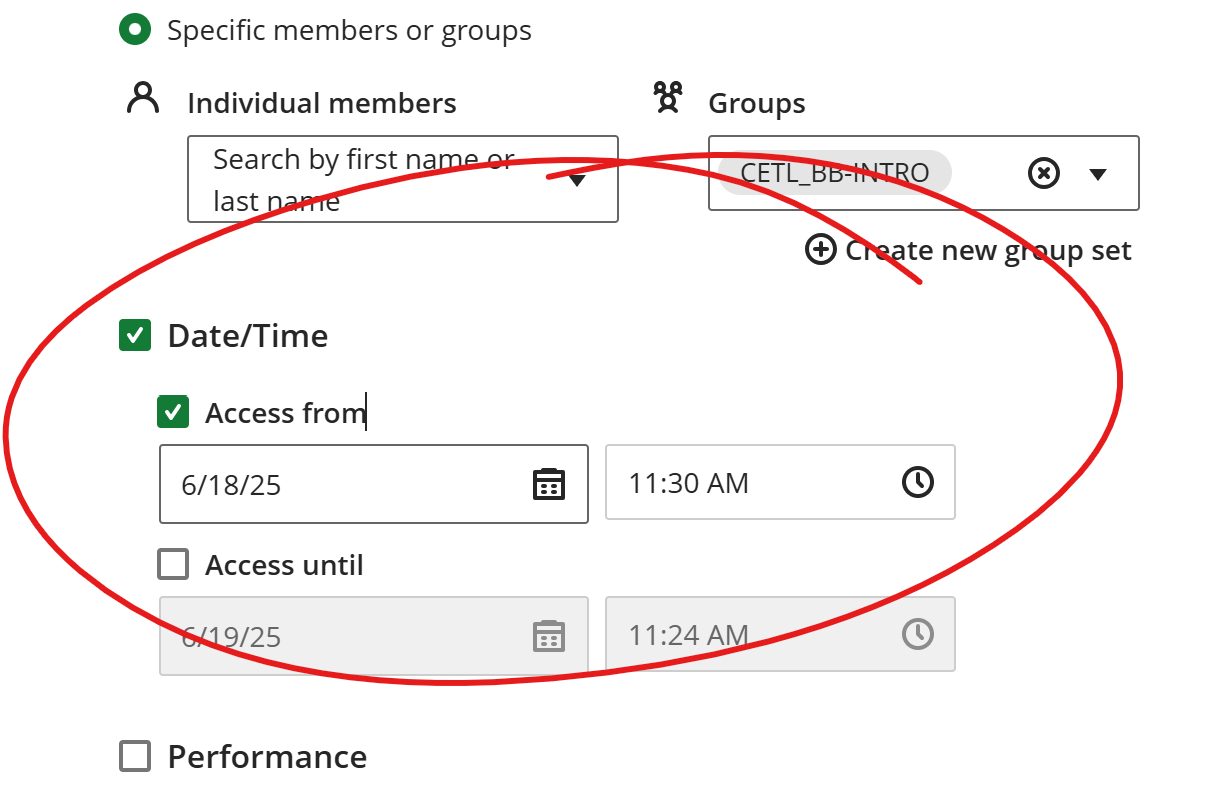
Next, we'll set a date range during which this group has access. Check the Date/Time box. This opens Access from and Access until tools.
To set a date and time the item will become available to the group, check the "Access from" box and enter a date and time. To hide the item from the group on a particular date and time, check Access until and enter that date and time.
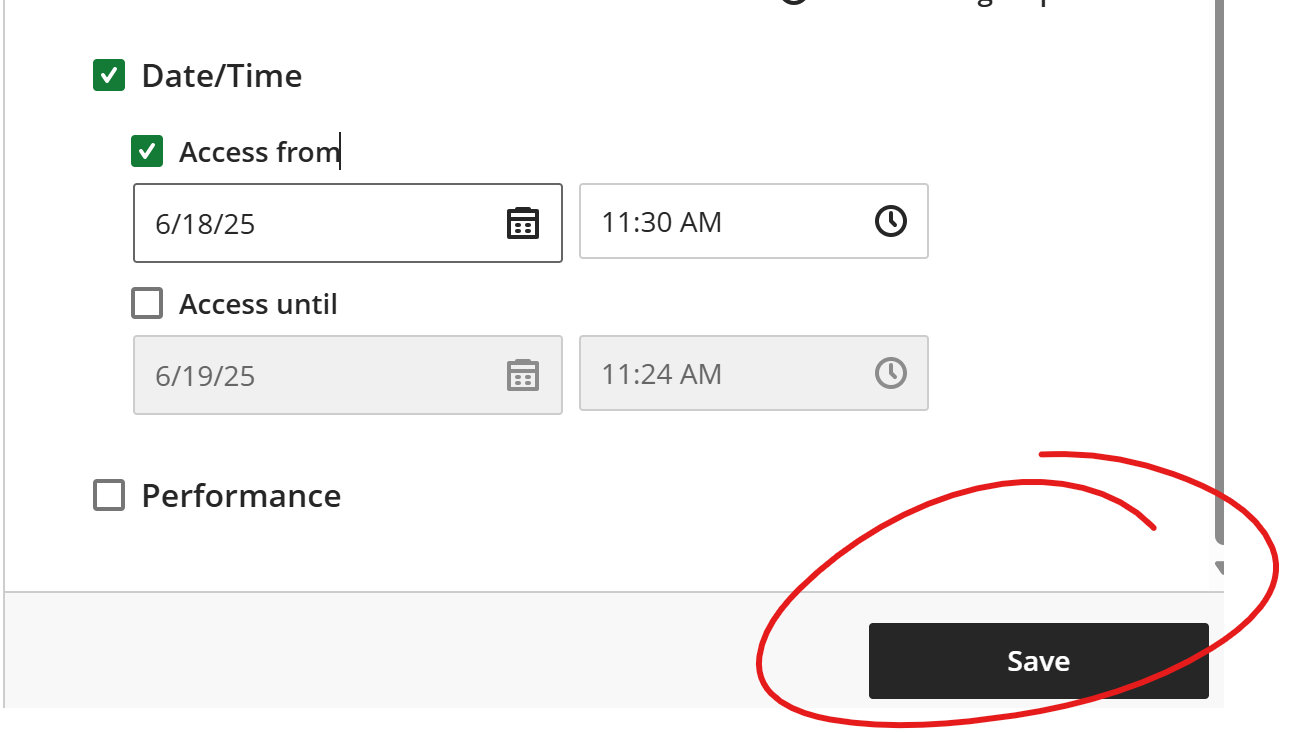
Click SAVE at the bottom to save this rule.
To create a new rule for another group or individual, click the ADD NEW RULE button in the upper left, under the "When will content appear?" heading.
Then repeat the above process to create a rule for another group (select the group, enter the Date(s)/Time(s), save rule.
Repeat this process as many times as necessary to make the content available to your various groups at the appropriate times.