To add a student to an existing group, such as adding a new enrollee into a CETL-created merge group, you'll first need to navigate to the GROUPS section of your course.
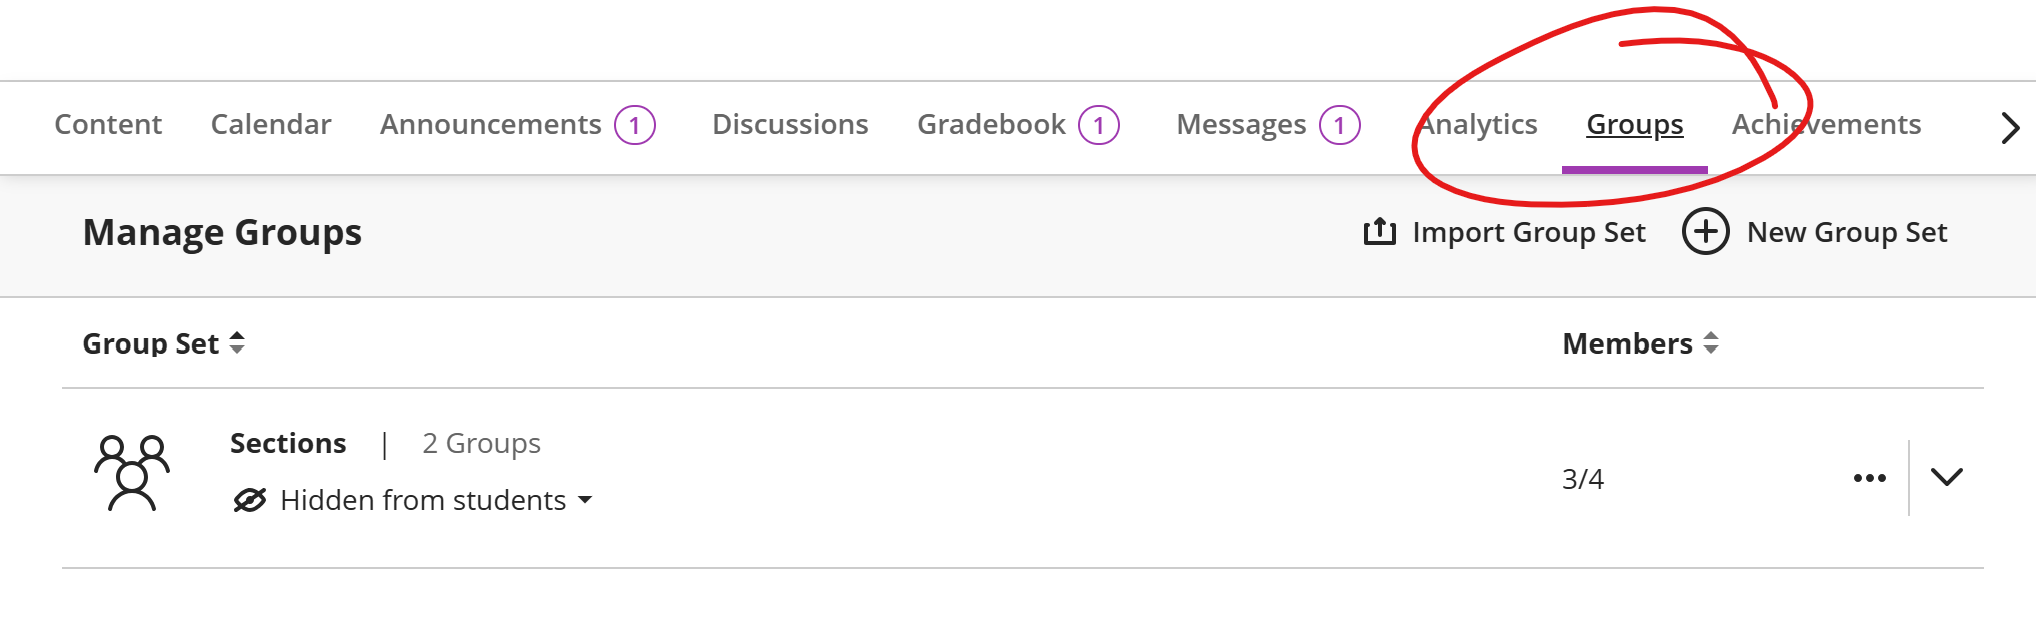
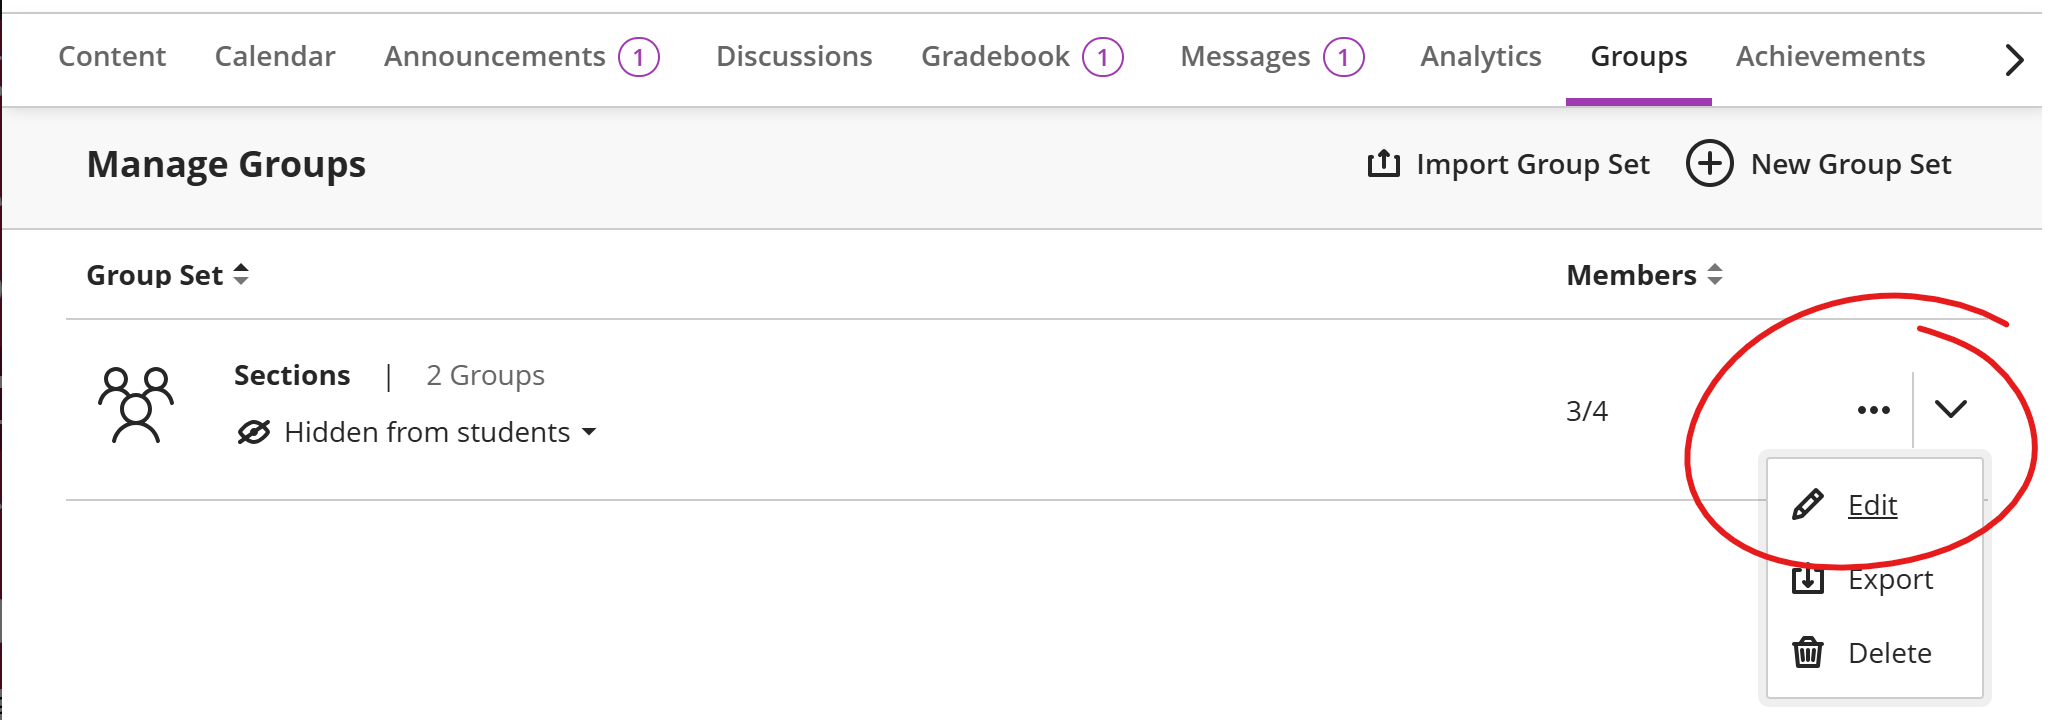
The Groups page defaults to a list of all the group sets in your course. Locate the group set that has enrollments you need to manage (the CETL CETL-created merge group set is called Sections). Click the more button on the right of the set in question and choose Edit.
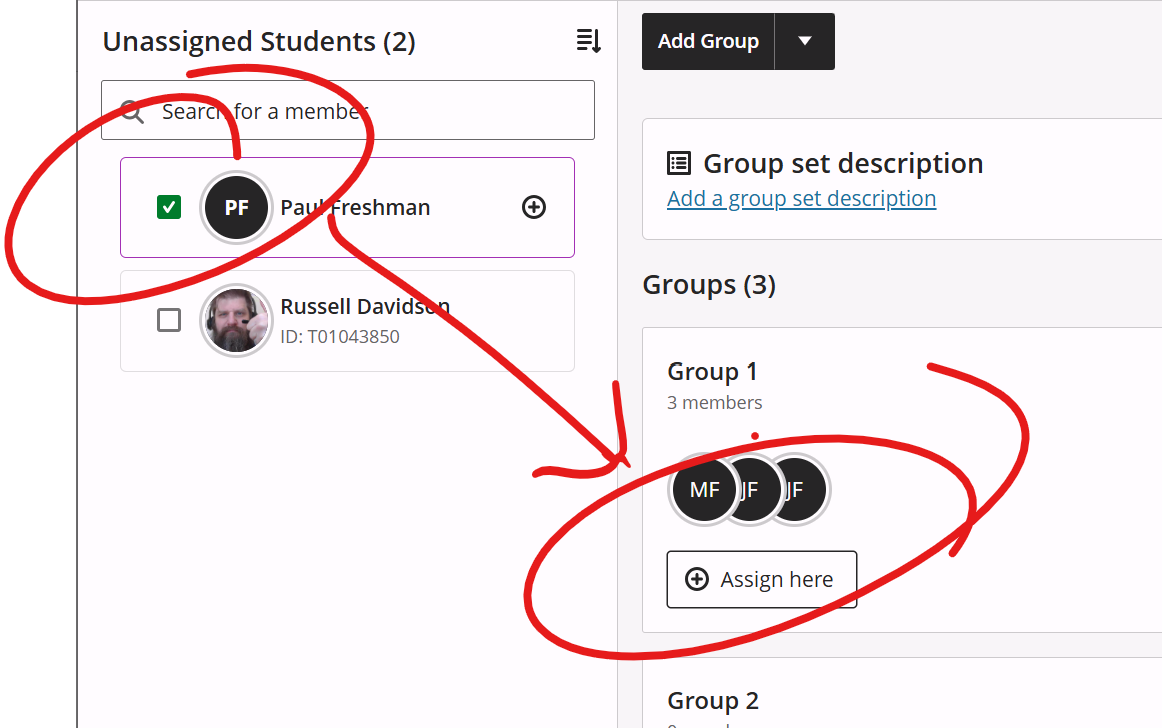
The left side of the groups page lists all the folks in the class who are not members of a group in this set. To add those folks to a group, check the box left of their name, then click the "+Assign Here" button on the group you wish to add them to (the "+Add Members" button gets replaced with "Assign Here").
OR you can click the ADD MEMBERS button on the group lets you select members to add and select names there.
OR you can go to the Group Settings page (see EDIT GROUP NAME AND DESCRIPTION above) and add members there.
View / Remove Group Members
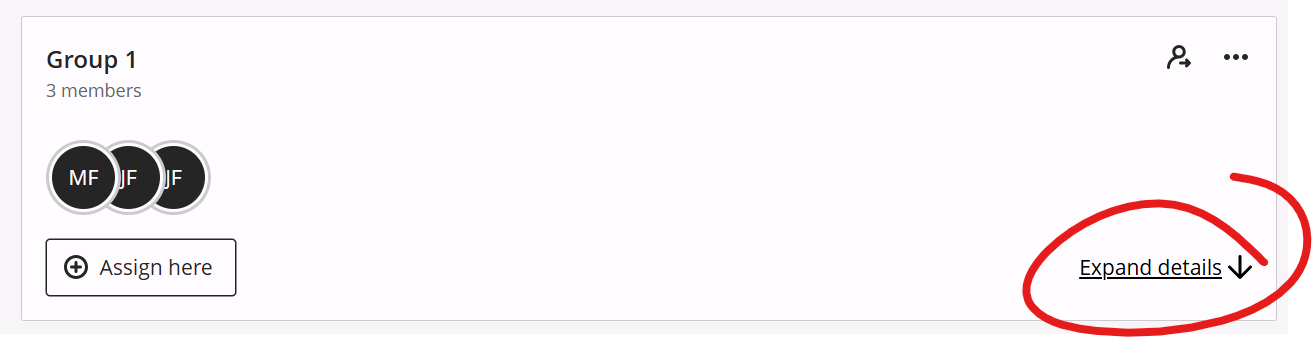
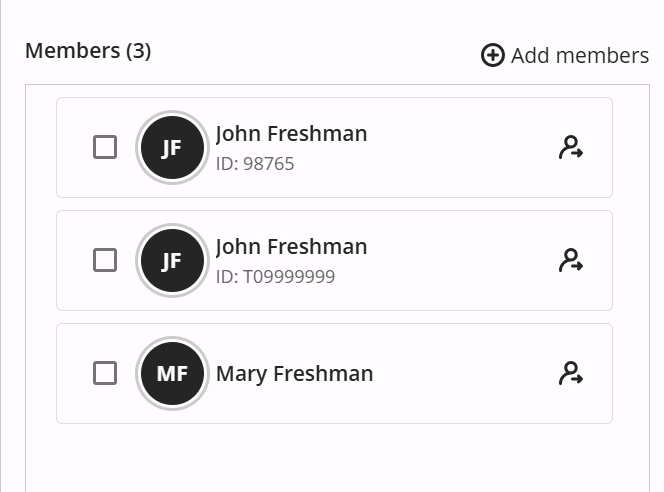
You can view the members by clicking the Expand Details button in the lower right of the group box, or by going to the Group Settings page.
You can remove an individual from either of these lists by clicking the remove member icon (a person with an arrow) on the right. To remove more than one member, you can check the boxes for the members you wish to remove, then click the remove member button for any one of the folks you've selected.
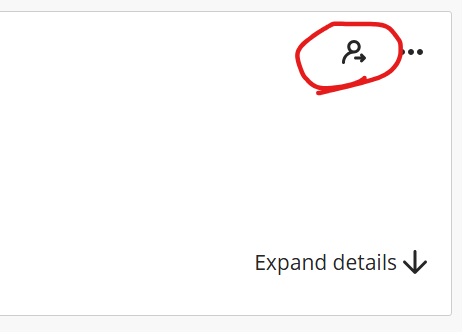
To remove all group members, click the Unassign All Members button in the top-right of the group (next to the "..." button)
Finally, click SAVE at the bottom of the page to save your changes.