The most commonly used first steps in setting up grade center are included here. Step 1, Add a Grade Center Column, is ONLY for when there is no Blackboard-based assignment (such as for in-class participation).
Add a Grade Center Column (Classic)
You do not need to create columns for tests students will take through Blackboard or assignments that students will upload through your course site. Instead, create and deploy the test or assignment. Doing so will create the Grade Center column.
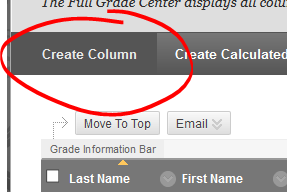
To create a Grade Center column, navigate to the Full Grade Center in the Control Panel of your course and click the Create Column button in the upper left.
The first step in creating a column is entering the column name.
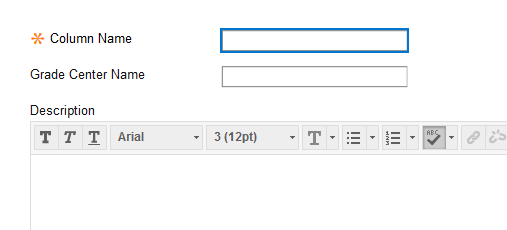
The Column Name is a required field. This is the name text that appears in the Grade Center by default, and on your students' My Grades page.
The Grade Center Name field lets you enter a short-name for the Grade Center's instructor view. For example, if you have a number of columns named Homework Assignment #01, Homework Assignment #02, Homework Assignment #03, etc., in the Grade Center you may see only "Homework Assignment" over and over. You can use the Grade Center name to shorten these to HA 01, HA 02, HA 03. The students will still see "Homework Assignment #01" and so on, but in the Grade Center table, you'll see the shorter name.
The Description field is for providing students with a brief description of what assessment the column represents. This is completely optional.
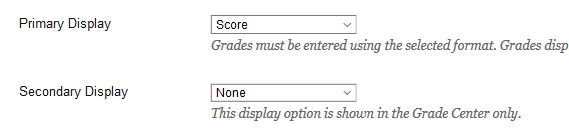
Next, the display options, shows how the grade is shown in the Grade Center and on the students' My Grades page.
The Primary Display is shown to students and appears in the Grade Center. You can choose score, letter, text, percentage, or complete / incomplete. Broadly speaking, you'll be entering the students' grades as a score (unless you choose TEXT as the score type), Blackboard will then convert the score into the display option you select here.
The Secondary Display is not visible to students. It gives you the option to view a letter, percentage, or complete / incomplete symbol alongside the primary display you selected.
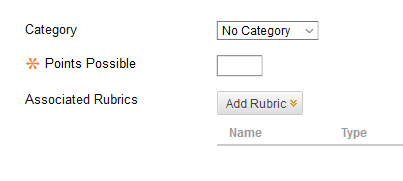
Setting an appropriate category is critical to creating a Weighted Total column (where you can use category to set a number of columns to be worth, say, 25% of the weighted total). Categories can be useful for filtering the Grade Center (briefly setting the Grade Center to display only Discussion items, for example).
Points possible indicates the total number of points for the assessment.
The Add RUBRIC button lets you add one or more rubrics (as created using Blackboard's rubric tool -- see link below) that can be used to score and provide feedback for student work.

The Due Date field lets you set a due date for the assignment. This date will appear on the students' My Grades page (if you decide to make the item visible to students), and it will also put the item on the students' Blackboard calendar.
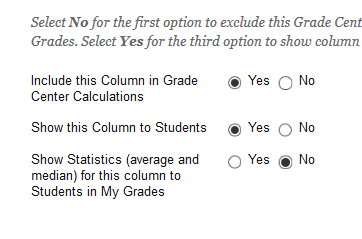
Finally, you'll need to decide whether the column should be included in the Grade Center calculations (select NO if it is a self-assessment, or if you'll be aggregating this column into a calculated column that will be used in the final calculations instead),
The "Show this Column to Students" option determines whether the item will appear on the students' My Grades page (as with all visibility options on Blackboard, this can be changed later if you choose),
The Show Statistics option determines whether students see the class average and mean for this assessment on their My Grades page.
Once you have the column set up, click SUBMIT to save your changes.
Add a Grade Center Category
If you're using a weighted total column in your Grade Center, you will probably want to create categories specific to your course. Fortunately, the process is extremely simple.
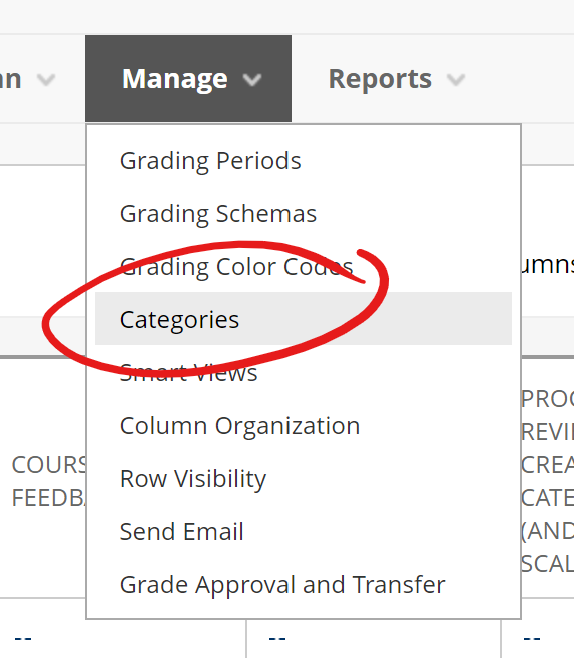
On the Full Grade Center page in your course, point to the Manage heading and choose Categories.
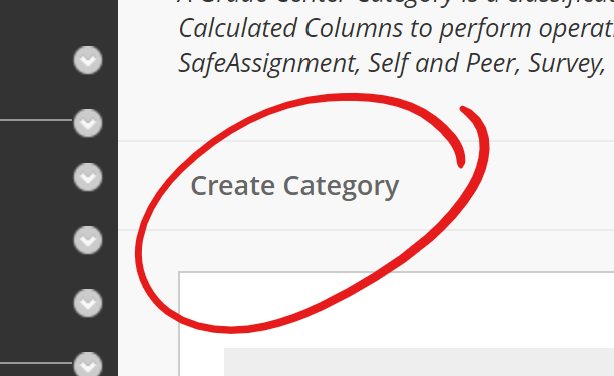
Now, click the Create Category button in the upper left
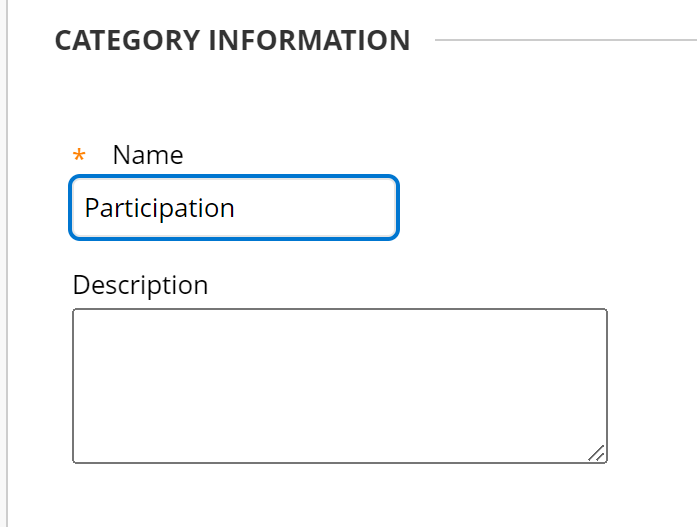
Finally, enter the category name and click Submit.
Create a Weighted Total
The Grade Center's Weighted Total column lets you provide "percent of total" values for both stand-alone columns and columns collected by category, most often creating a final grade column that functions independent of point values.
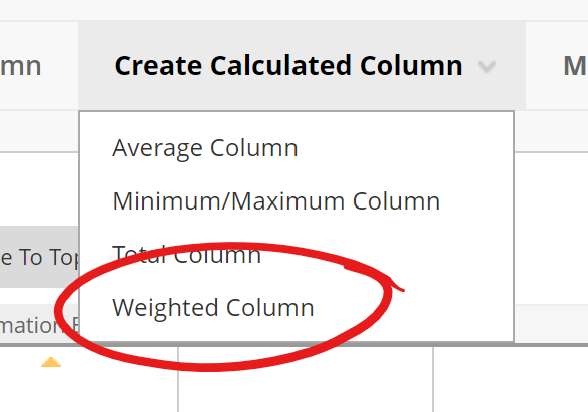
The Blackboard-classic Grade Center includes by default a weighted total column that includes no columns or categories. In most cases, editing this column is the best approach. If you need an additional weighted total column, from the Full Grade Center point to Create Calculated Column then choose Weighted Total.
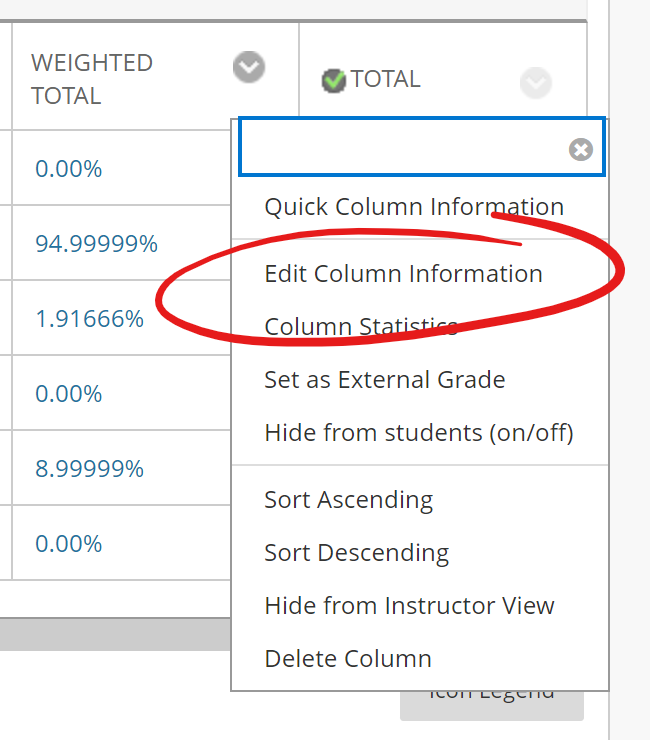
To use the existing column, click the OPTIONS button that appears right of the Weighted Total column heading and choose Edit Column Information
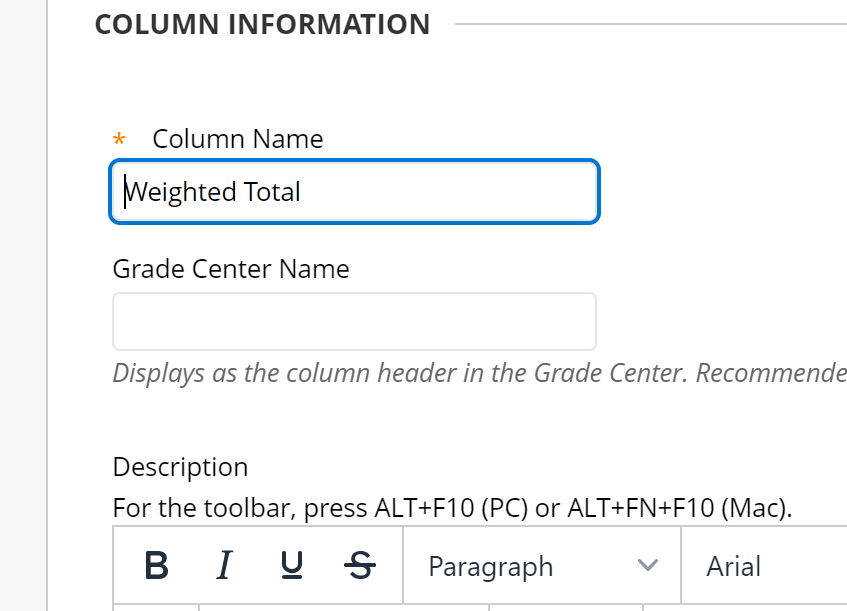
The first parts of the Weighted Total column are standard to columns in the Grade center. There's a Column Name you can edit, should you like, that defaults to "Weighted Total", and a "Grade Center Name" which allows you to abbreviate the column header in your Grade Center view. There's also a description field that is exposed to both students and graders.
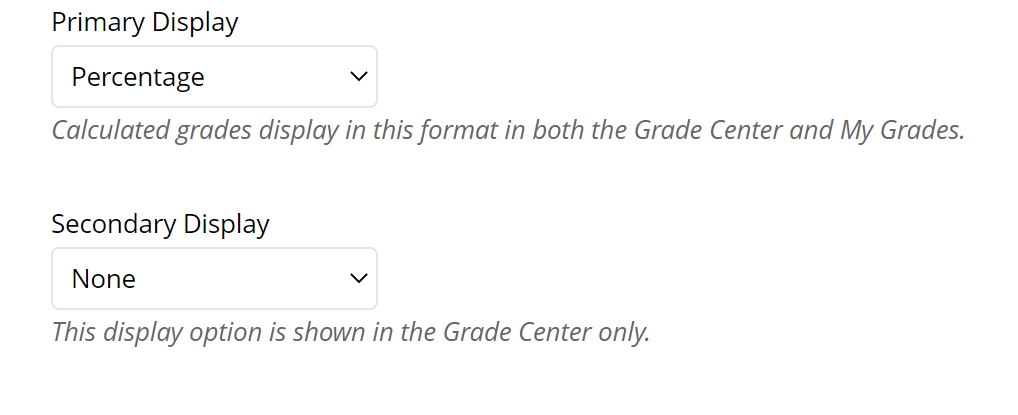
You can also set the primary and secondary display (the latter being only visible in the Grade Center) for your column.
For simplicity's sake, we recommend only displaying Percentage or Letter Grade for weighted total columns.
You actually do the business of setting up your weighted total column under the Select Columns heading, where it says "Include in Weighted Grade". As mentioned at the top, you can add both columns and categories to a weighted total. To add individual columns, select the column you wish to add from the list, click the arrow pointing to the right (to add it to the "Selected Columns" box), then enter the percentage value for that column.
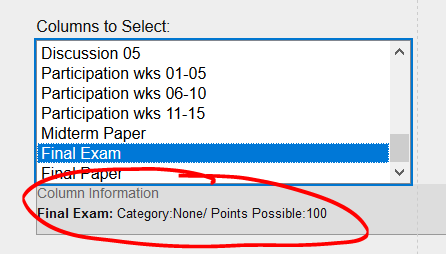
In this example, we're adding the Final Paper, which is worth 25% of the final grade. So we select the Final Paper column from the Columns to Select list on the left, push it to the right with the arrow, then enter "25" in the space provided.
Note, when you select a column, the "Column Information" box shows the column's category and points possible.
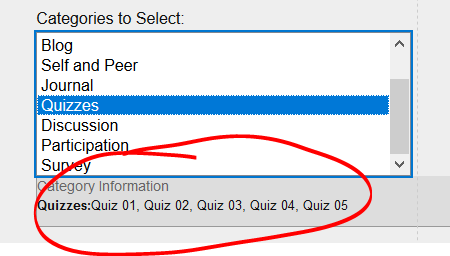
Weighting by category is possibly the most powerful aspect of the Weighted Total feature. The steps are the same as for adding a column -- select the category from the list, push it into Selected Columns, enter a percentage value. But adding categories lets you set a single percentage value for a number of Grade Center columns.
Notice, when we select a category, the Category Information box lists all the columns with the "Quizzes" category applied.
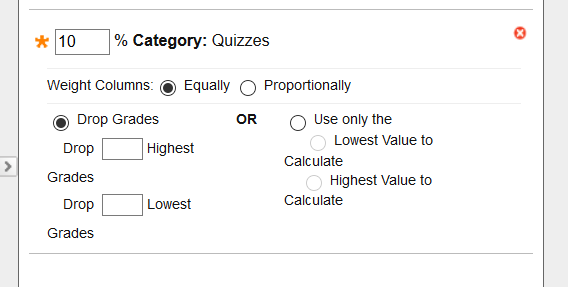
Adding a category provides a different set of options
You can choose to weight the category equally -- all the columns are figured equally, regardless of their point values (a 10-point quiz has the same weight toward that 10% as a 20-point quiz), or proportionally (a 20-point quiz has double the weight of a 10-point quiz).
Grade Center columns created from outside tools are often generated with default categories -- online tests are created with the TEST category, online assignments are created with the ASSIGNMENT category. If you're creating weights by category, make sure all your grades have the appropriate category assigned.
You can also choose to drop some number of the highest and / or lowest grades (most often, faculty choose to drop the one or two lowest scores), or to use only the students' highest or lowest score in the category as the graded item.
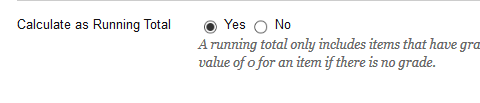
Total columns include the option to calculate as a running total. If Yes (the default) is selected, then columns with no score (appear as a "-" in the Grade Center view) are not included in the grade calculations. Therefore, no score is functionally equivalent to "exempt". This is useful for much of the term -- students one "100%" assignment will see they have a 100% (an A) in the class rather than, say a 10% (an F). However, if you use a running total, it's important to enter "0" in place of "-" when students miss an assignment, otherwise their final grade simply won't factor in those empty columns.
When you're all set, click SUBMIT to save your edited Weighted Total Column.